
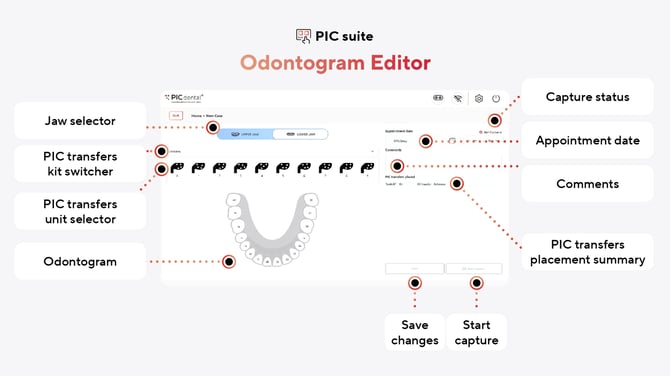
The Odontogram Editor provides the following options:
Case details- Jaw selector
- PIC transfers kit switcher
- PIC transfers unit selector
- References
- Saving and capturing
- Deleting capture information
Case details
Capture status
The capture status indicates whether the currently open case has already had a PIC file created:
Not captured: New case created, pending PIC transfer placement information

Incomplete: PIC transfer placement completed, no capture
Captured: PIC file is captured
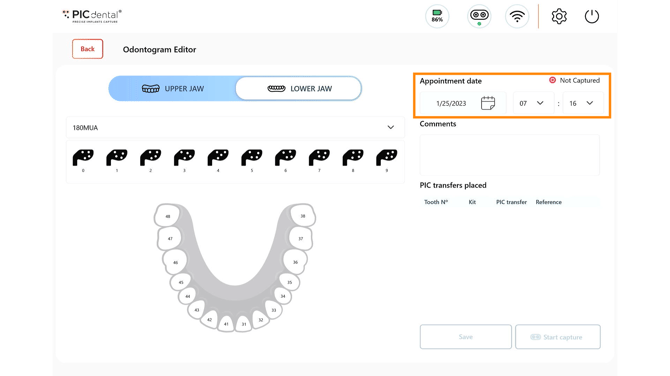
Appointment Date
The date and the time of the patient's appointment.
Setting up the appointment date and time helps case organization: the Case List sorts cases based on their date, and provides search based on date ranges.
Comments
Any relevant comments about the case.
The Case List allows to search cases based on any words inside their Comments field.
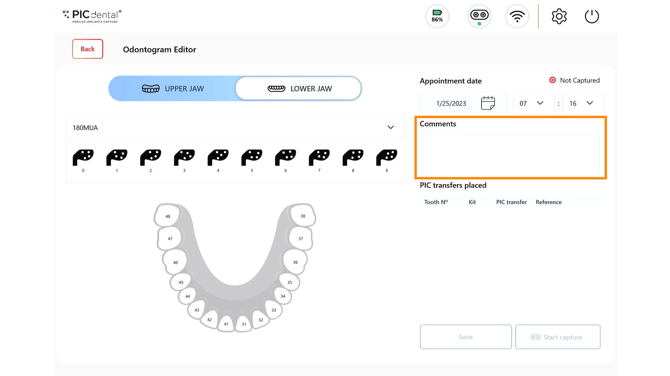
PIC transfer placement
Jaw selector
The jaw selector displays the corresponding odontogram for placing PIC transfers.
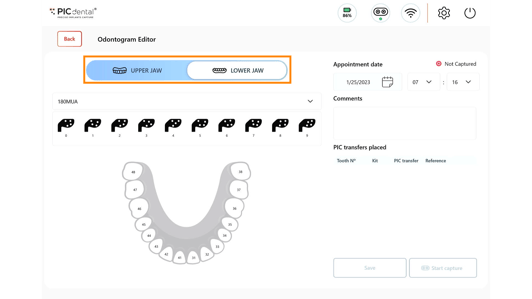
Bimaxillary cases
PIC suite allows setting up a bimaxillary case so that both the upper and lower jaw of a patient are saved within the same single case.
Bimaxillary cases may be set up in two ways:
- Placing PIC transfers for both the upper and lower jaws before capturing, then proceeding with capturing one jaw after the other.
- Placing PIC transfers for one of the jaws and capturing it, then placing PIC transfers and capturing the remaining jaw at a later time.
PIC transfers kit switcher
Learn more about identifying PIC transfers
The PIC transfers kit switcher displays the currently active PIC transfer kit.
Tapping on the kit switcher displays a dropdown menu will all the currently installed PIC transfer kits.
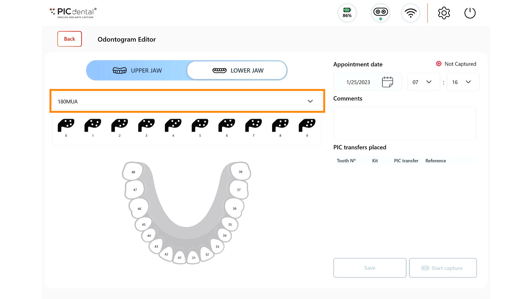
PIC transfers unit selector
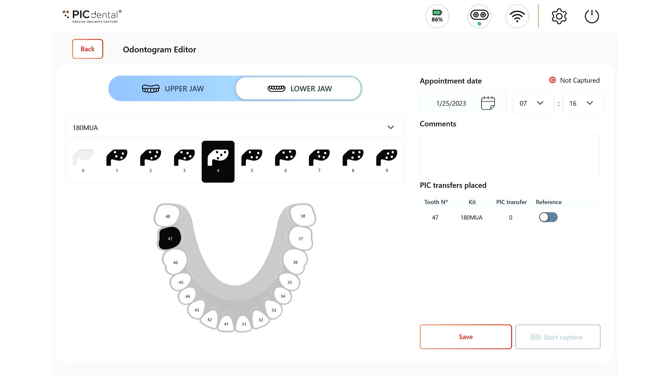
To assign a PIC transfer to a tooth position:
- Tap on any PIC transfer to select it. Double tap on a tooth position to assign it to that position.
- Once assigned, the silhouette of the PIC transfer will turn gray. The tooth position will turn black and will be added to the PIC transfers placement summary.
All the assigned PIC transfers will be added to the PIC transfers placement summary table.
To remove an already assigned PIC transfer:- Tap once on its tooth position on the odontogram, and it will return back to the top list.
Combining multiple kits
Learn more about combining multiple PIC transfer kits in a single capture
Multiple PIC transfer kits may be combined in a single capture.
To combine multiple kits, place PIC transfers from a single kit and then use the PIC transfers kit switcher to select the next kit and place its PIC transfers. Refer to the PIC transfers placement summary table to review your setup.
References
The references are the PIC transfers that must be visible to the PIC camera throughout the full capture.
A strategic choice of references, as explained in the PIC pro trainings, allows simplifying advanced capture techniques such as two-step captures where visual obstructions between PIC transfers are easily avoided by rotating and/or entirely unscrewing conflicting units after their measurement against the references has been completed.
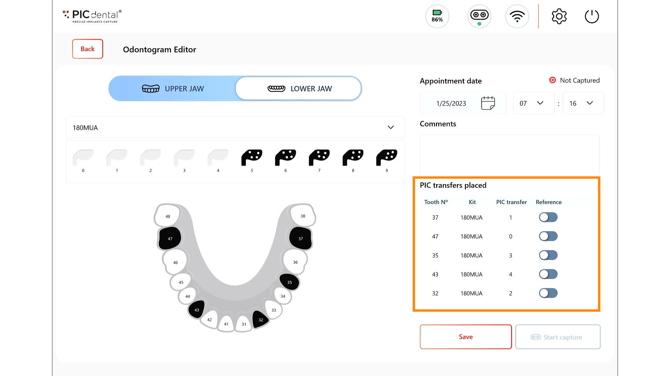
Before proceeding with the capture, references must be chosen by using the toggles in the PIC transfers placement summary table. Capture will only be possible if at least 2 references are enabled.
- 1 reference enabled: capture is not allowed. Precision would be severely compromised.
- 2 references enabled: capture allowed. Precision may be affected.
- 3 references enabled (recommended): Highest level of precision
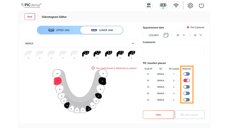
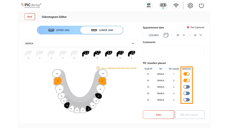
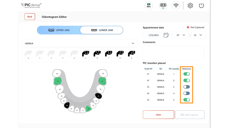
A red-orange-green color code highlights the selected references on the odontogram and the PIC transfers placement summary table.
Deleting capture information
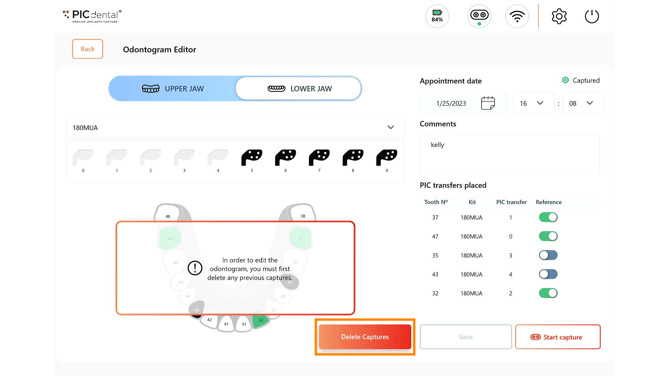
After a PIC file has been captured for the current clinical case, the capture information may be deleted without resetting the PIC transfers placement saved for the current case. Tap the Delete Captures button (only visible after a successful capture) to proceed.
Deleting capture information is required in order to make changes to the odontogram.
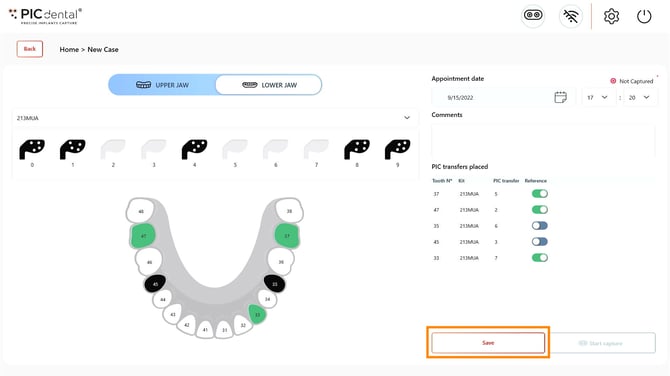
Saving and capturing
The case must be saved before capture.