There are two ways to access a PIC file:
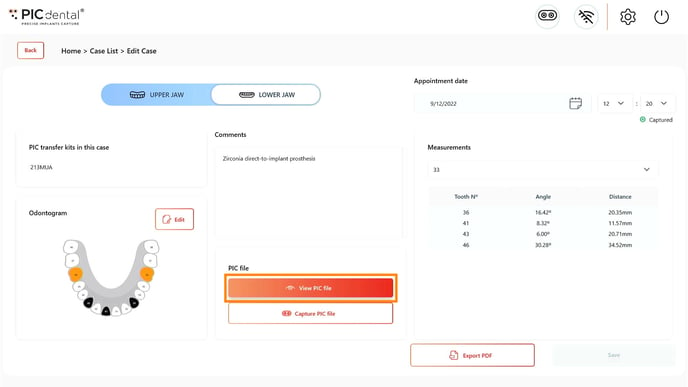
1. Accessing a PIC file from the Case Summary page
Learn more about the Case Summary page
Tap the "View PIC file" button on the Case Summary page
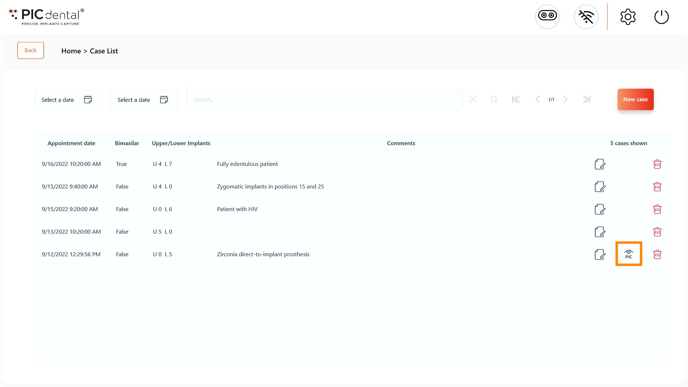
2. Accessing a PIC file directly from the Case List page
Learn more about the Case List page
Tap the PIC file icon on the Case List page.
PIC file preview
The PIC file 3D preview first displays the contents of the PIC file using vector-like shapes representing the implant positions and angulations.
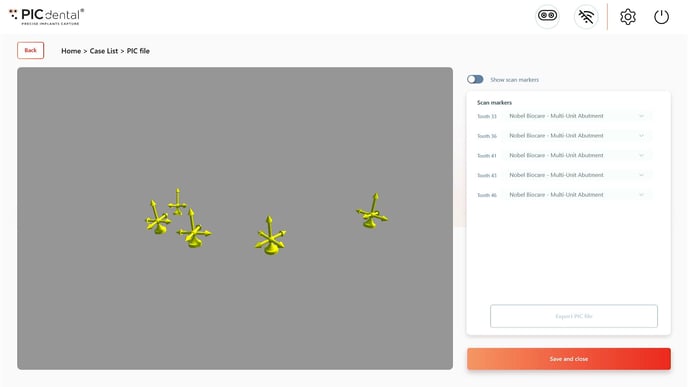
To preview the PIC file with scan markers geometry, tap on the "Show scan markers" toggle.
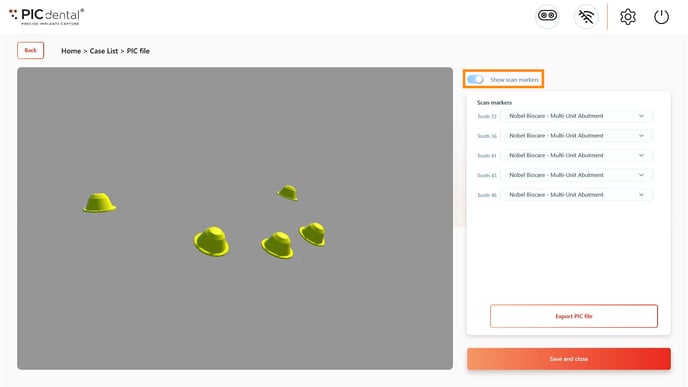
Changing scan markers
Tap on the scan marker name next to the corresponding tooth position. A drop-down menu will display all the currently installed scan markers. Tap on the new scan marker choice on the list and the 3D preview will immediately update.
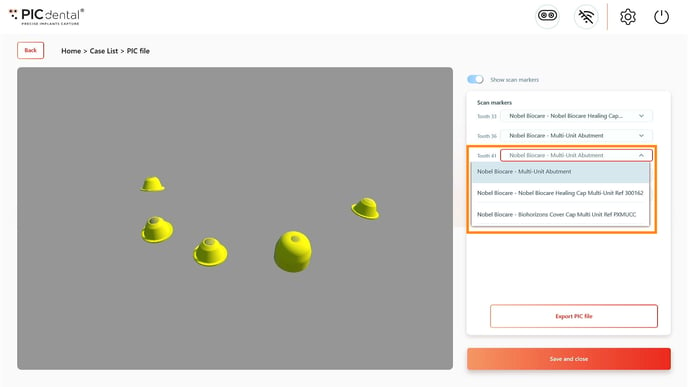
Shortcut - Fast scan marker selection
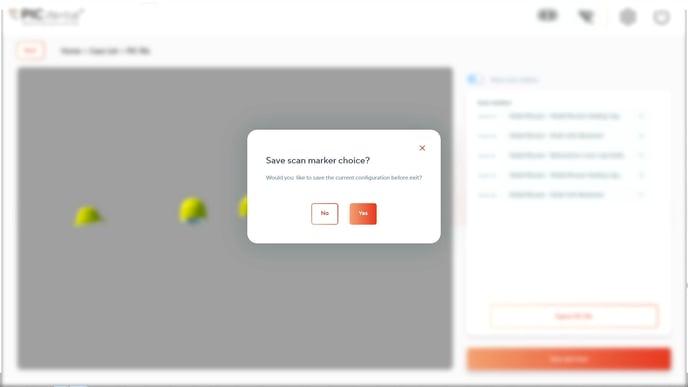
If the current case was captured with a single (not multiple) PIC transfers kit and you are using the same scan marker for all implants, select the scan marker for any individual tooth position and press "Save" to immediately apply the same scan marker choice to all the remaining positions by default.
Drag across the 3D preview to inspect the PIC file from different angles.
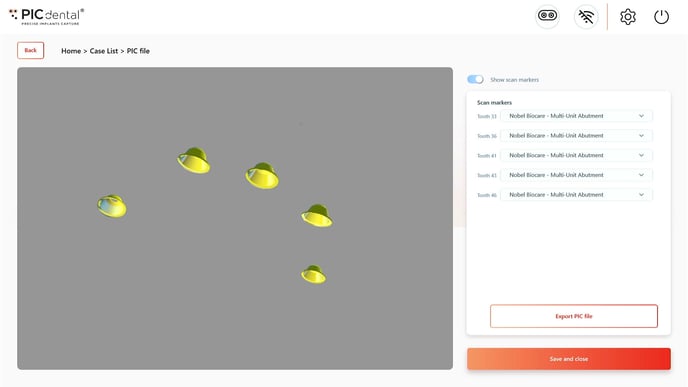
After previewing and assigning the scan markers, the PIC file can be exported.
Exporting PIC file
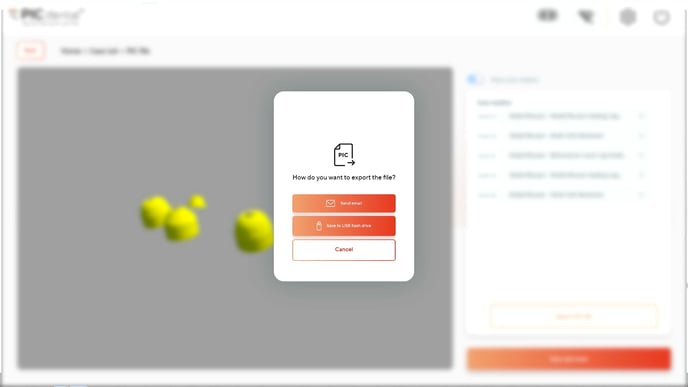
A PIC file may be exported via:
1. Email.
To export the PIC file by email, the system must be connected to a Wi-Fi network.
The PIC file will be sent as an email attachment to the provided address. The sender email will be picfile@picdental.comThe subject and body of the email can be customized in PIC suite's Settings.
Quick contacts
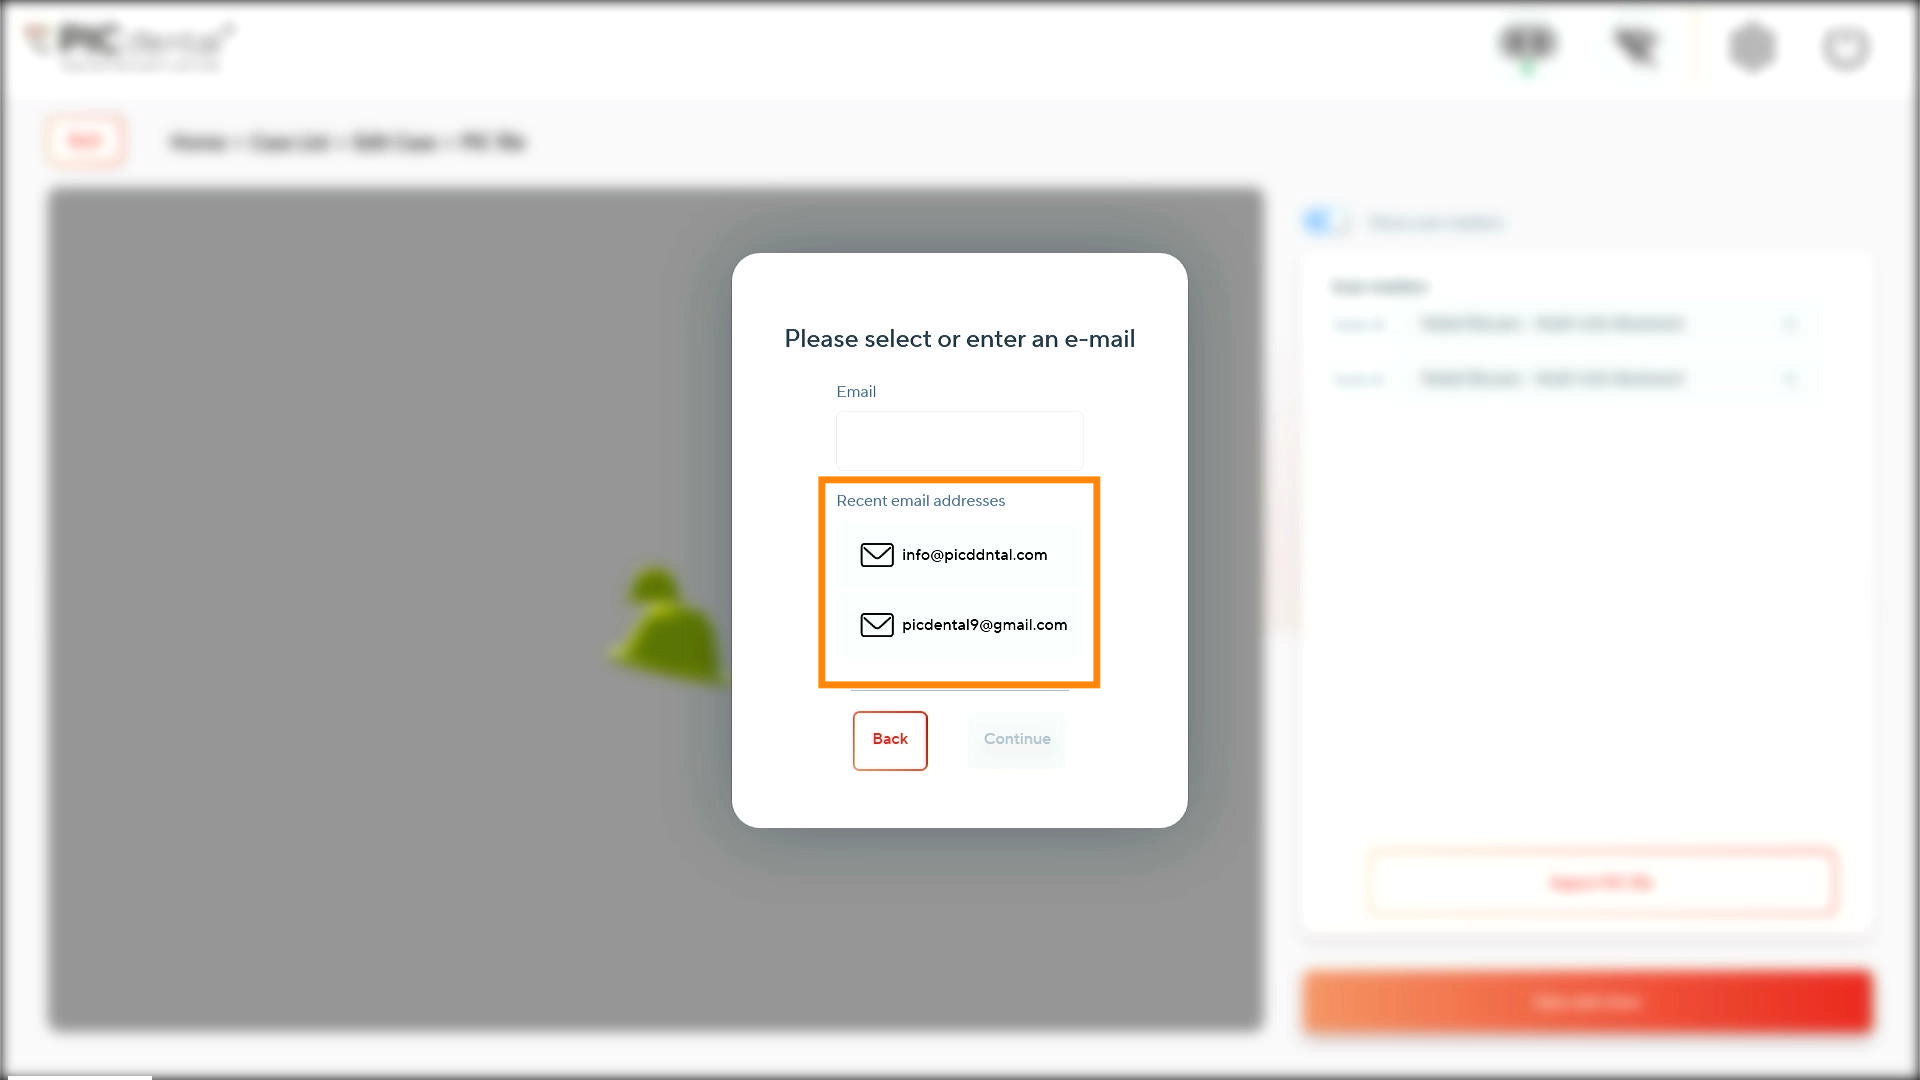
The 5 most recent recipient addresses are automatically saved and available as a quick access list when sending PIC files by email.
2. USB flash drive.
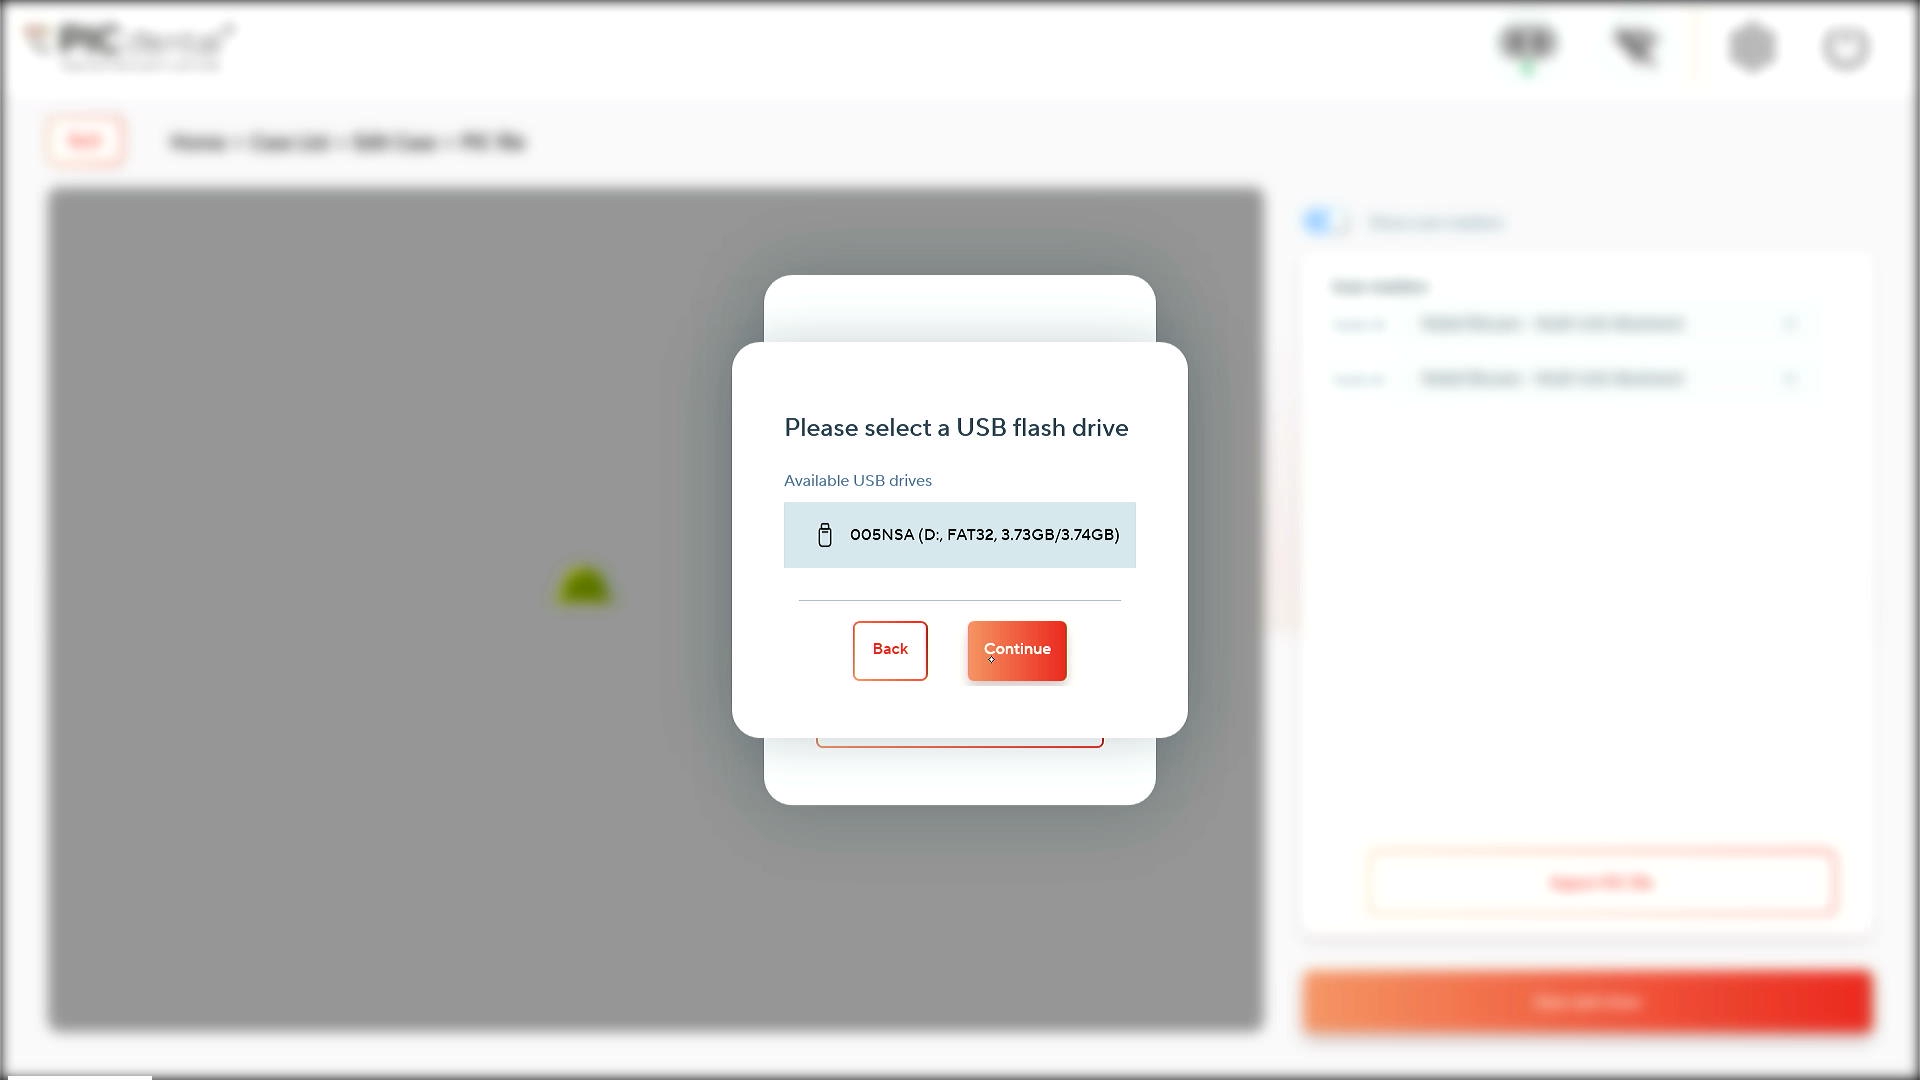
Insert a USB flash drive to the PIC system's USB port before saving the PIC file.
Select the correct USB flash drive.
The file will take a moment to export.