
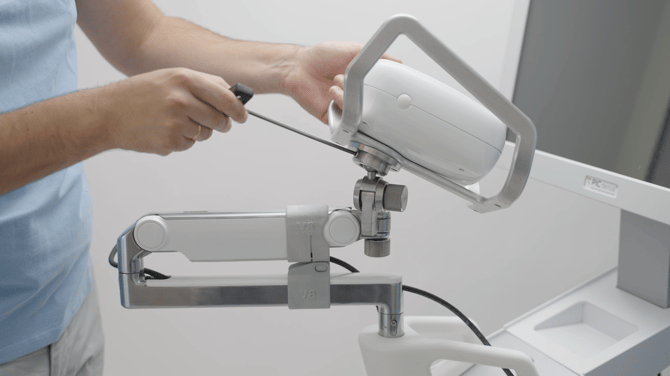
First, try the steps in this article: Adjusting the friction of rotation and tilt of the PIC camera on the Zero-Gravity Arm
In most cases, the issue is resolved by adjusting the friction screw. If the ball joint is still too loose even after tightening the friction screw all the way, follow the steps below to reset its strength.
Step-by-step instructions:
Materials needed
1. A medium-strength liquid sealant designed for screw connections.
This type of sealant adhesive (sometimes also called "thread locker" adhesives) provides an instant, low-pressure seal. Such sealants are available in hardware stores and online.
Examples of applicable sealants
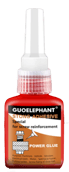
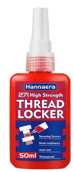
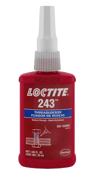
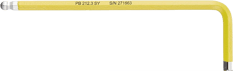
2. A hex key that is included with the PIC system Gravity. The size of the hex key is 3 millimeters.
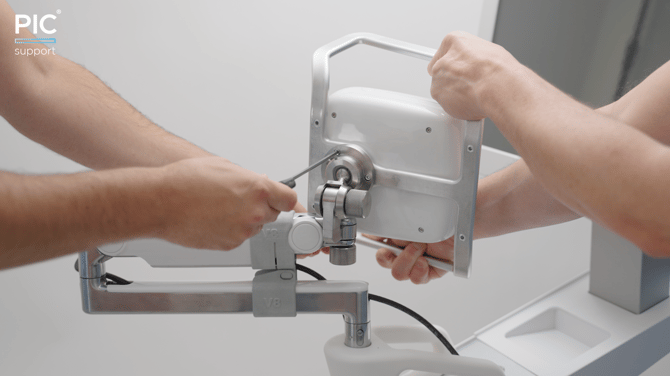
- Remove the PIC camera from the Zero-Gravity Arm. To safely remove the PIC camera, please follow the steps in this article.
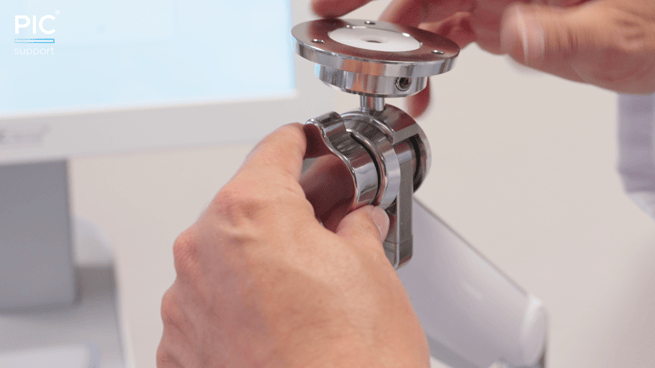
- Turn the metal knob counter-clockwise until it is completely removed. Hold the top of the ball joint in place to prevent it from falling over.
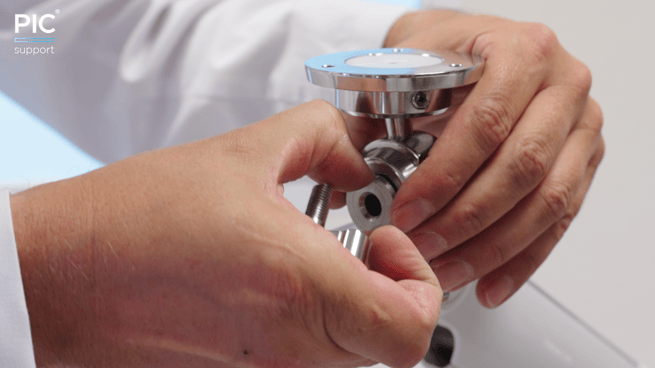
- Remove the cylinder from the ball joint by pulling it from its edges.
- Carefully push through the hole to push out the other cylinder part on the other side of the ball joint using the metal knob, allowing you to completely remove the ball joint from the Zero-Gravity Arm.
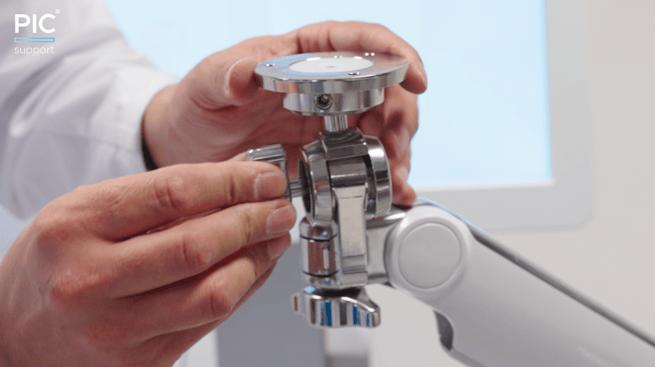
- Once removed, it will reveal 2 black rubber protectors inside the ball-joint. Make sure to remove both protectors out as well, using the metal knob if needed.
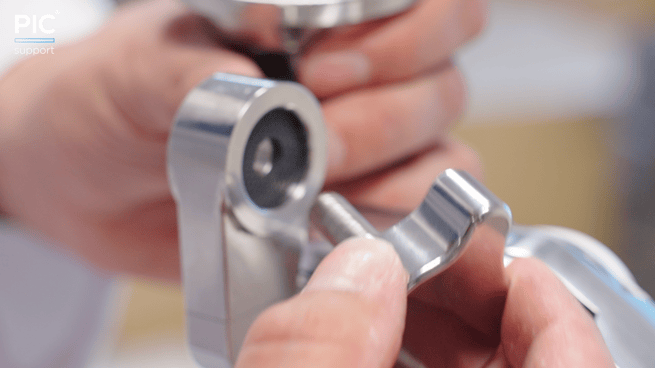
- Place the ball joint on a stable, flat surface. Using the hex key, unscrew the screw in the middle of the ball joint. This allows you to remove the top completely.
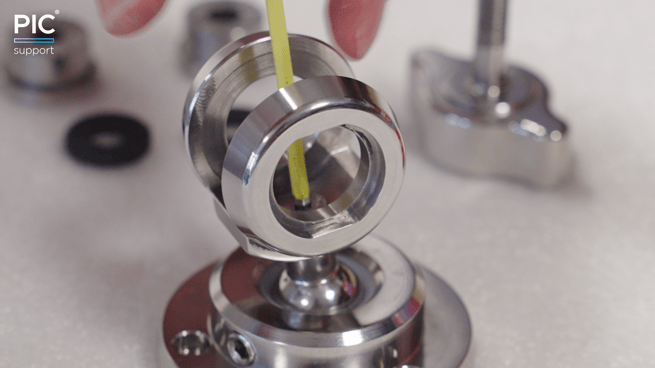
- Once the ball joint has been disassembled, place a small line of the sealant onto the screw.
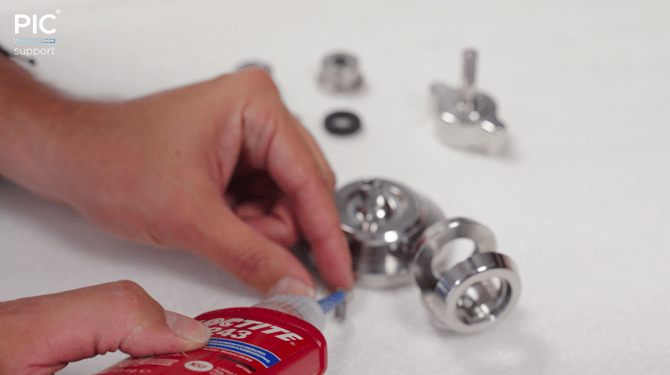
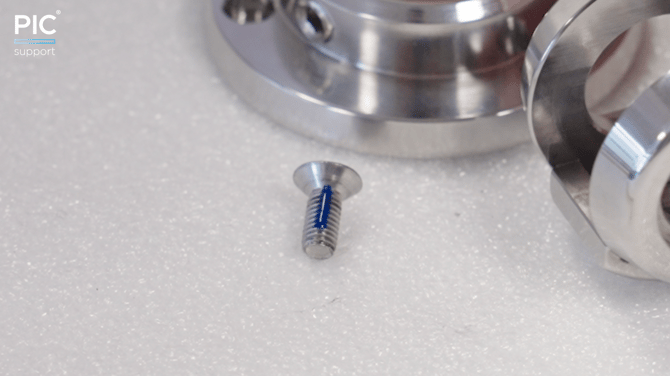
- Place the top of the ball joint back onto the bottom. (The top and bottom fit together in a specific way to ensure a proper alignment)
- Insert the screw back into the hole, using the hex key to secure it in place.
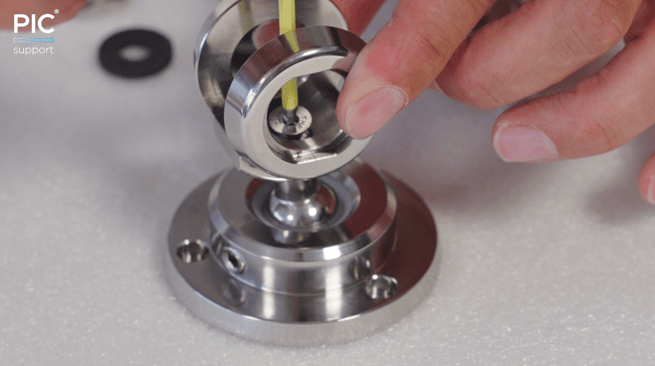
- Place the ball joint back onto the Zero-Gravity Arm. Insert the rubber protective circles on either side. Make sure to hold the ball joint together with one hand to avoid it from falling over until it is fully assembled.
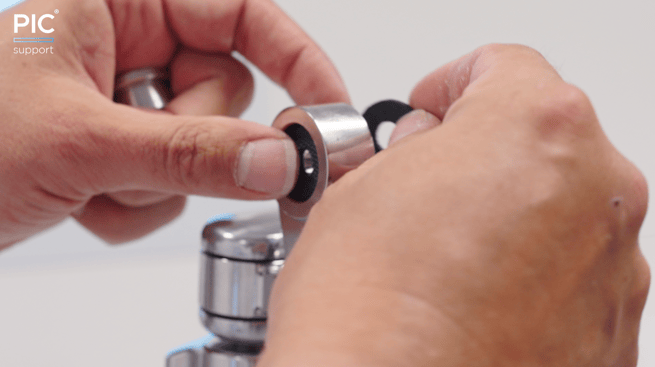
- Place the ball joint onto the head of the Zero-Gravity Arm. Push both cylinder parts into place until they fit all the way in.
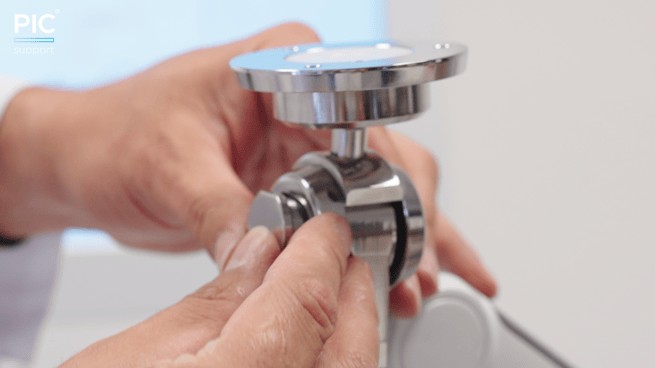
- Screw the metal knob securely into place until fully tightened.
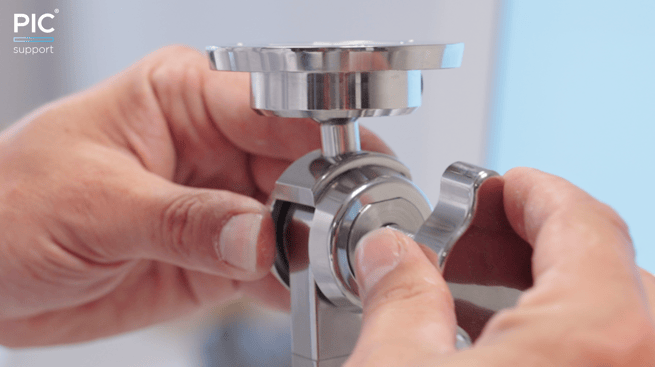
This video shows an example of the correct behavior for the ball joint. The PIC camera stays in place after being tilted and rotated: