
If you have just received your PIC system and are using it for the first time, check out the Getting started article for more information on the system's parts.
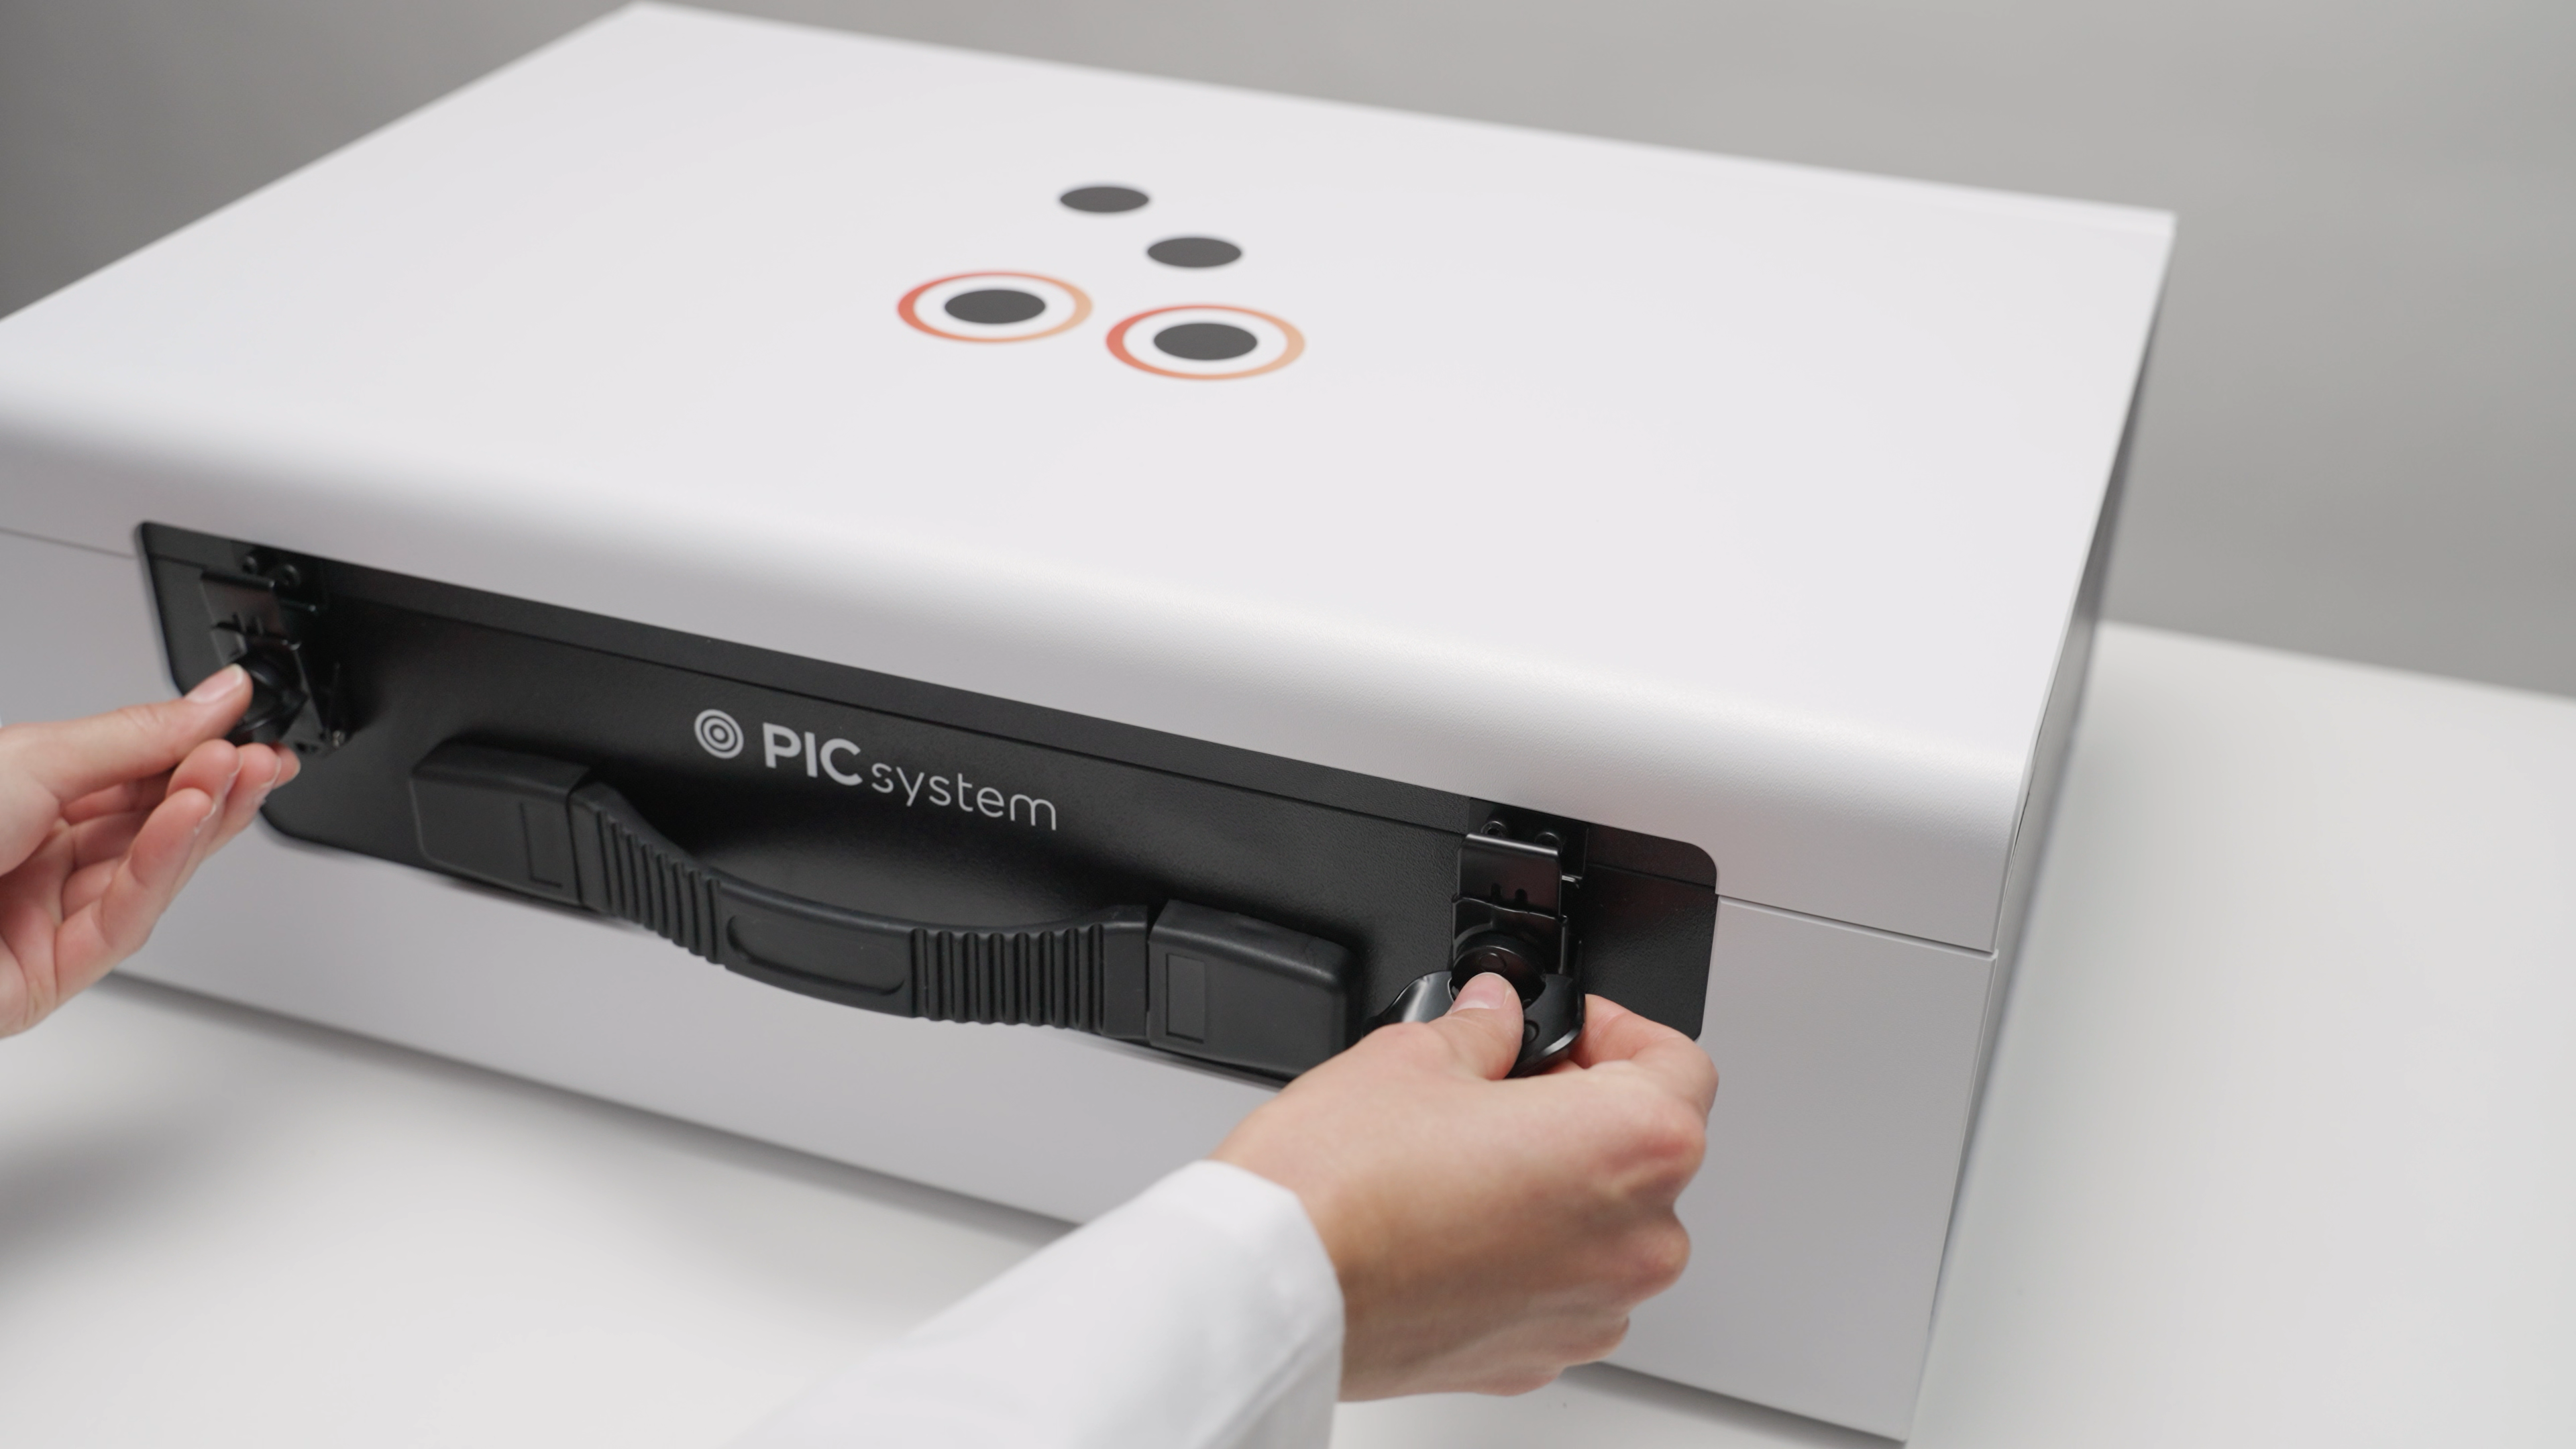
- Place the PIC system on a steady surface, such as a clinical room's counter. If you are using a wheeled cart make sure it is sturdy enough and its wheels are locked. Open the PIC system case by lifting both of the tabs on the front and turning them to the left. Slowly pull the top of the case until it is open.
- Look for the AC cable's compartment located behind the lid when the system is open. Open this compartment by pressing with a finger on the circle with the PUSH HERE text until you hear a click. Remove the top completely and take out the AC cable.
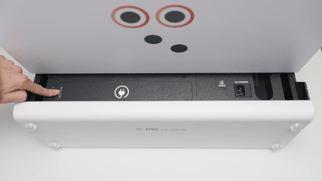
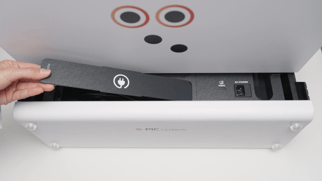
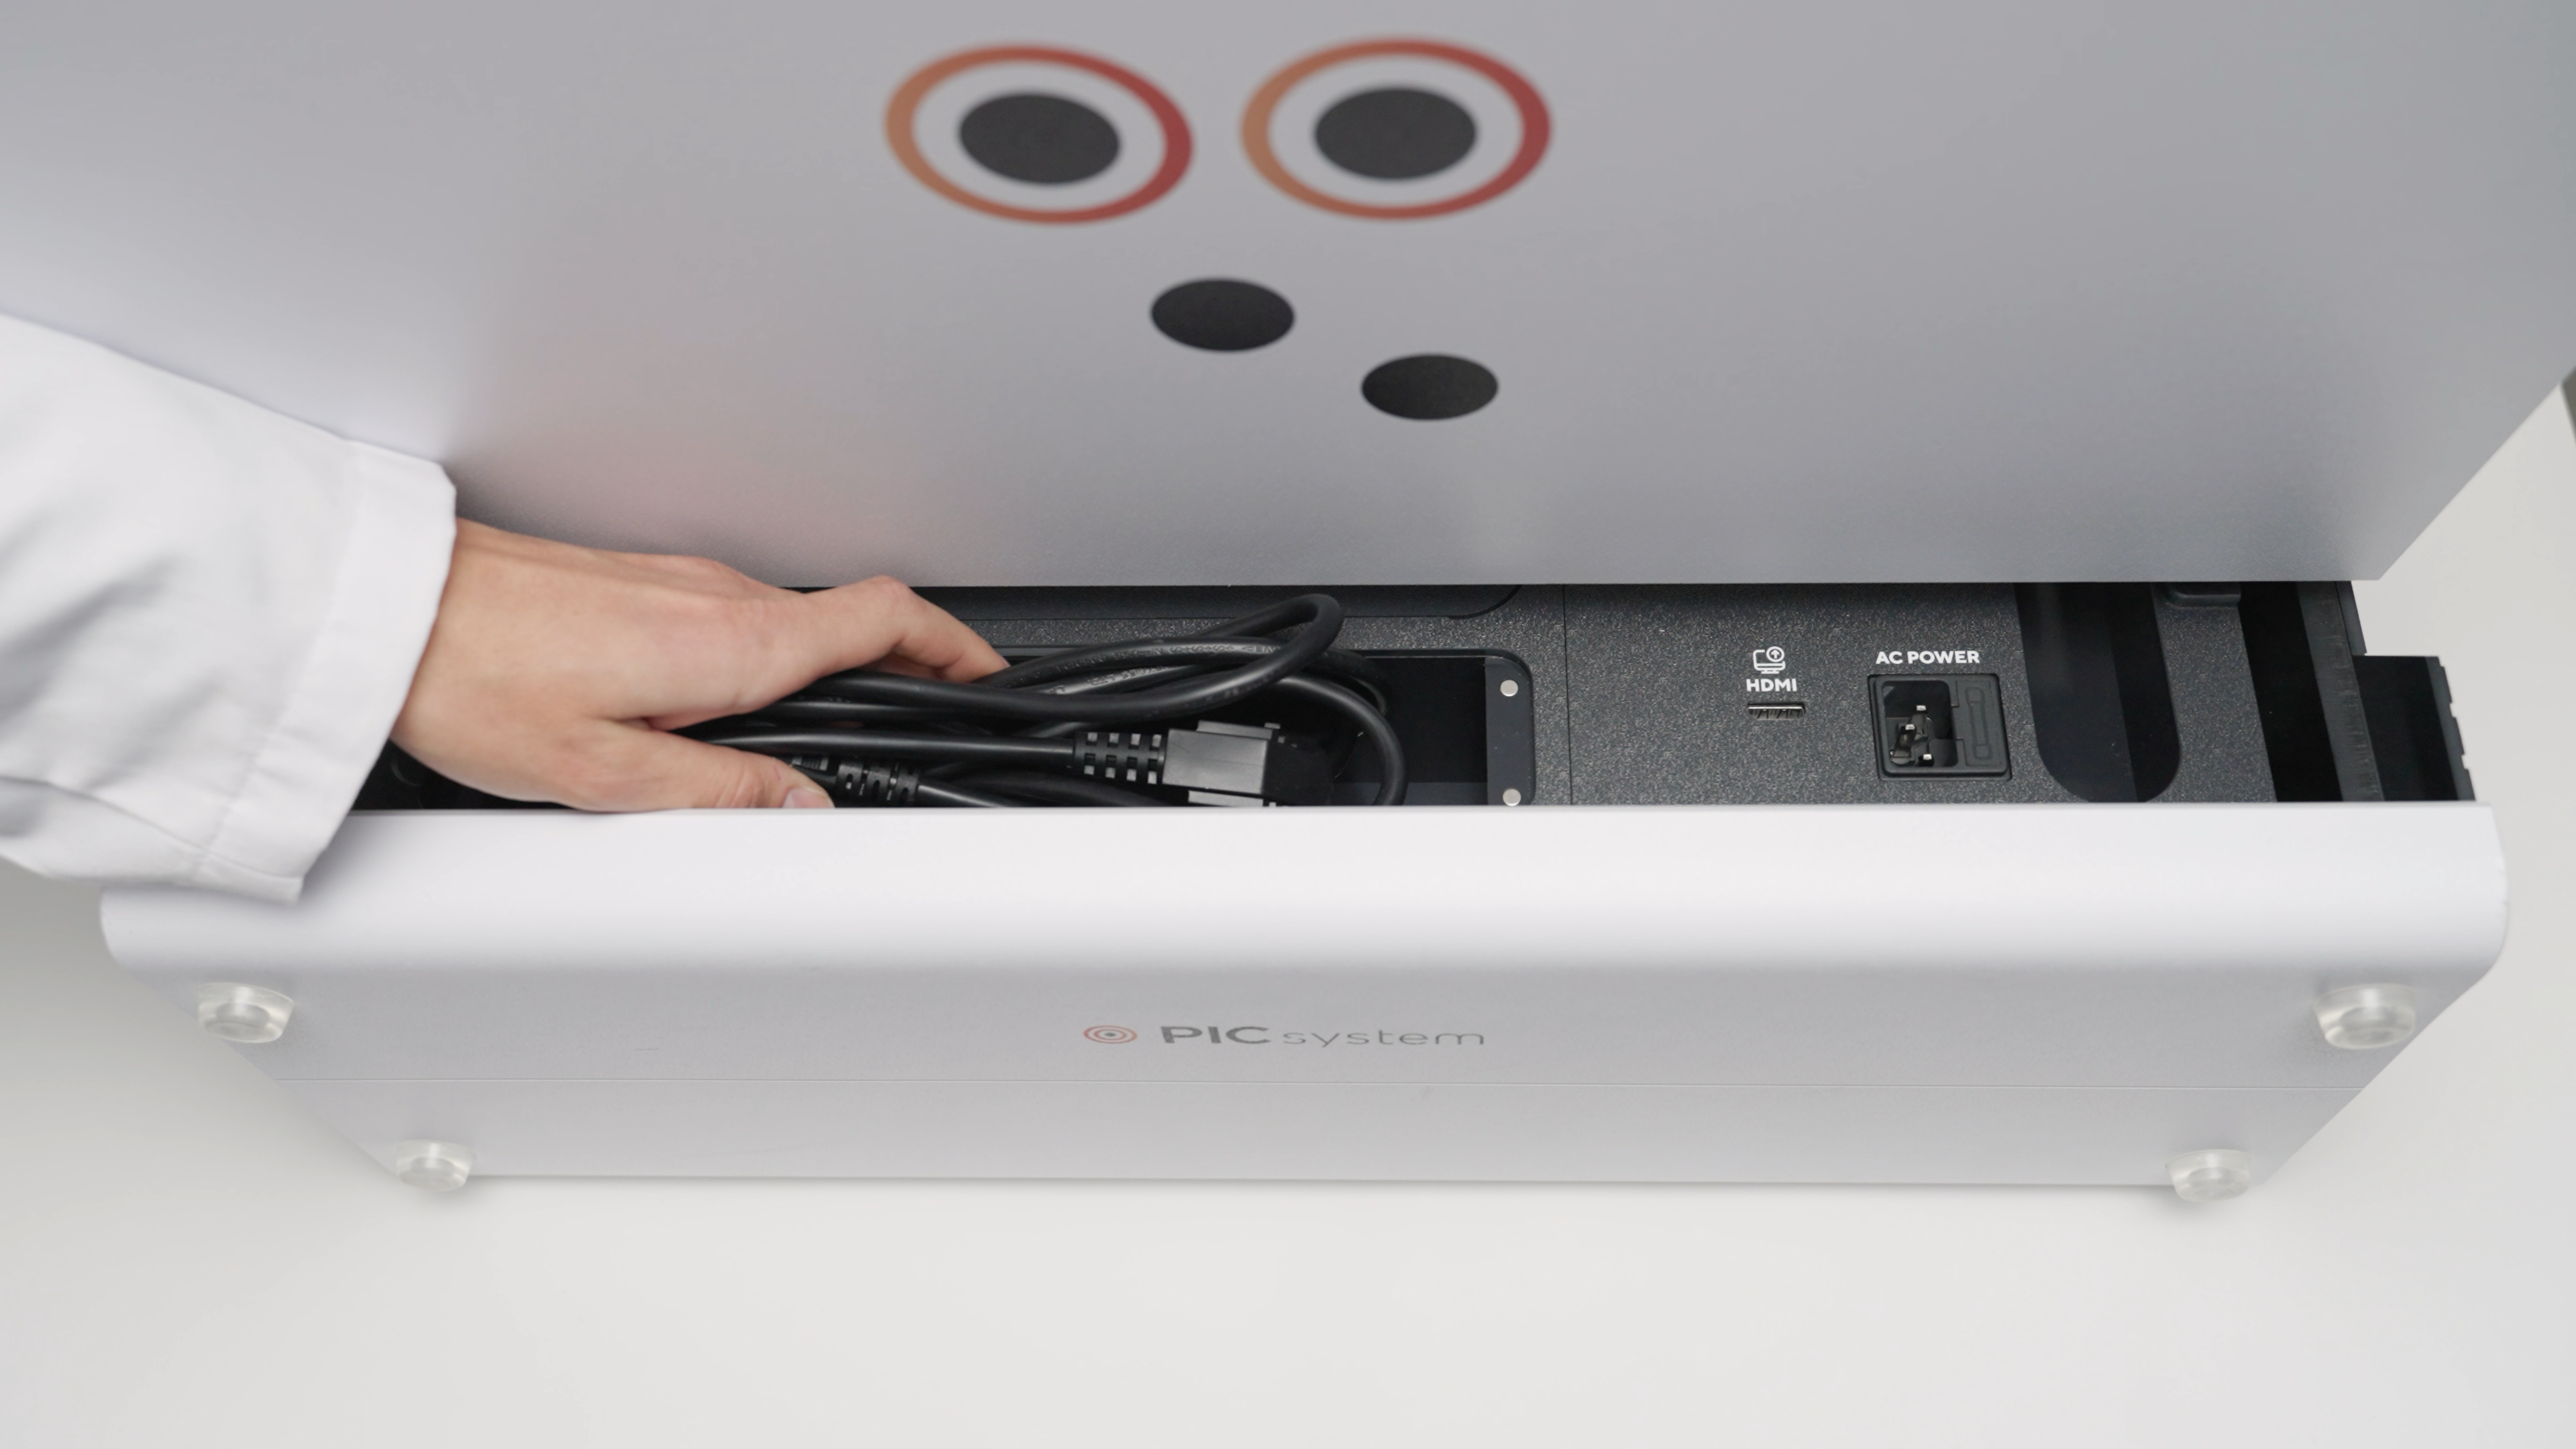
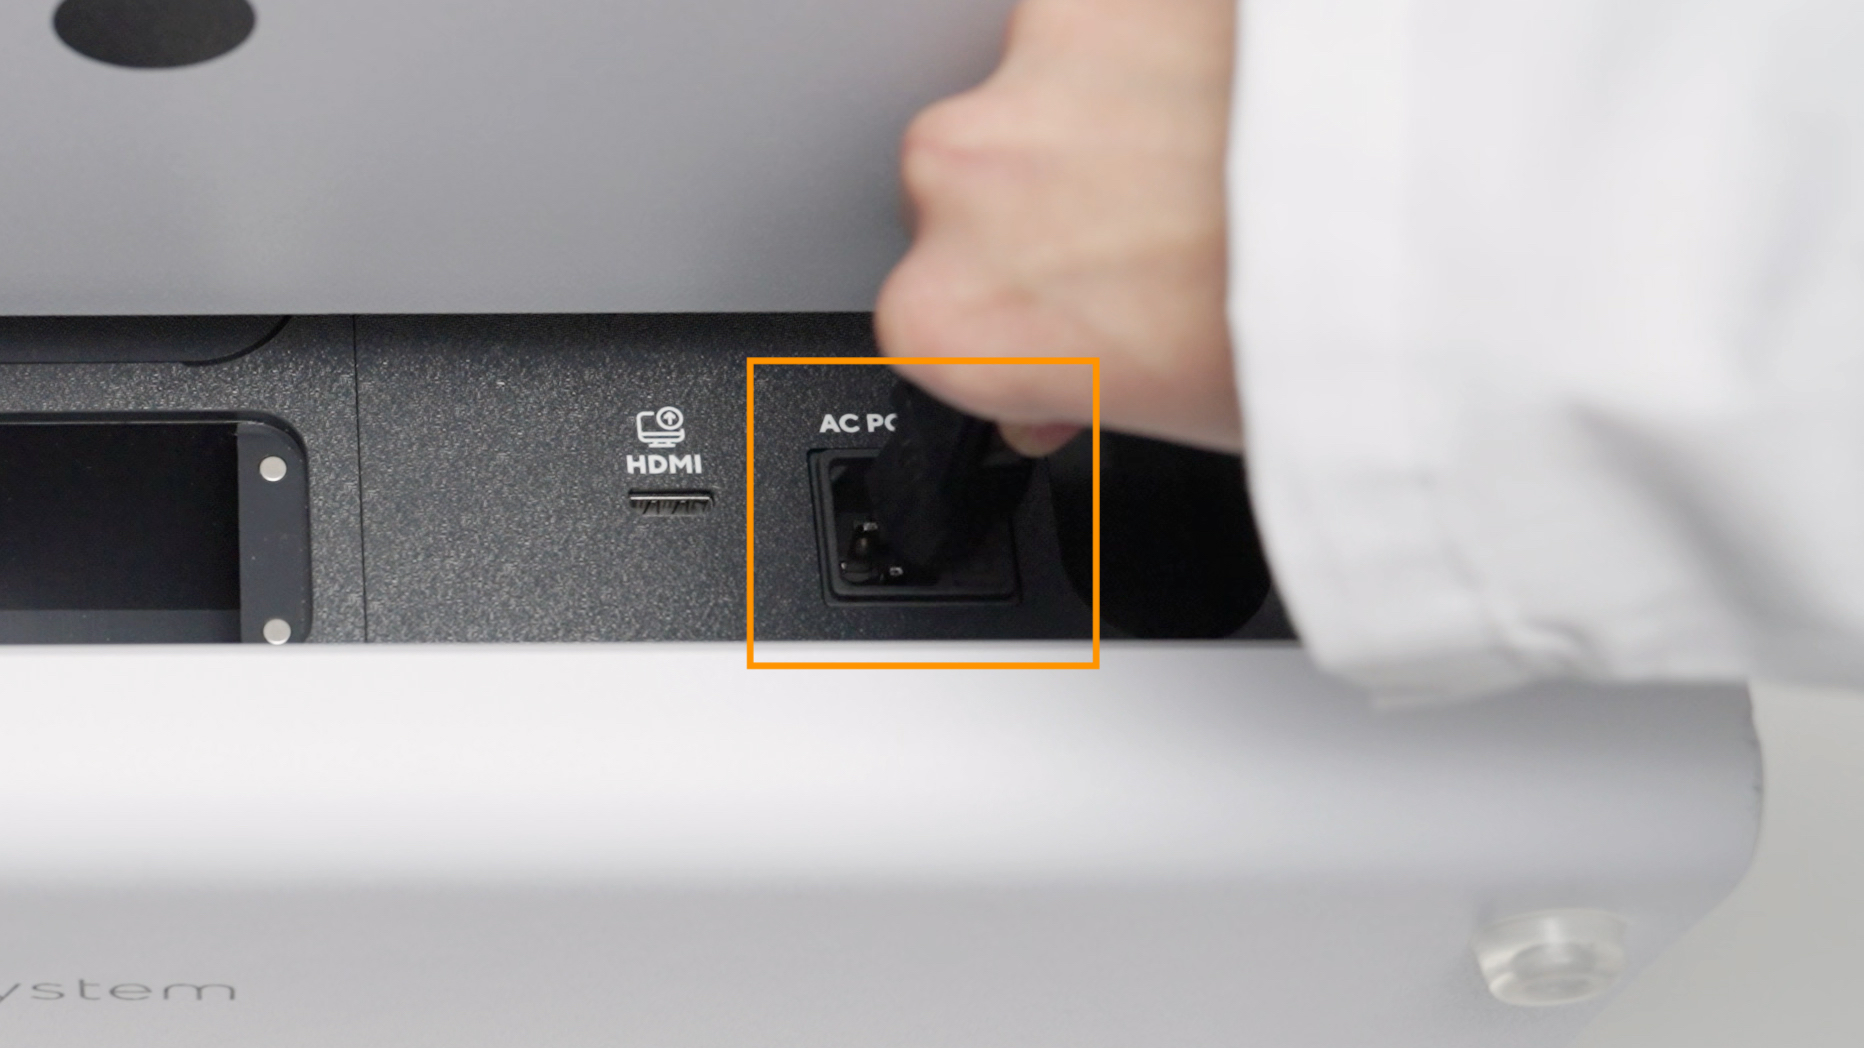
- Plug one side of the AC cable into the AC power port and the other side into a power outlet.
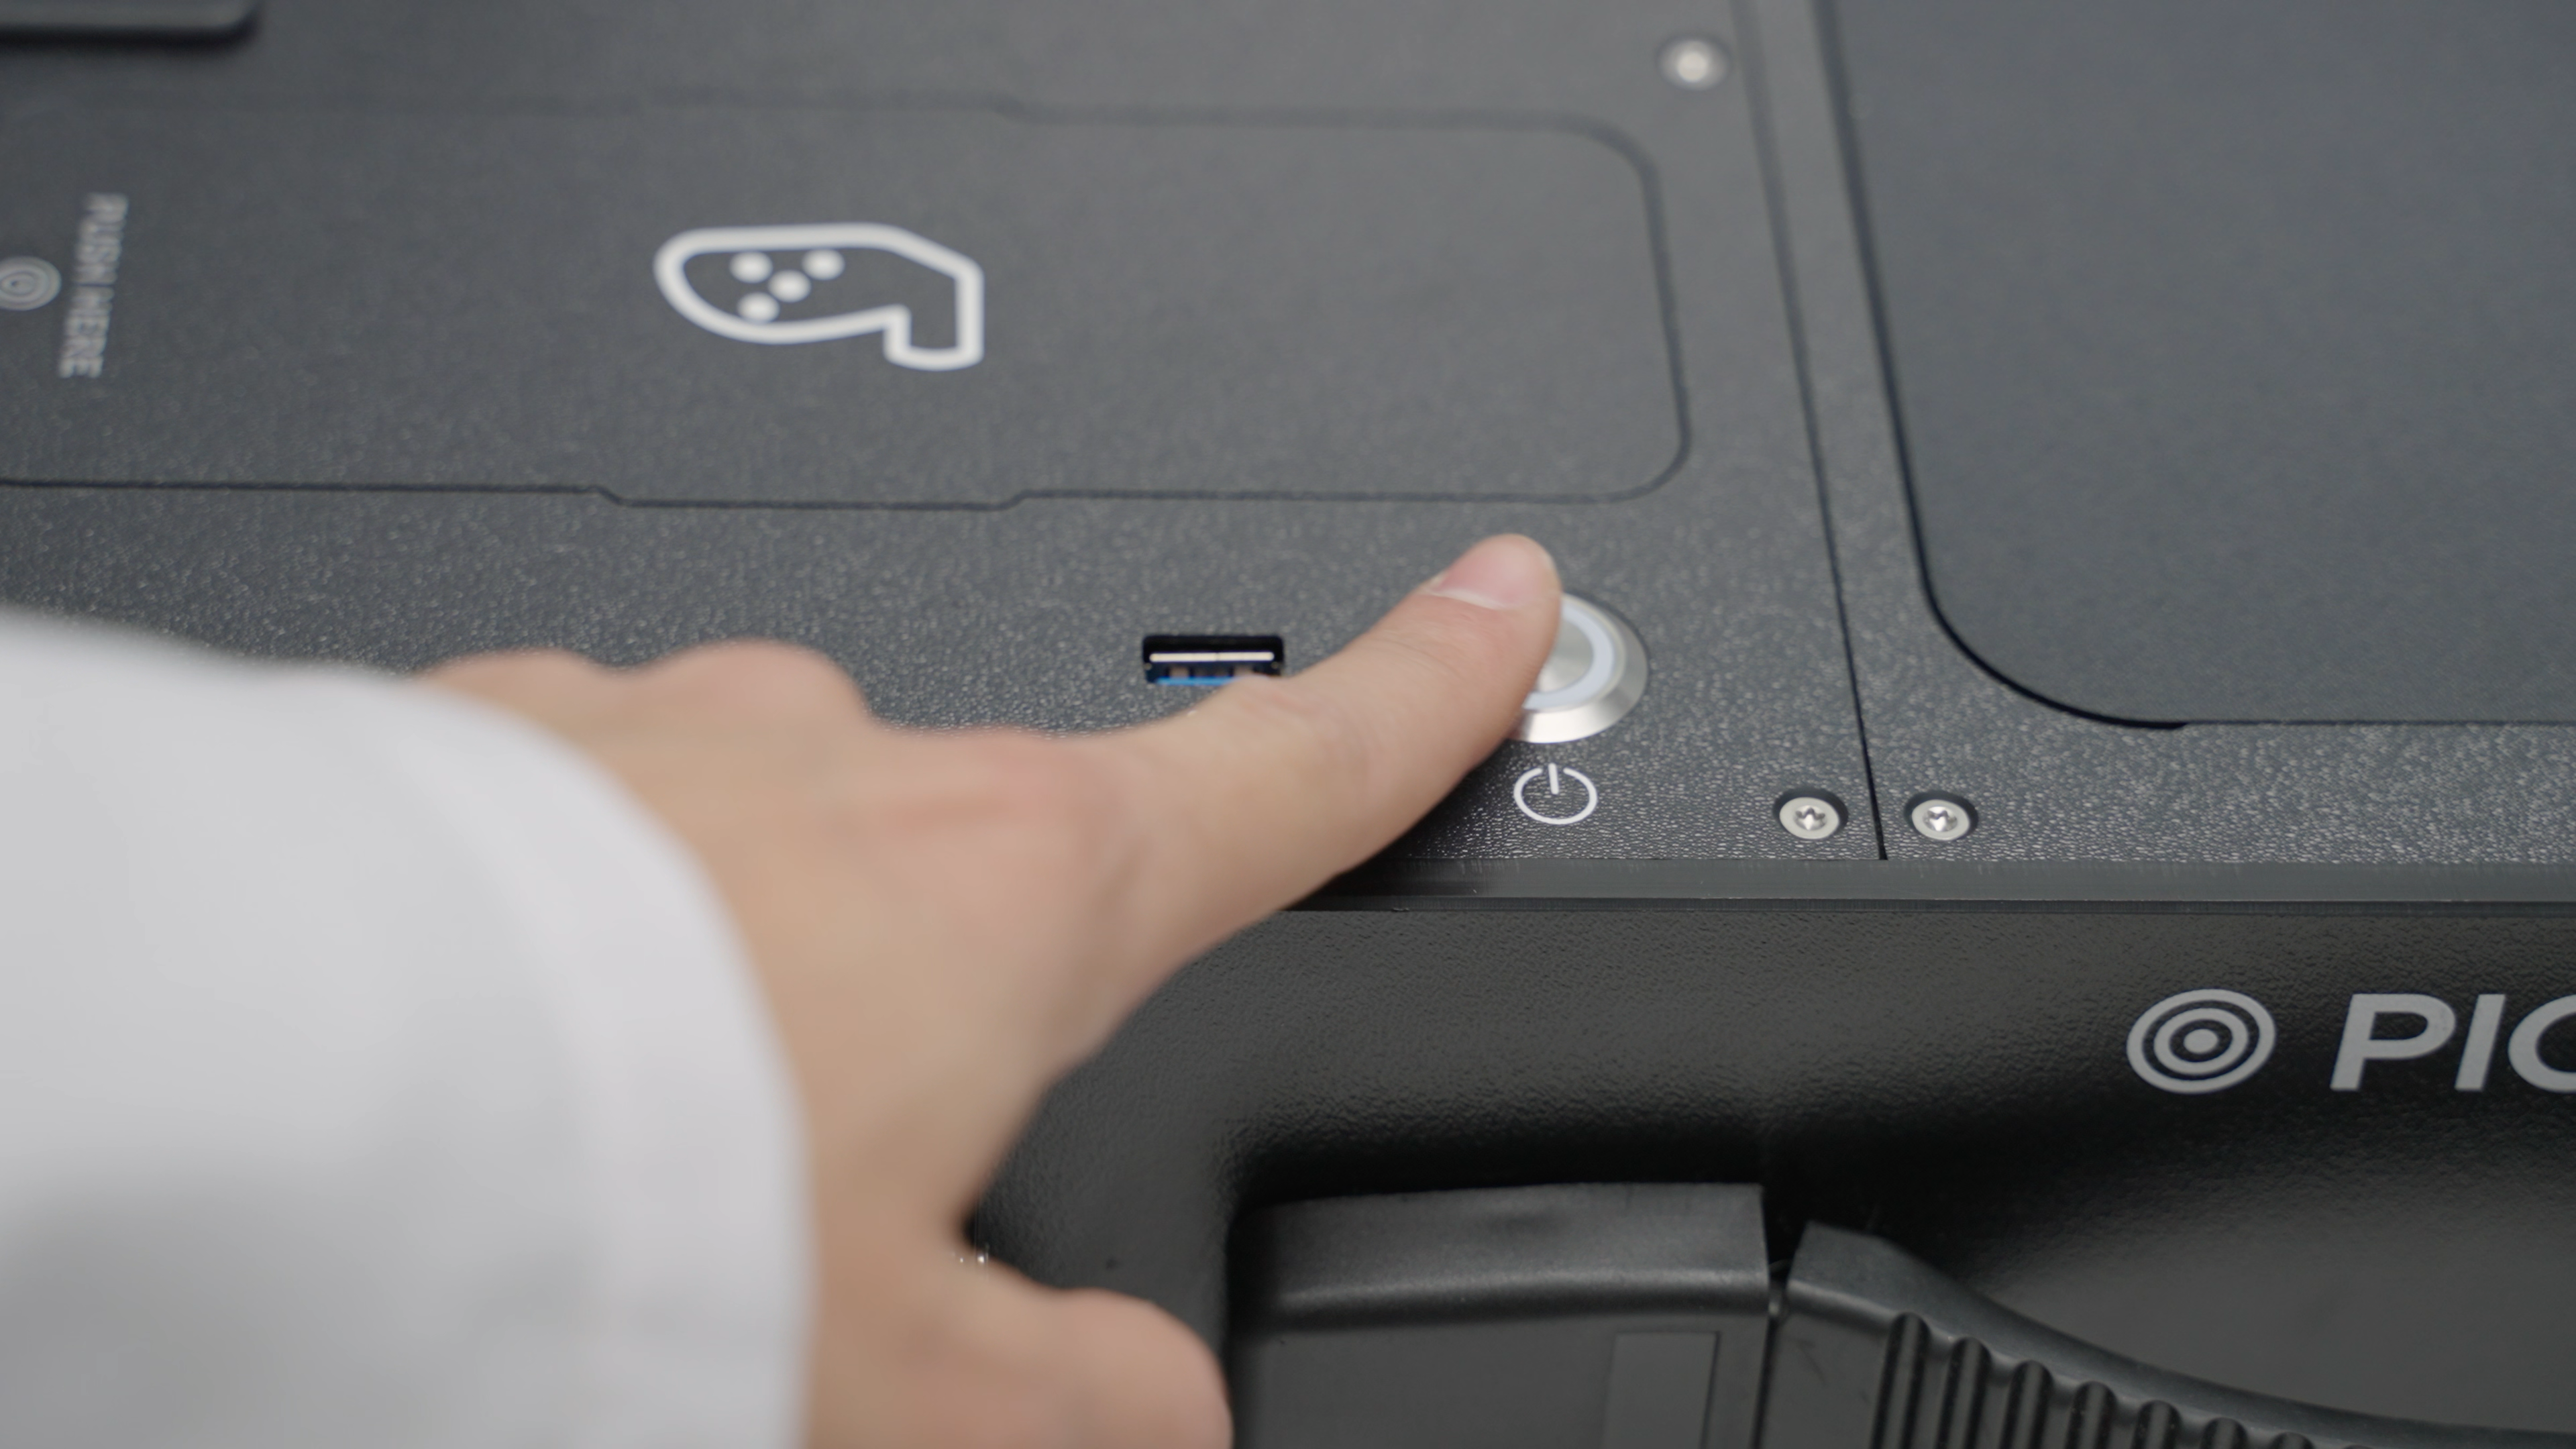
- Once it's securely plugged in, turn the system on by pressing the ON/OFF button located on the front of the system. The button will light up, the touchscreen will turn on, and you will hear a fan inside indicating that the PIC system has successfully been switched on.
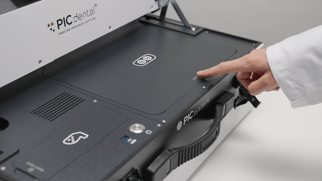
- To remove the PIC camera from its compartment, press down on the circle with the PUSH HERE text until you hear a click and then remove the cover. Take the PIC camera out by the firmly holding the handles of the Grip on both sides. Then place it down on a secure flat surface next to the PIC system.
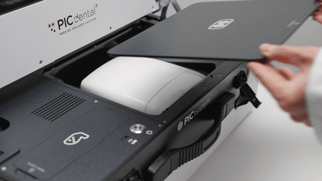
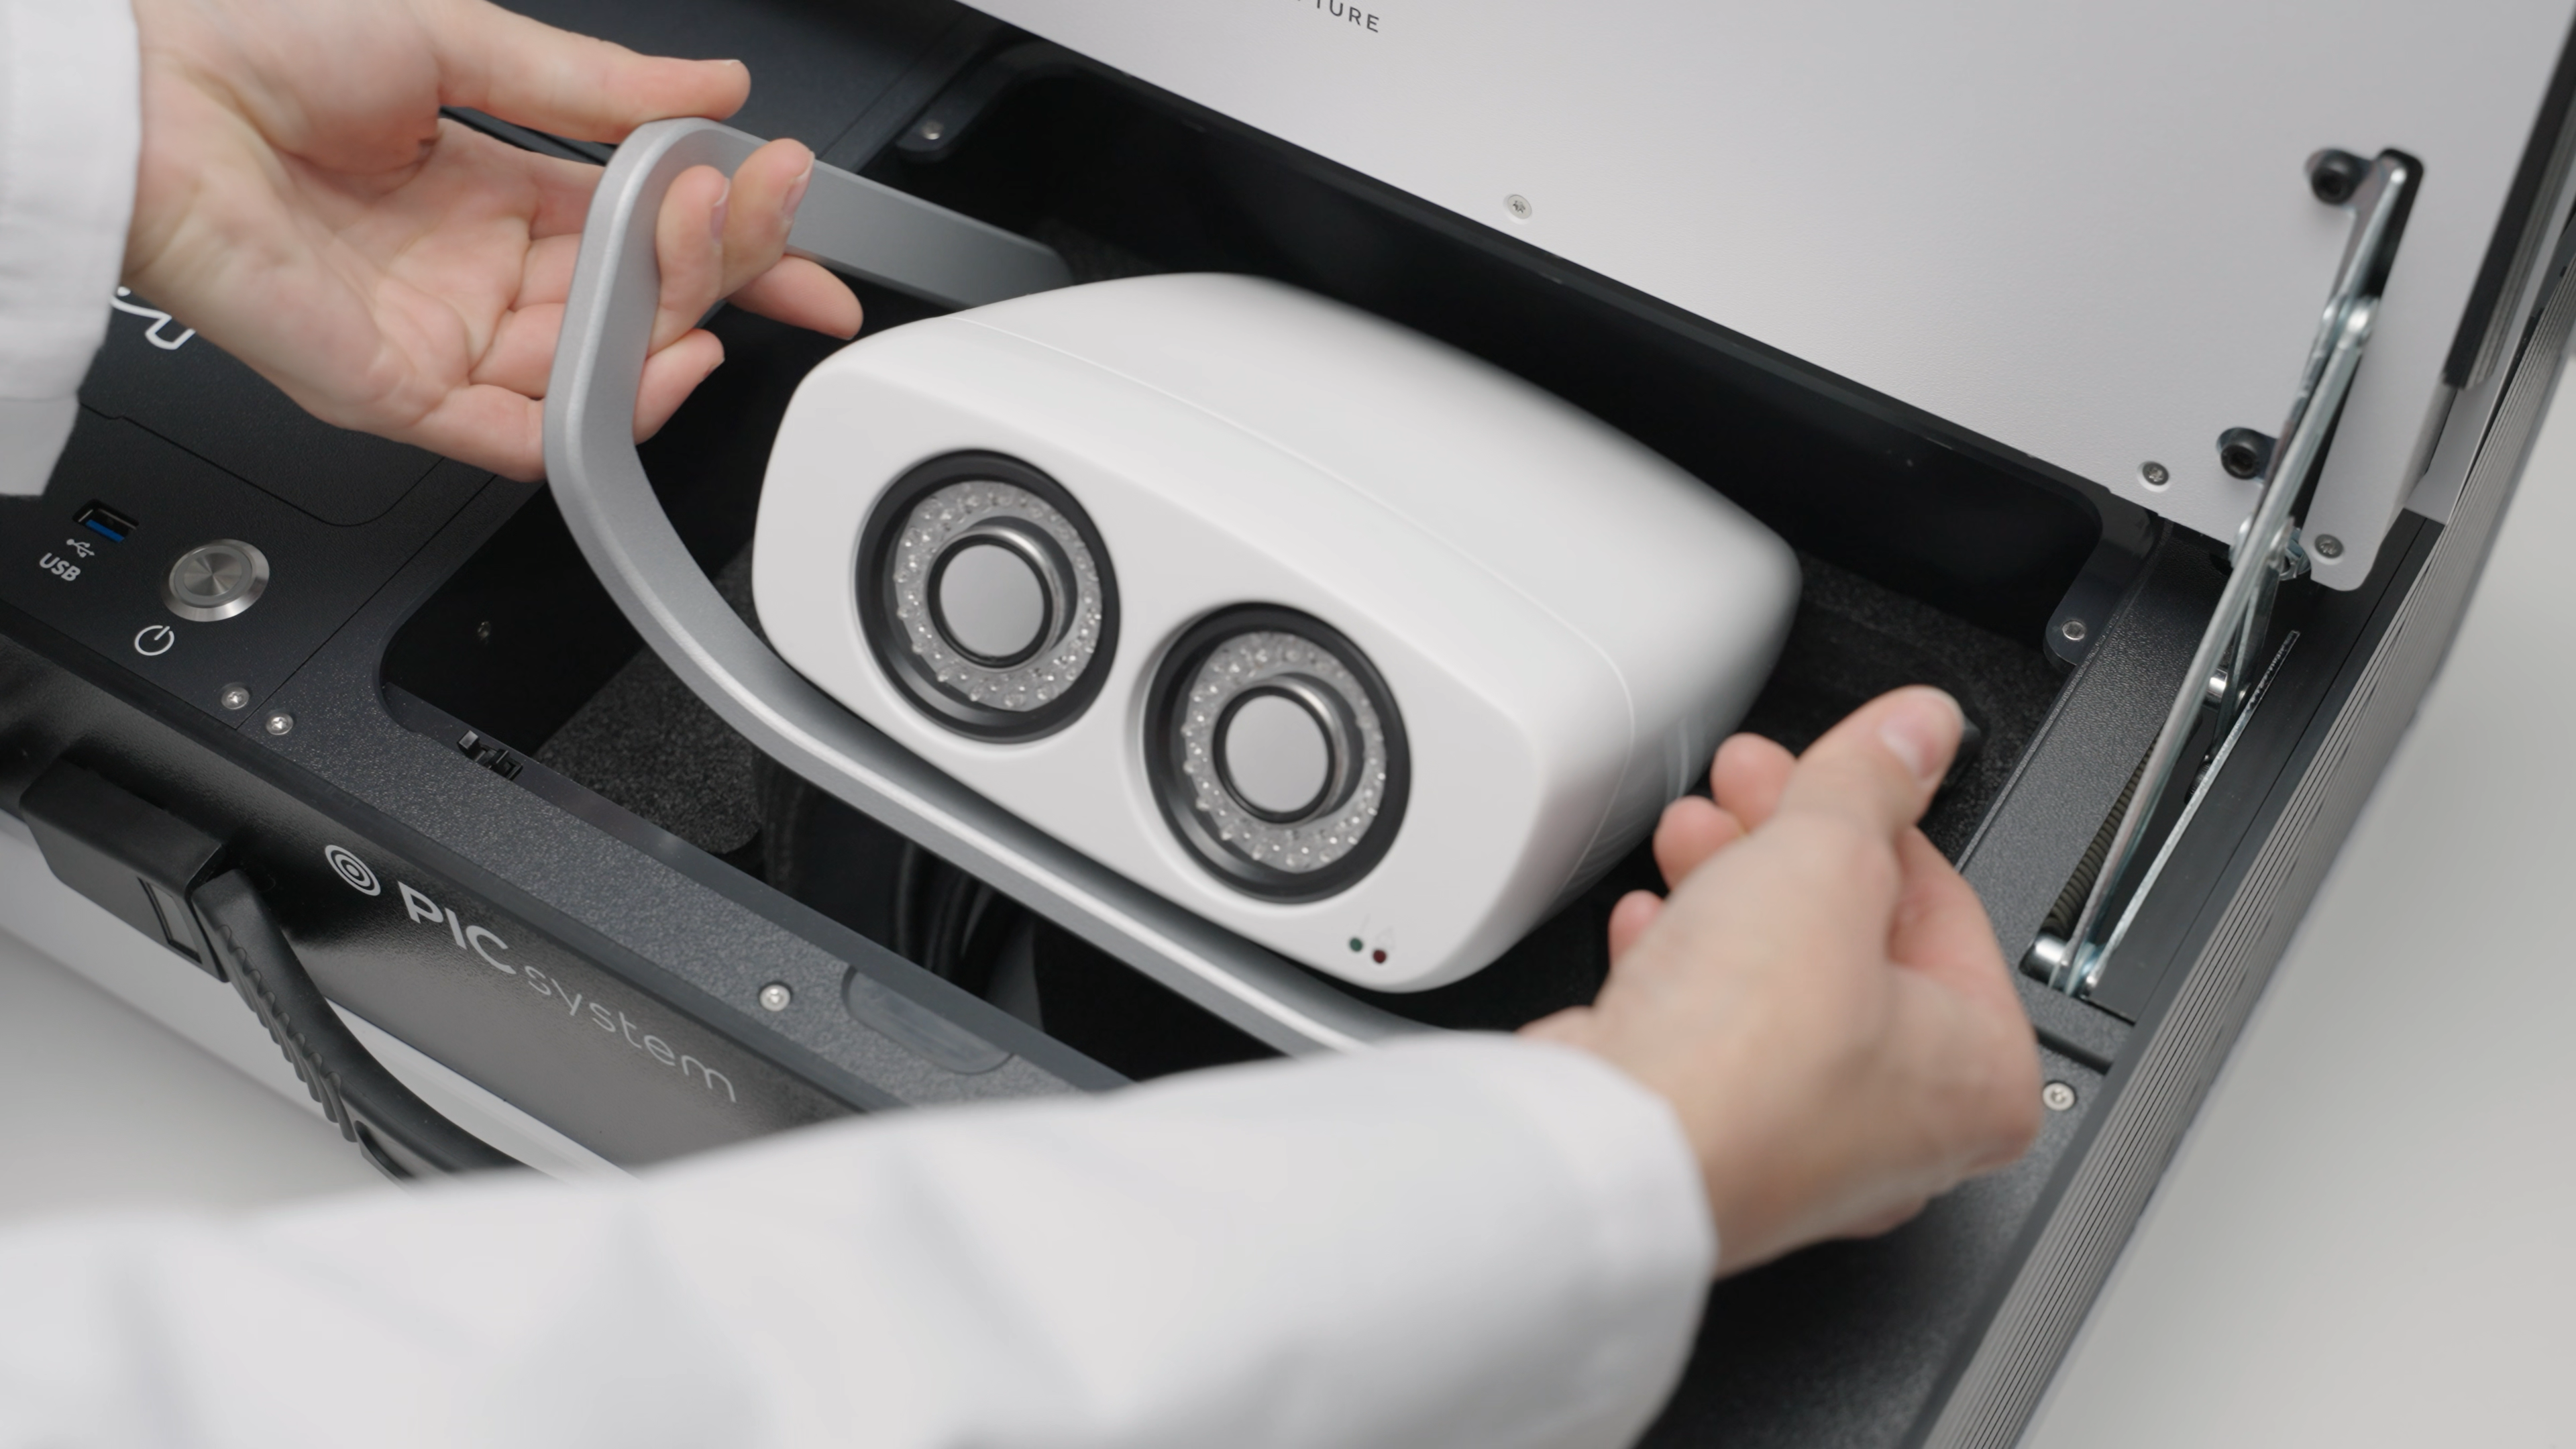
- The PIC camera cable is already connected to the system on one side by a connector located at the bottom of the PIC camera compartment. If it isn't because you are replacing the cable or setting up a PIC system upgrade with your previous camera cable, use the instructions in this article to connect the camera cable to the PIC system.
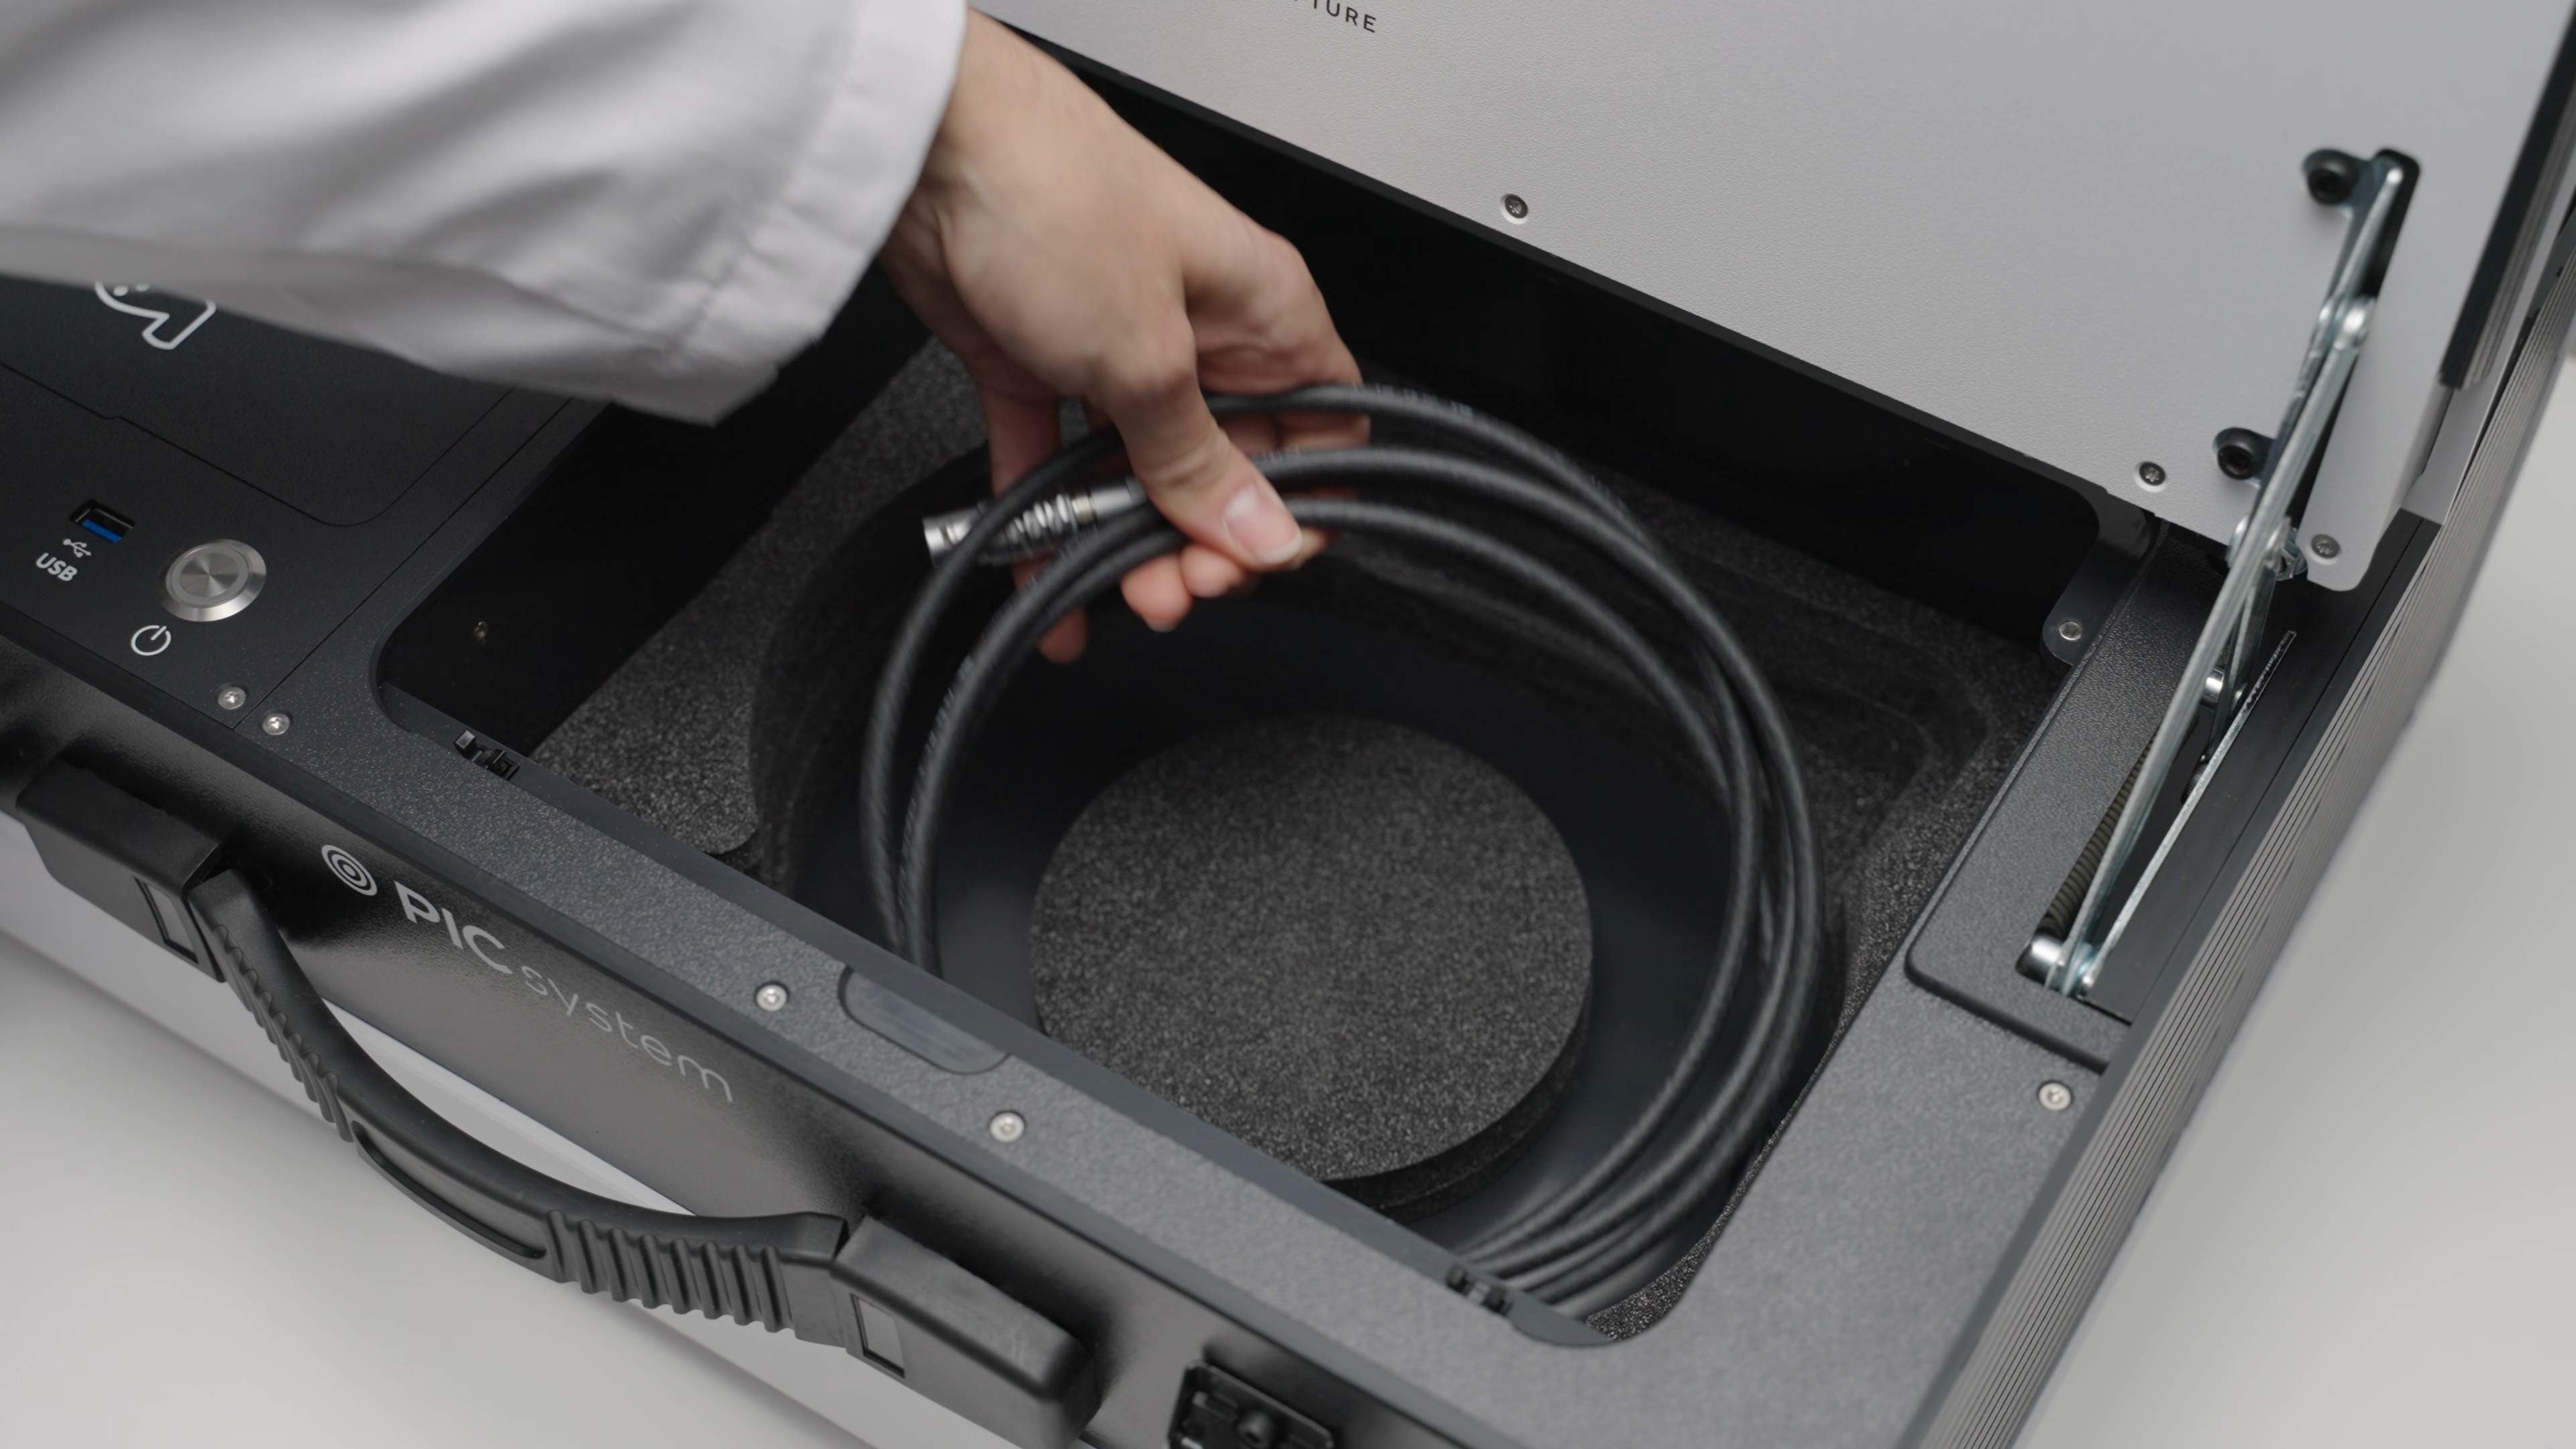
- Take the free side of the cable out from the compartment by carefully unraveling it. Do not apply force and avoid bending the cable excessively.
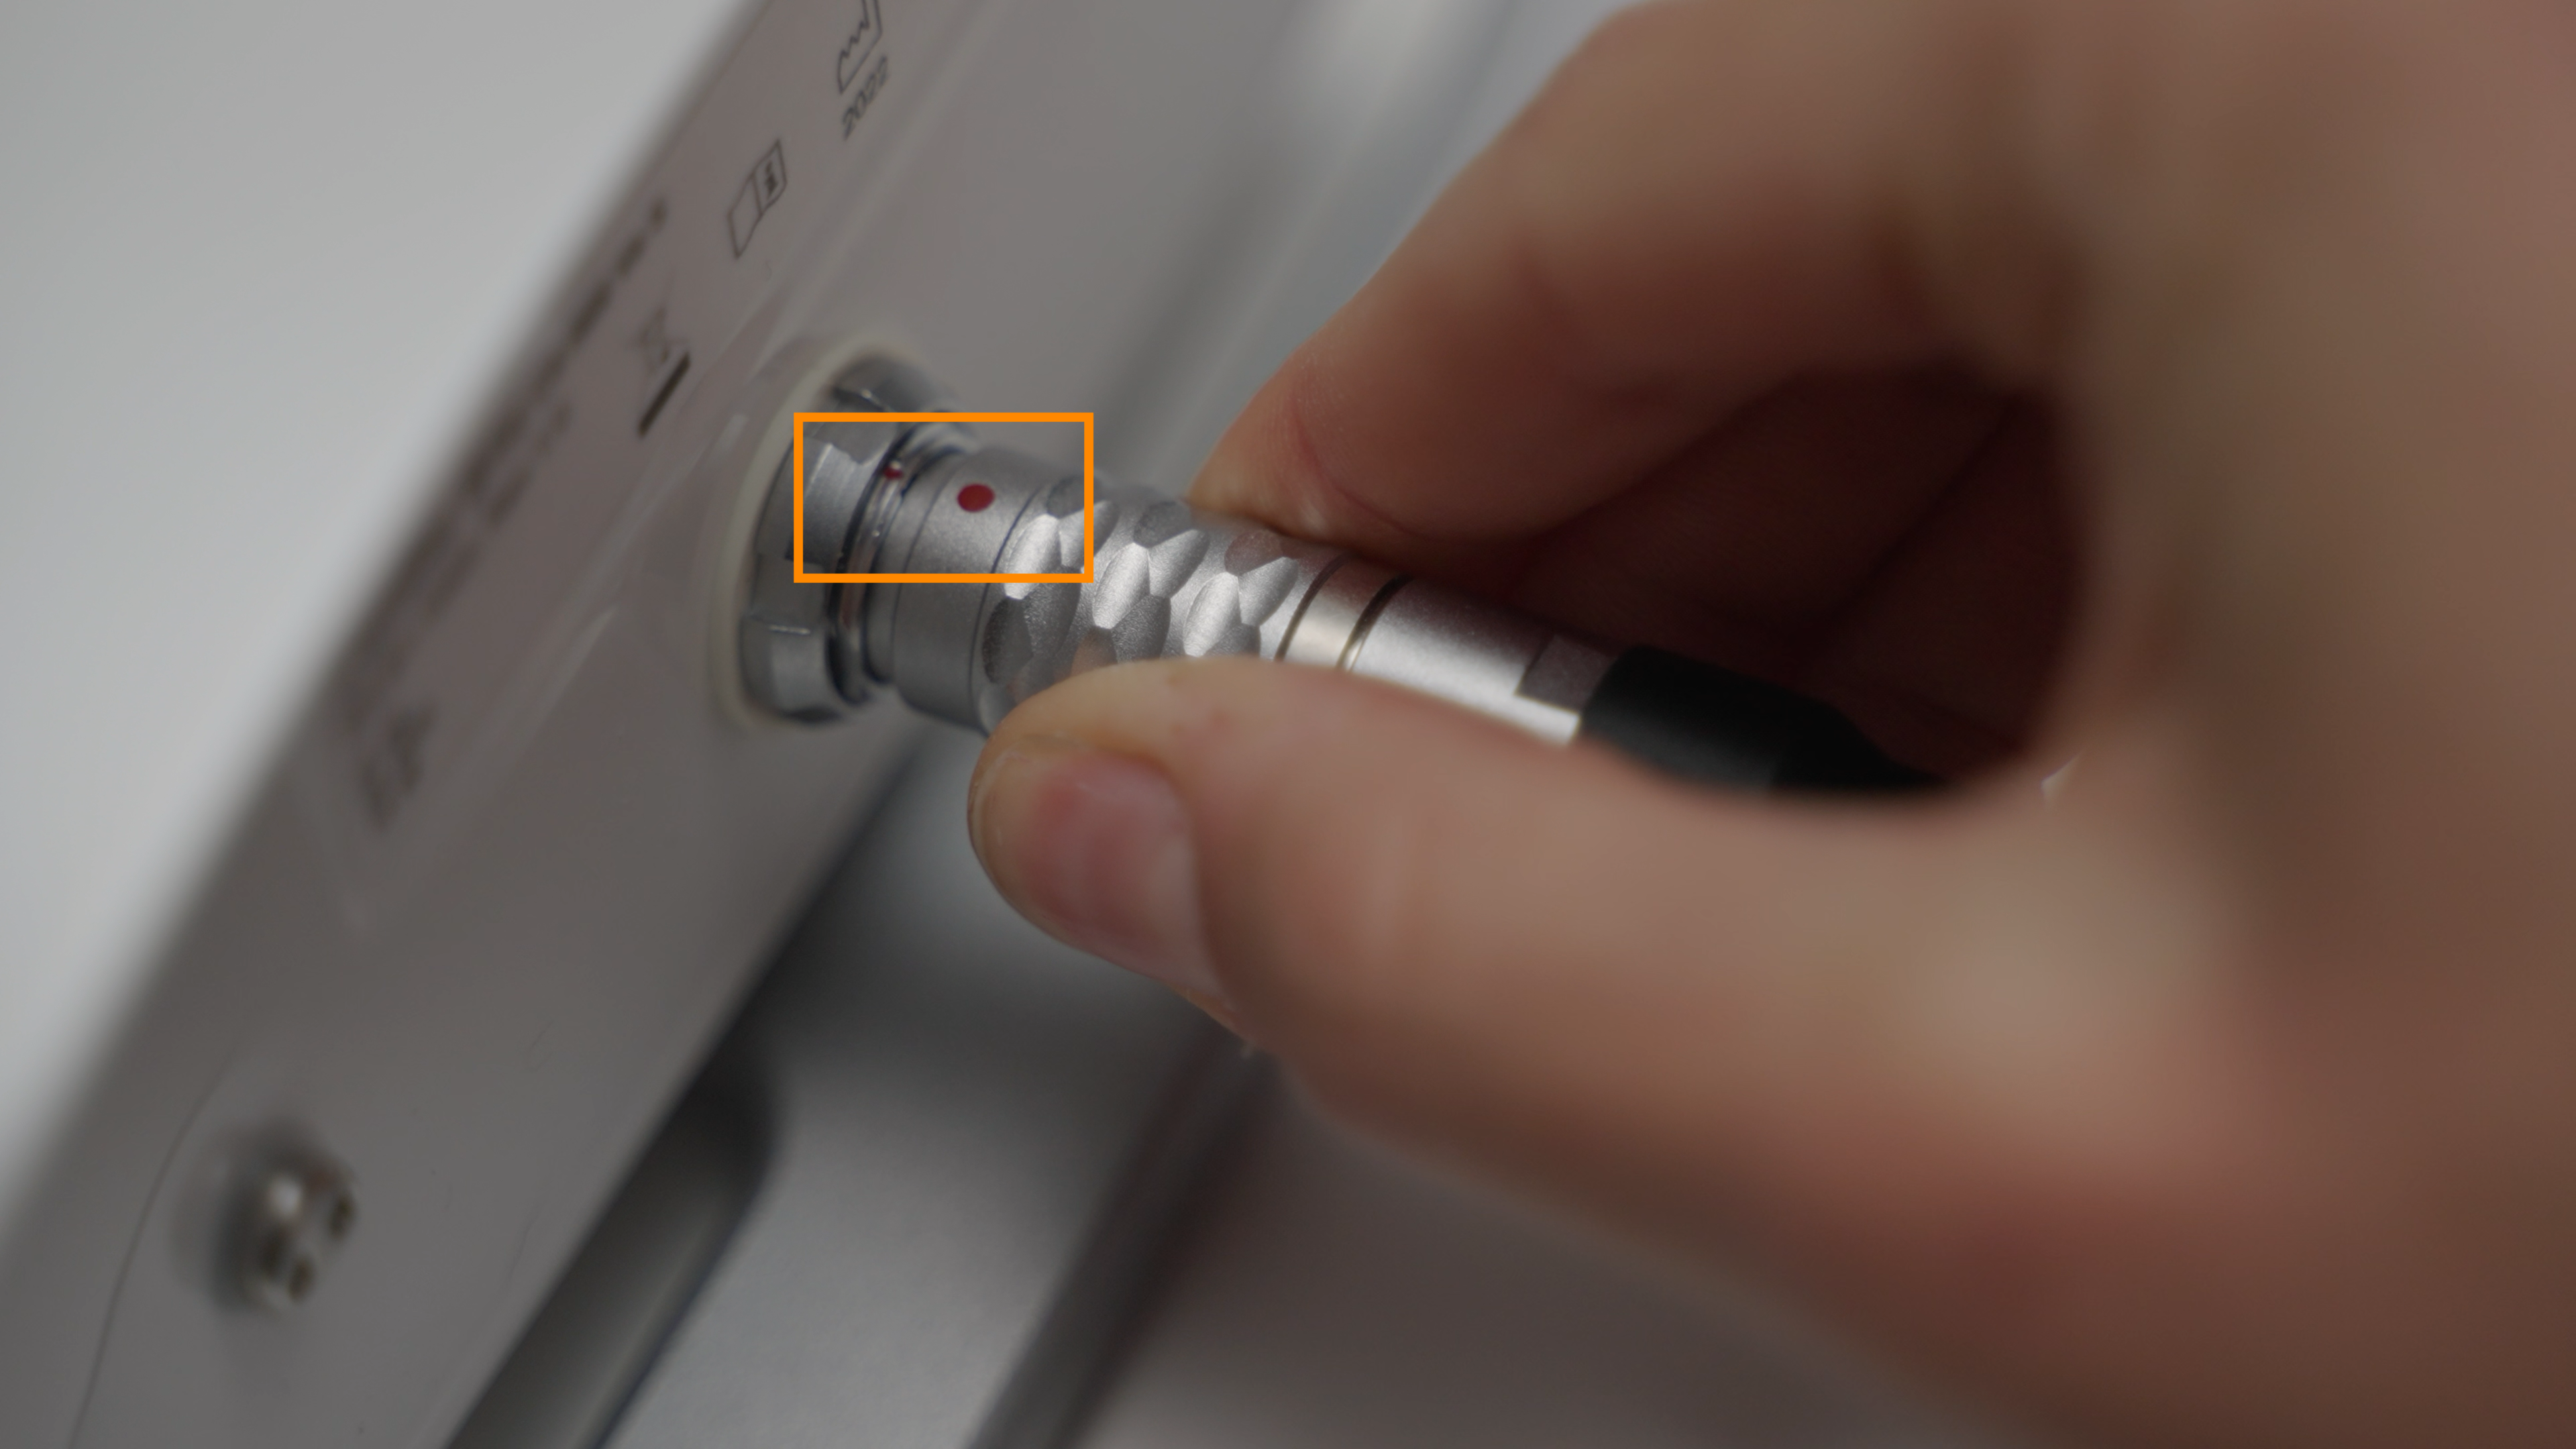
- Connect the camera cable's connector to the PIC camera by first aligning the red dot on the cable to the red dot on the connector at the back of the PIC camera. Then carefully push the camera cable's connector into the PIC camera until you hear a click sound that will confirm it is fully connected.
- The PIC system is now ready for capture.
If this is your first time using a PIC system, learn more about setting up and capturing a new case in PIC suite.