Zero-Gravity Arm's range of rotation may be set up to rotate freely in all directions (360º), or restrict its movement to 90º or 180º.
If Zero Gravity Arm's rotation is restricted (to 90º or 180º), you may also choose any direction as the central axis for the restricted range of movement. For example, depending on your clinical room you may choose to customize the arm's rotation to be restricted to 90º towards the left side of the system.
By default, your PIC system Gravity unit is delivered with the Zero-Gravity Arm set up to 180º of rotation oriented to the front (opposite the screen).
Place special care when transporting and handling your PIC system Gravity and its Zero-Gravity Arm to avoid crashing the arm or your PIC camera into the screen.
PIC dental will hold no responsibility over mechanical/impact screen damage that may be potentially caused by user negligence.
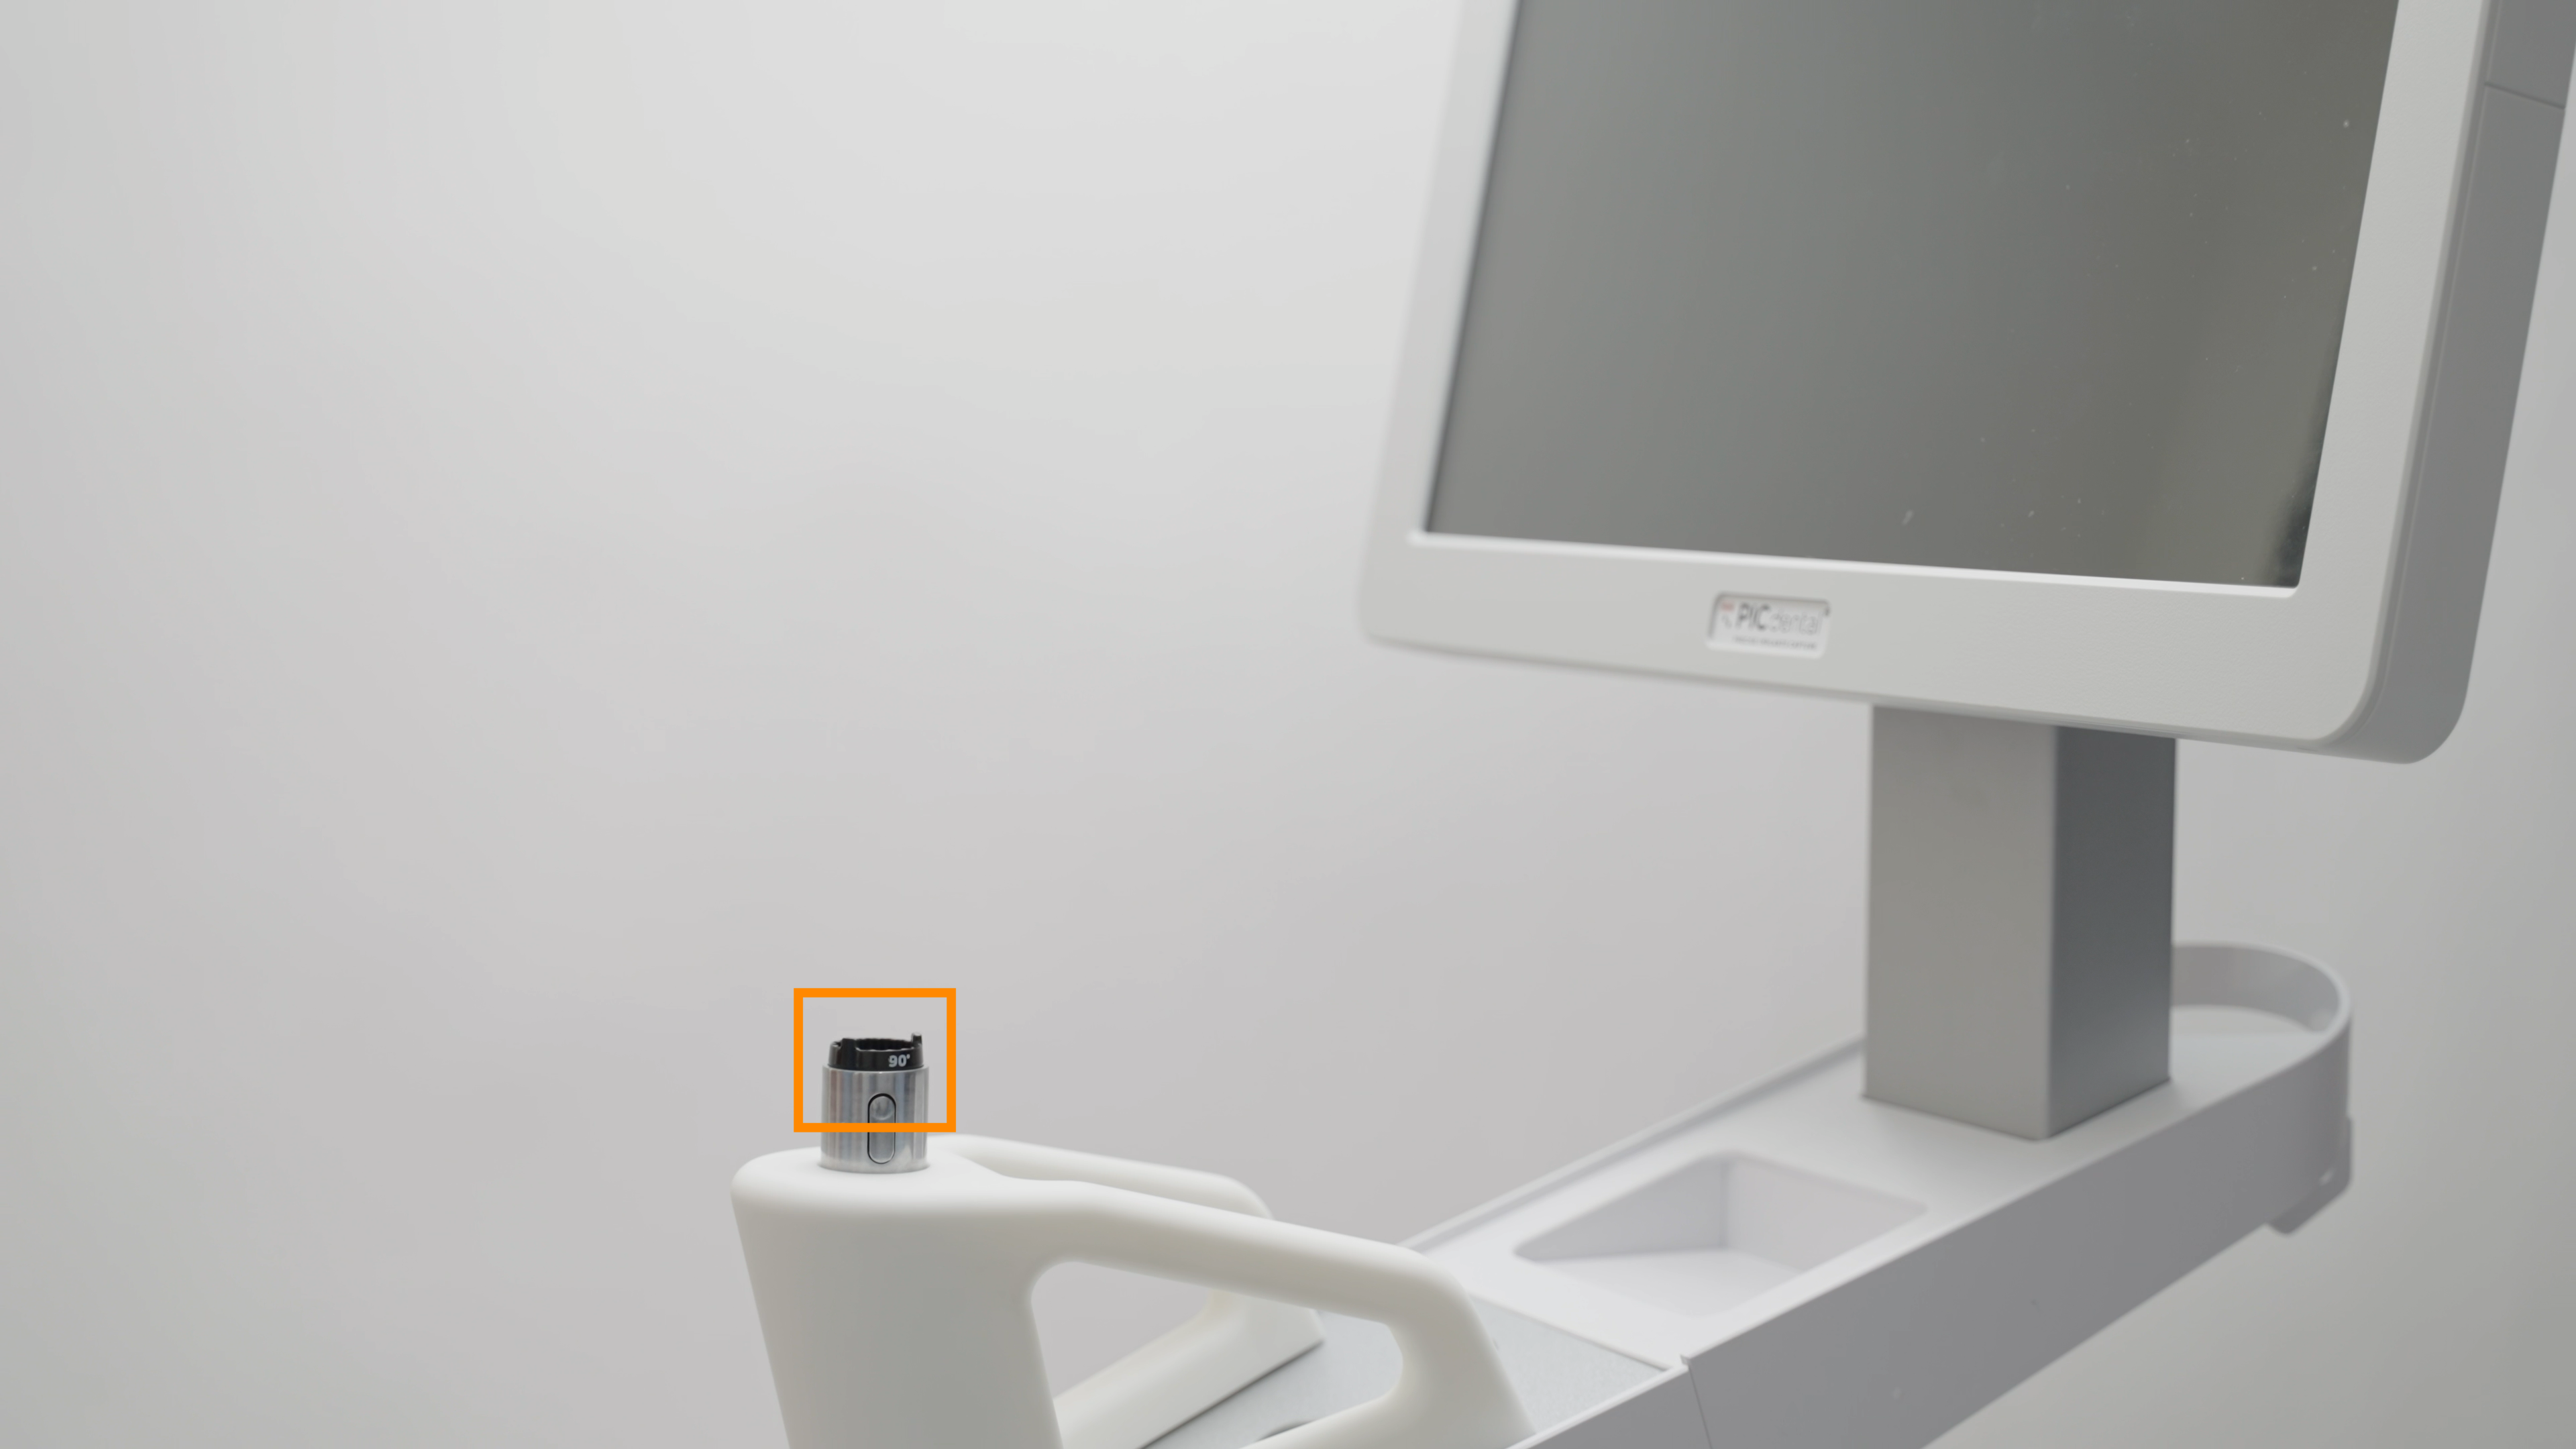
Zero-Gravity Arm's rotation dial
When the Zero-Gravity Arm is removed, the rotation dial is exposed at the base, where the arm connects to PIC system Gravity's body.
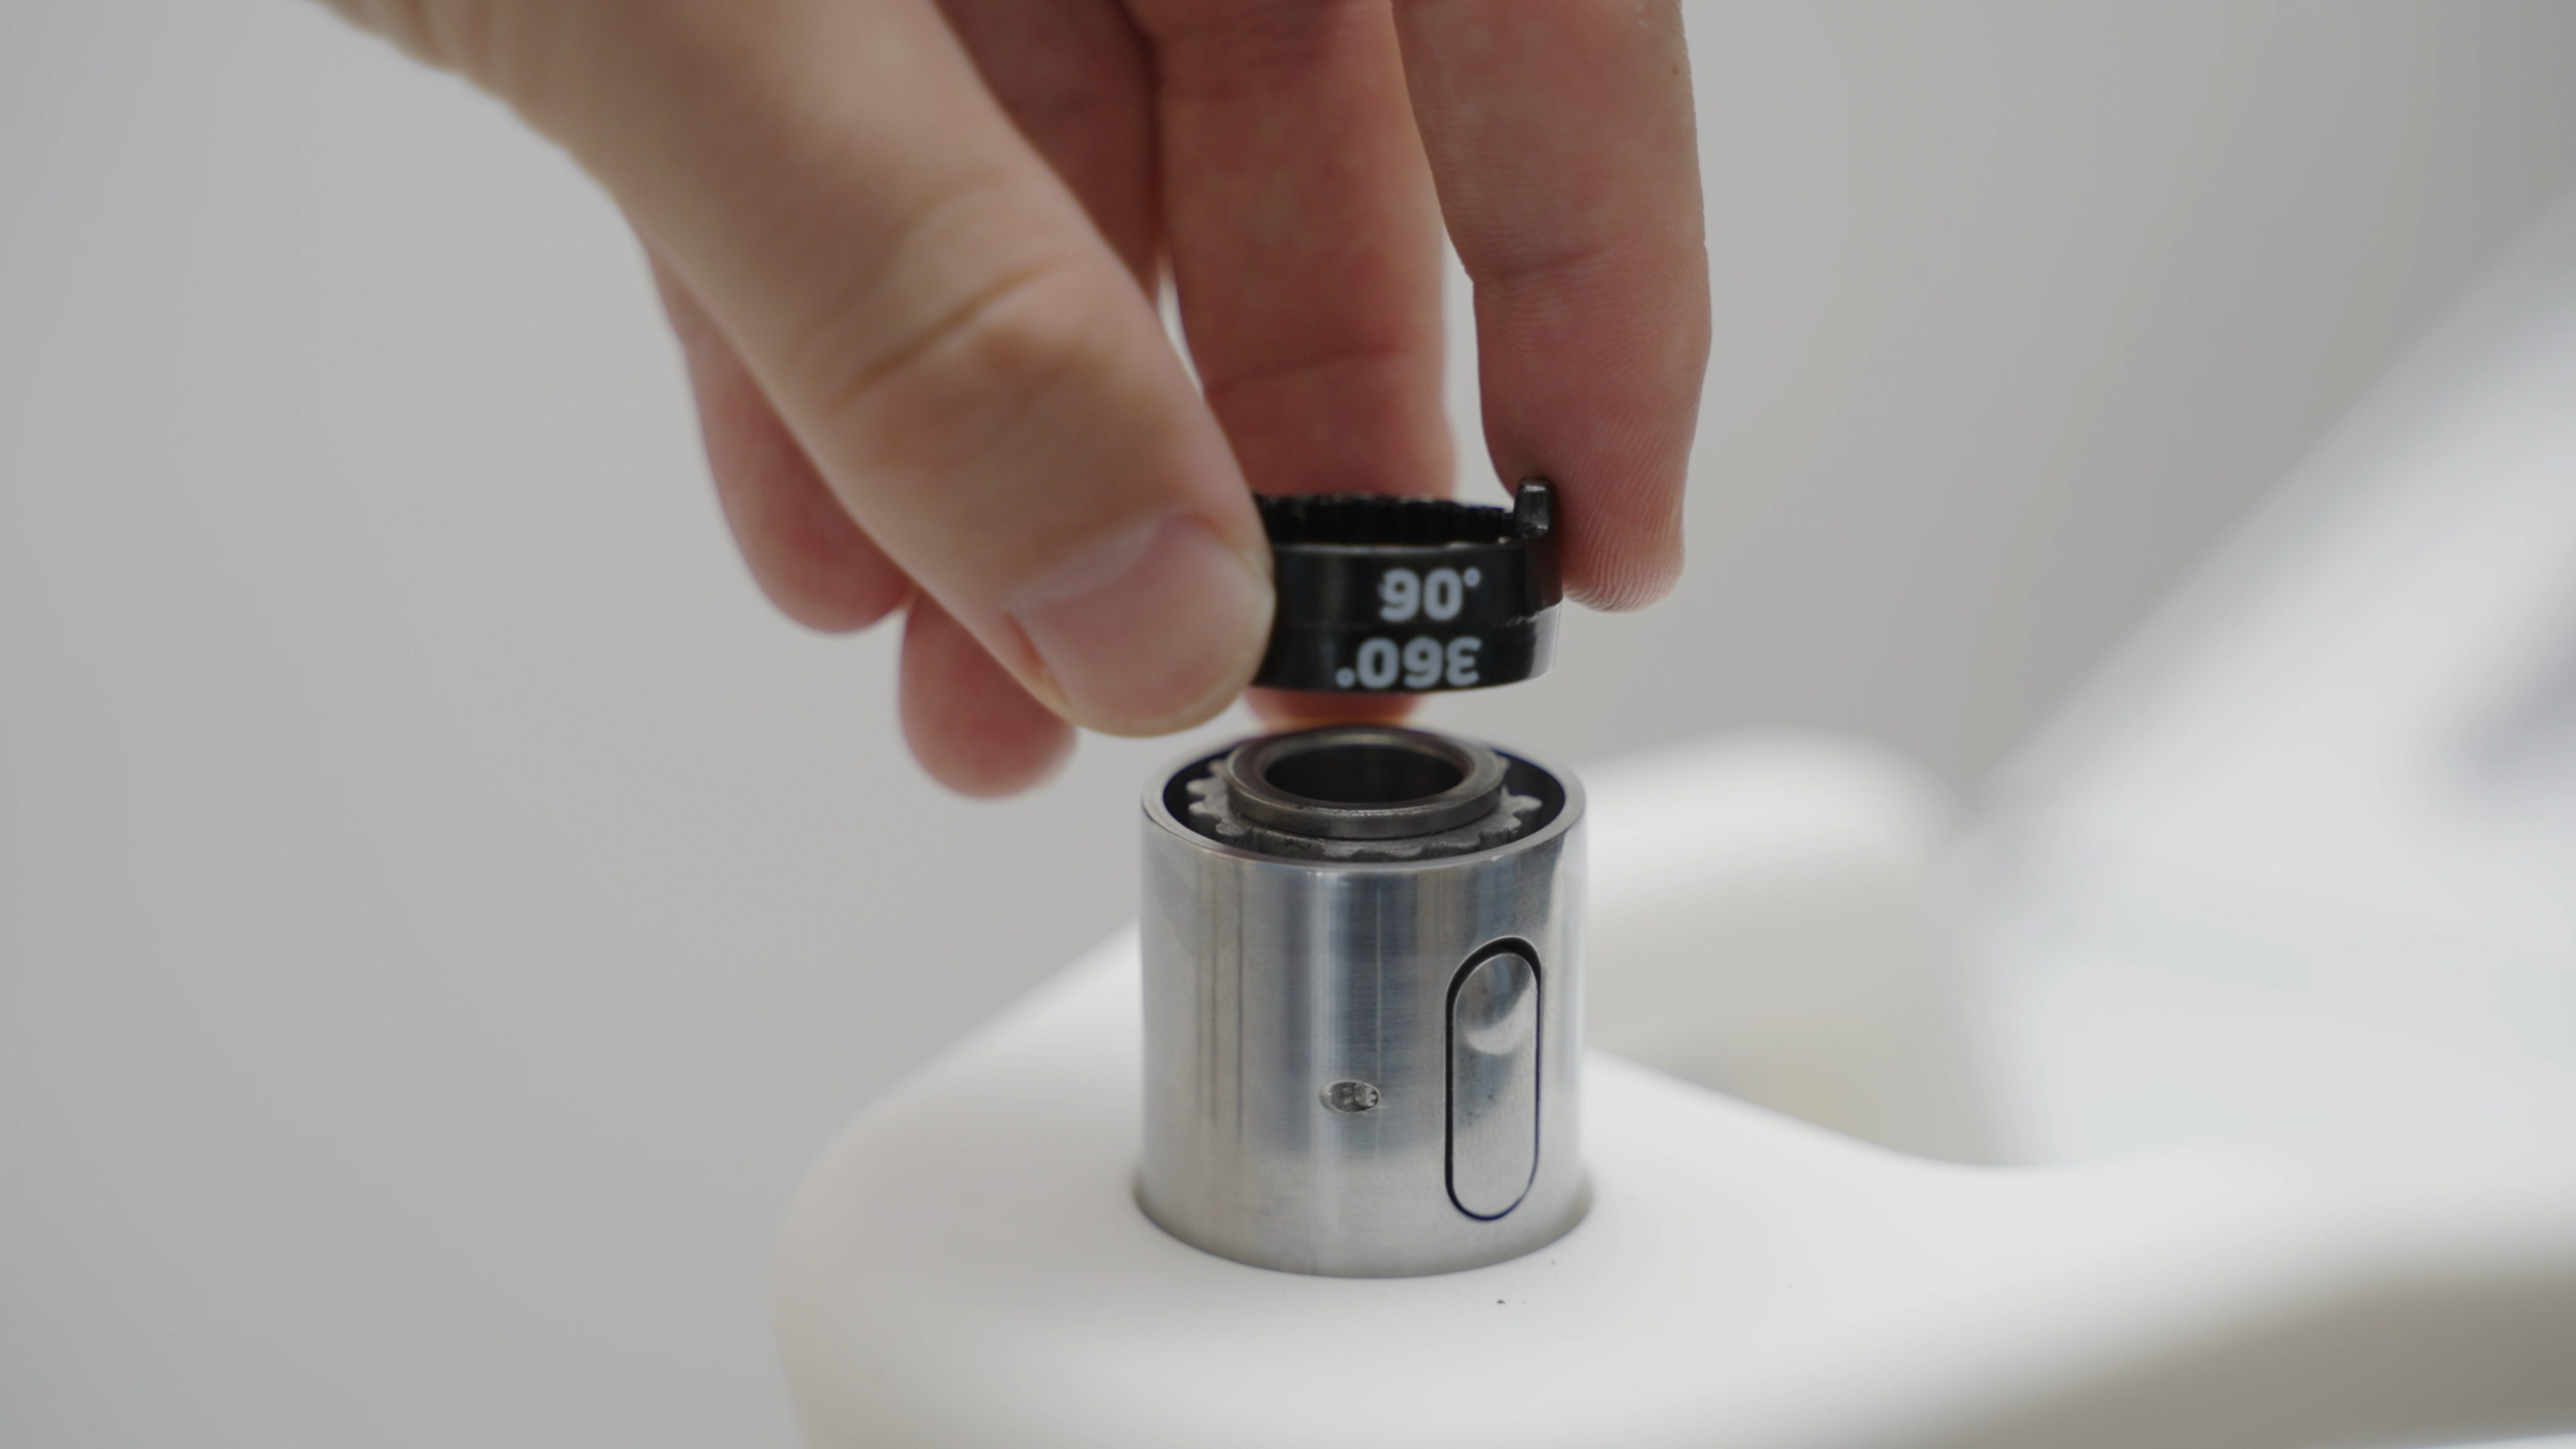
The rotation deal is removed from its socket by grabbing its top part.
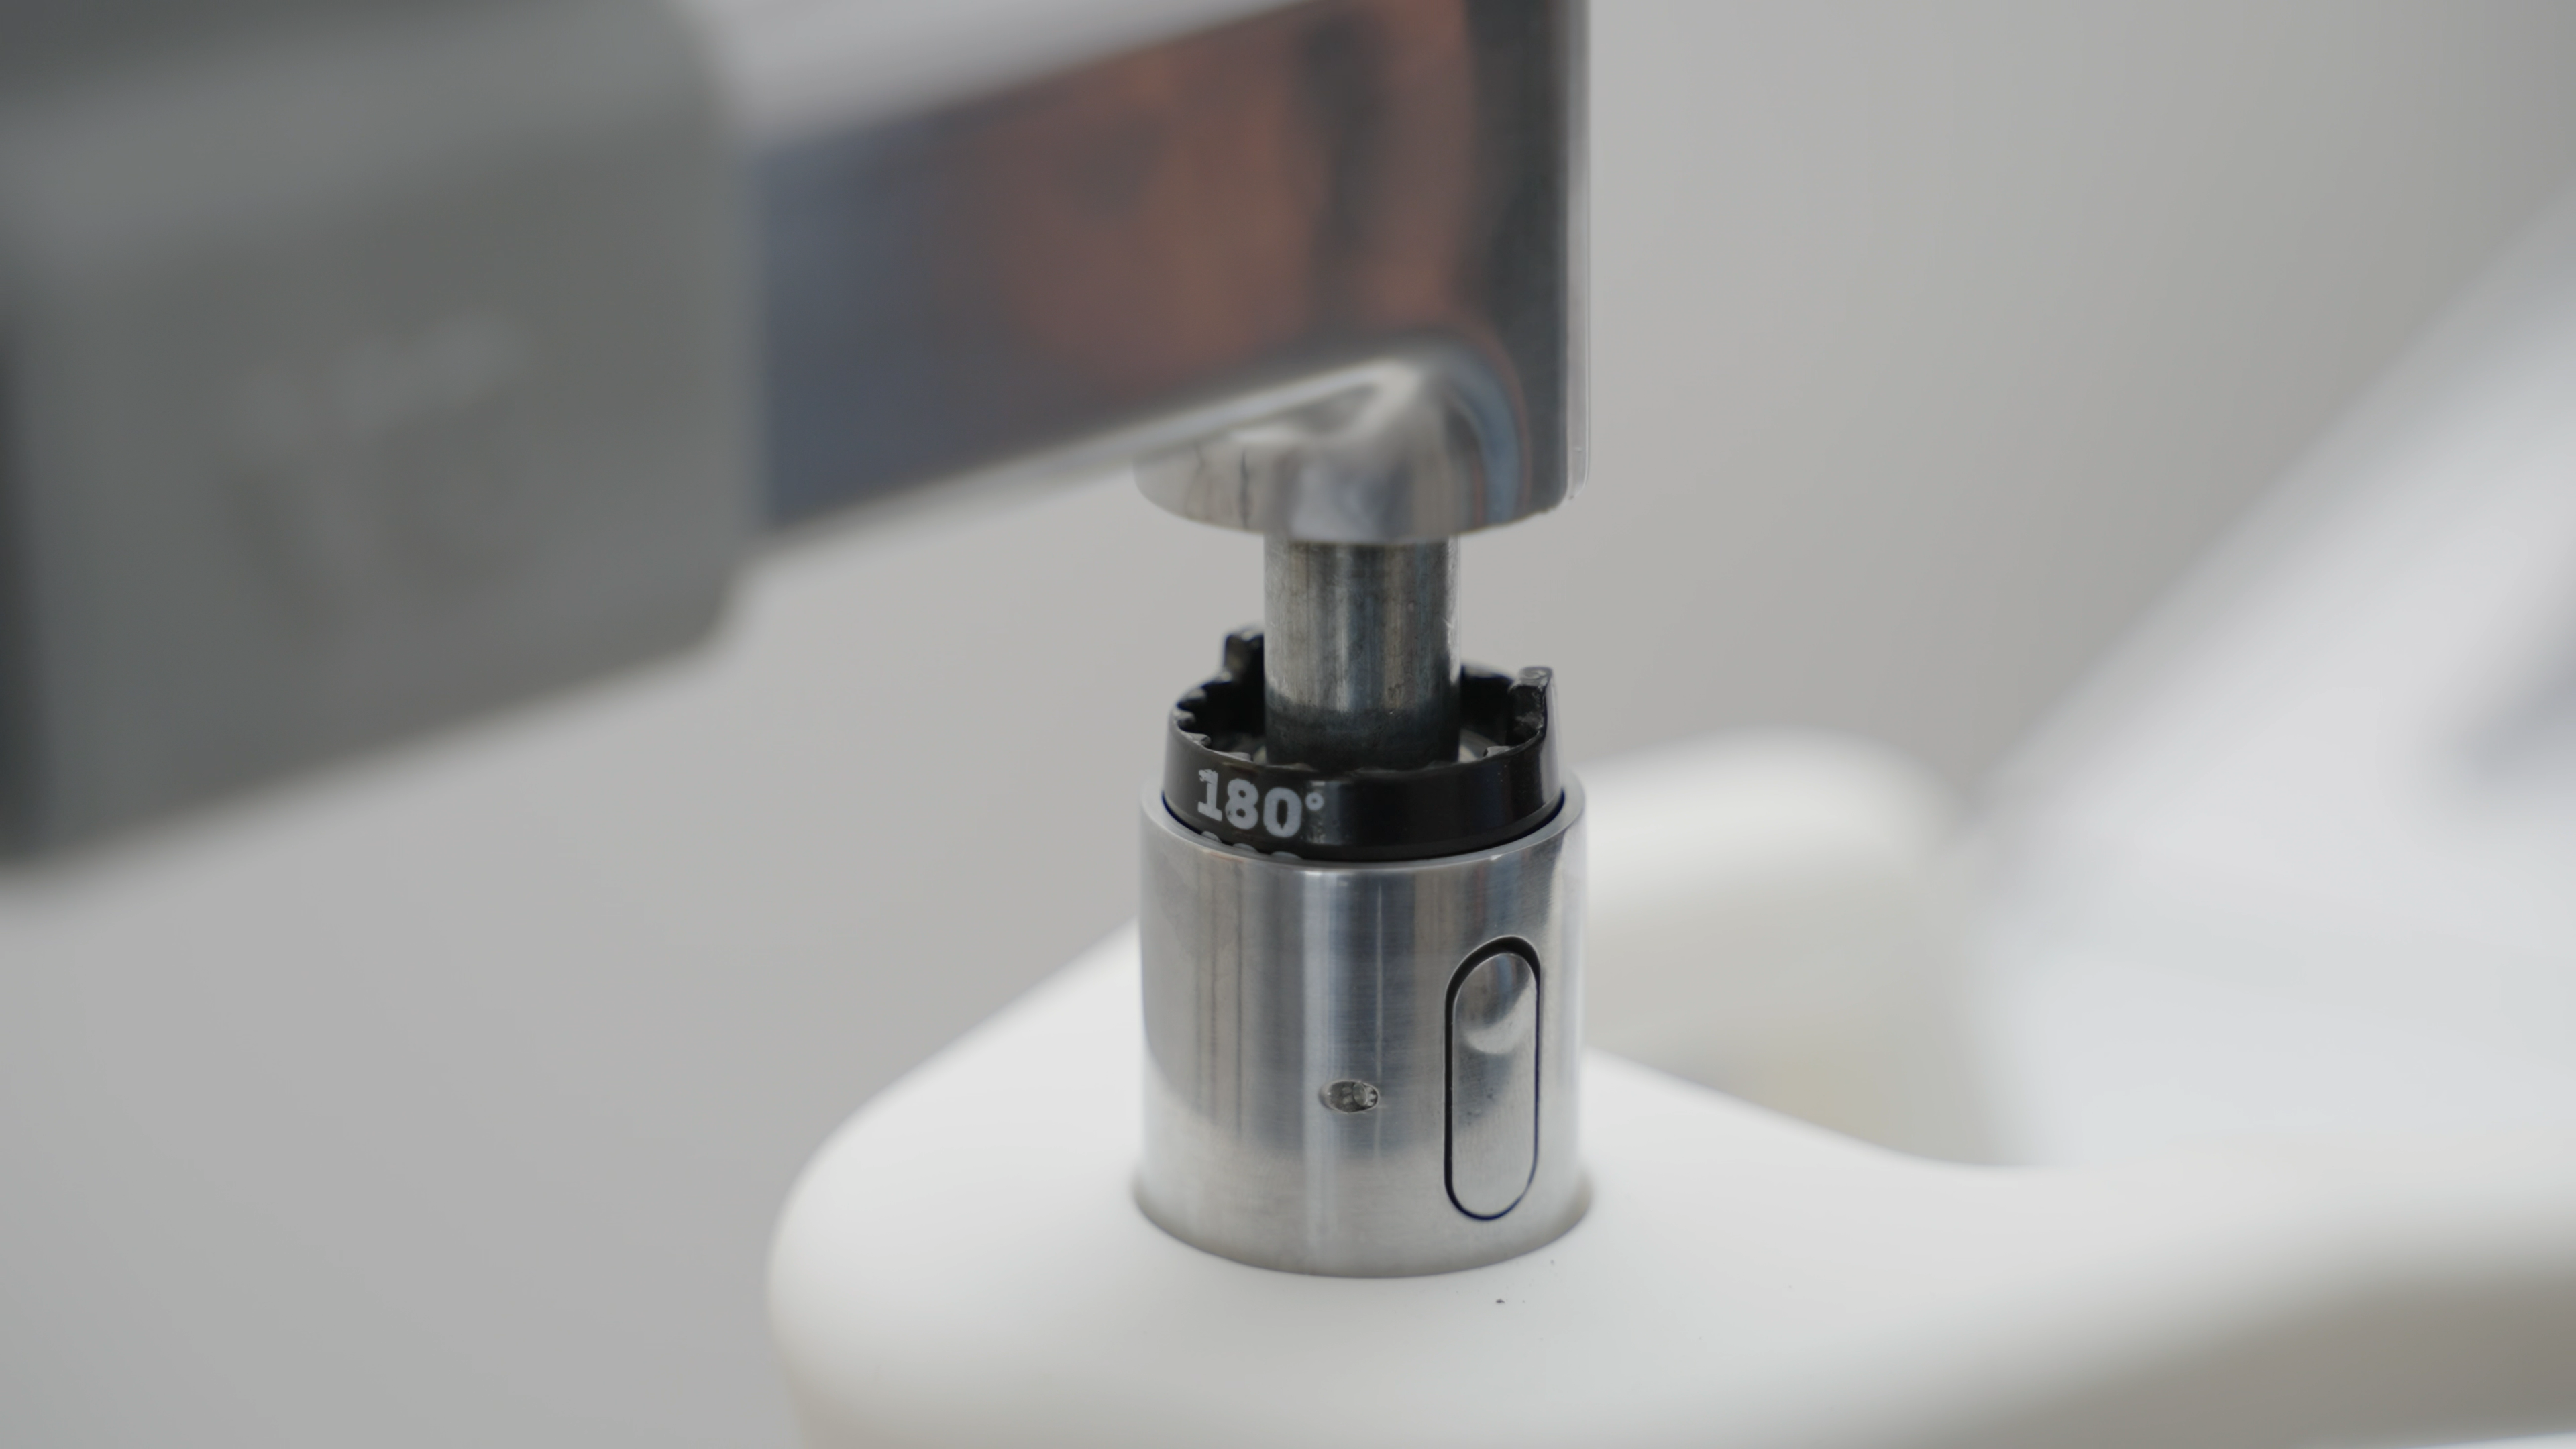
One side of the dial contains the 90° and 180° labels opposite each other.


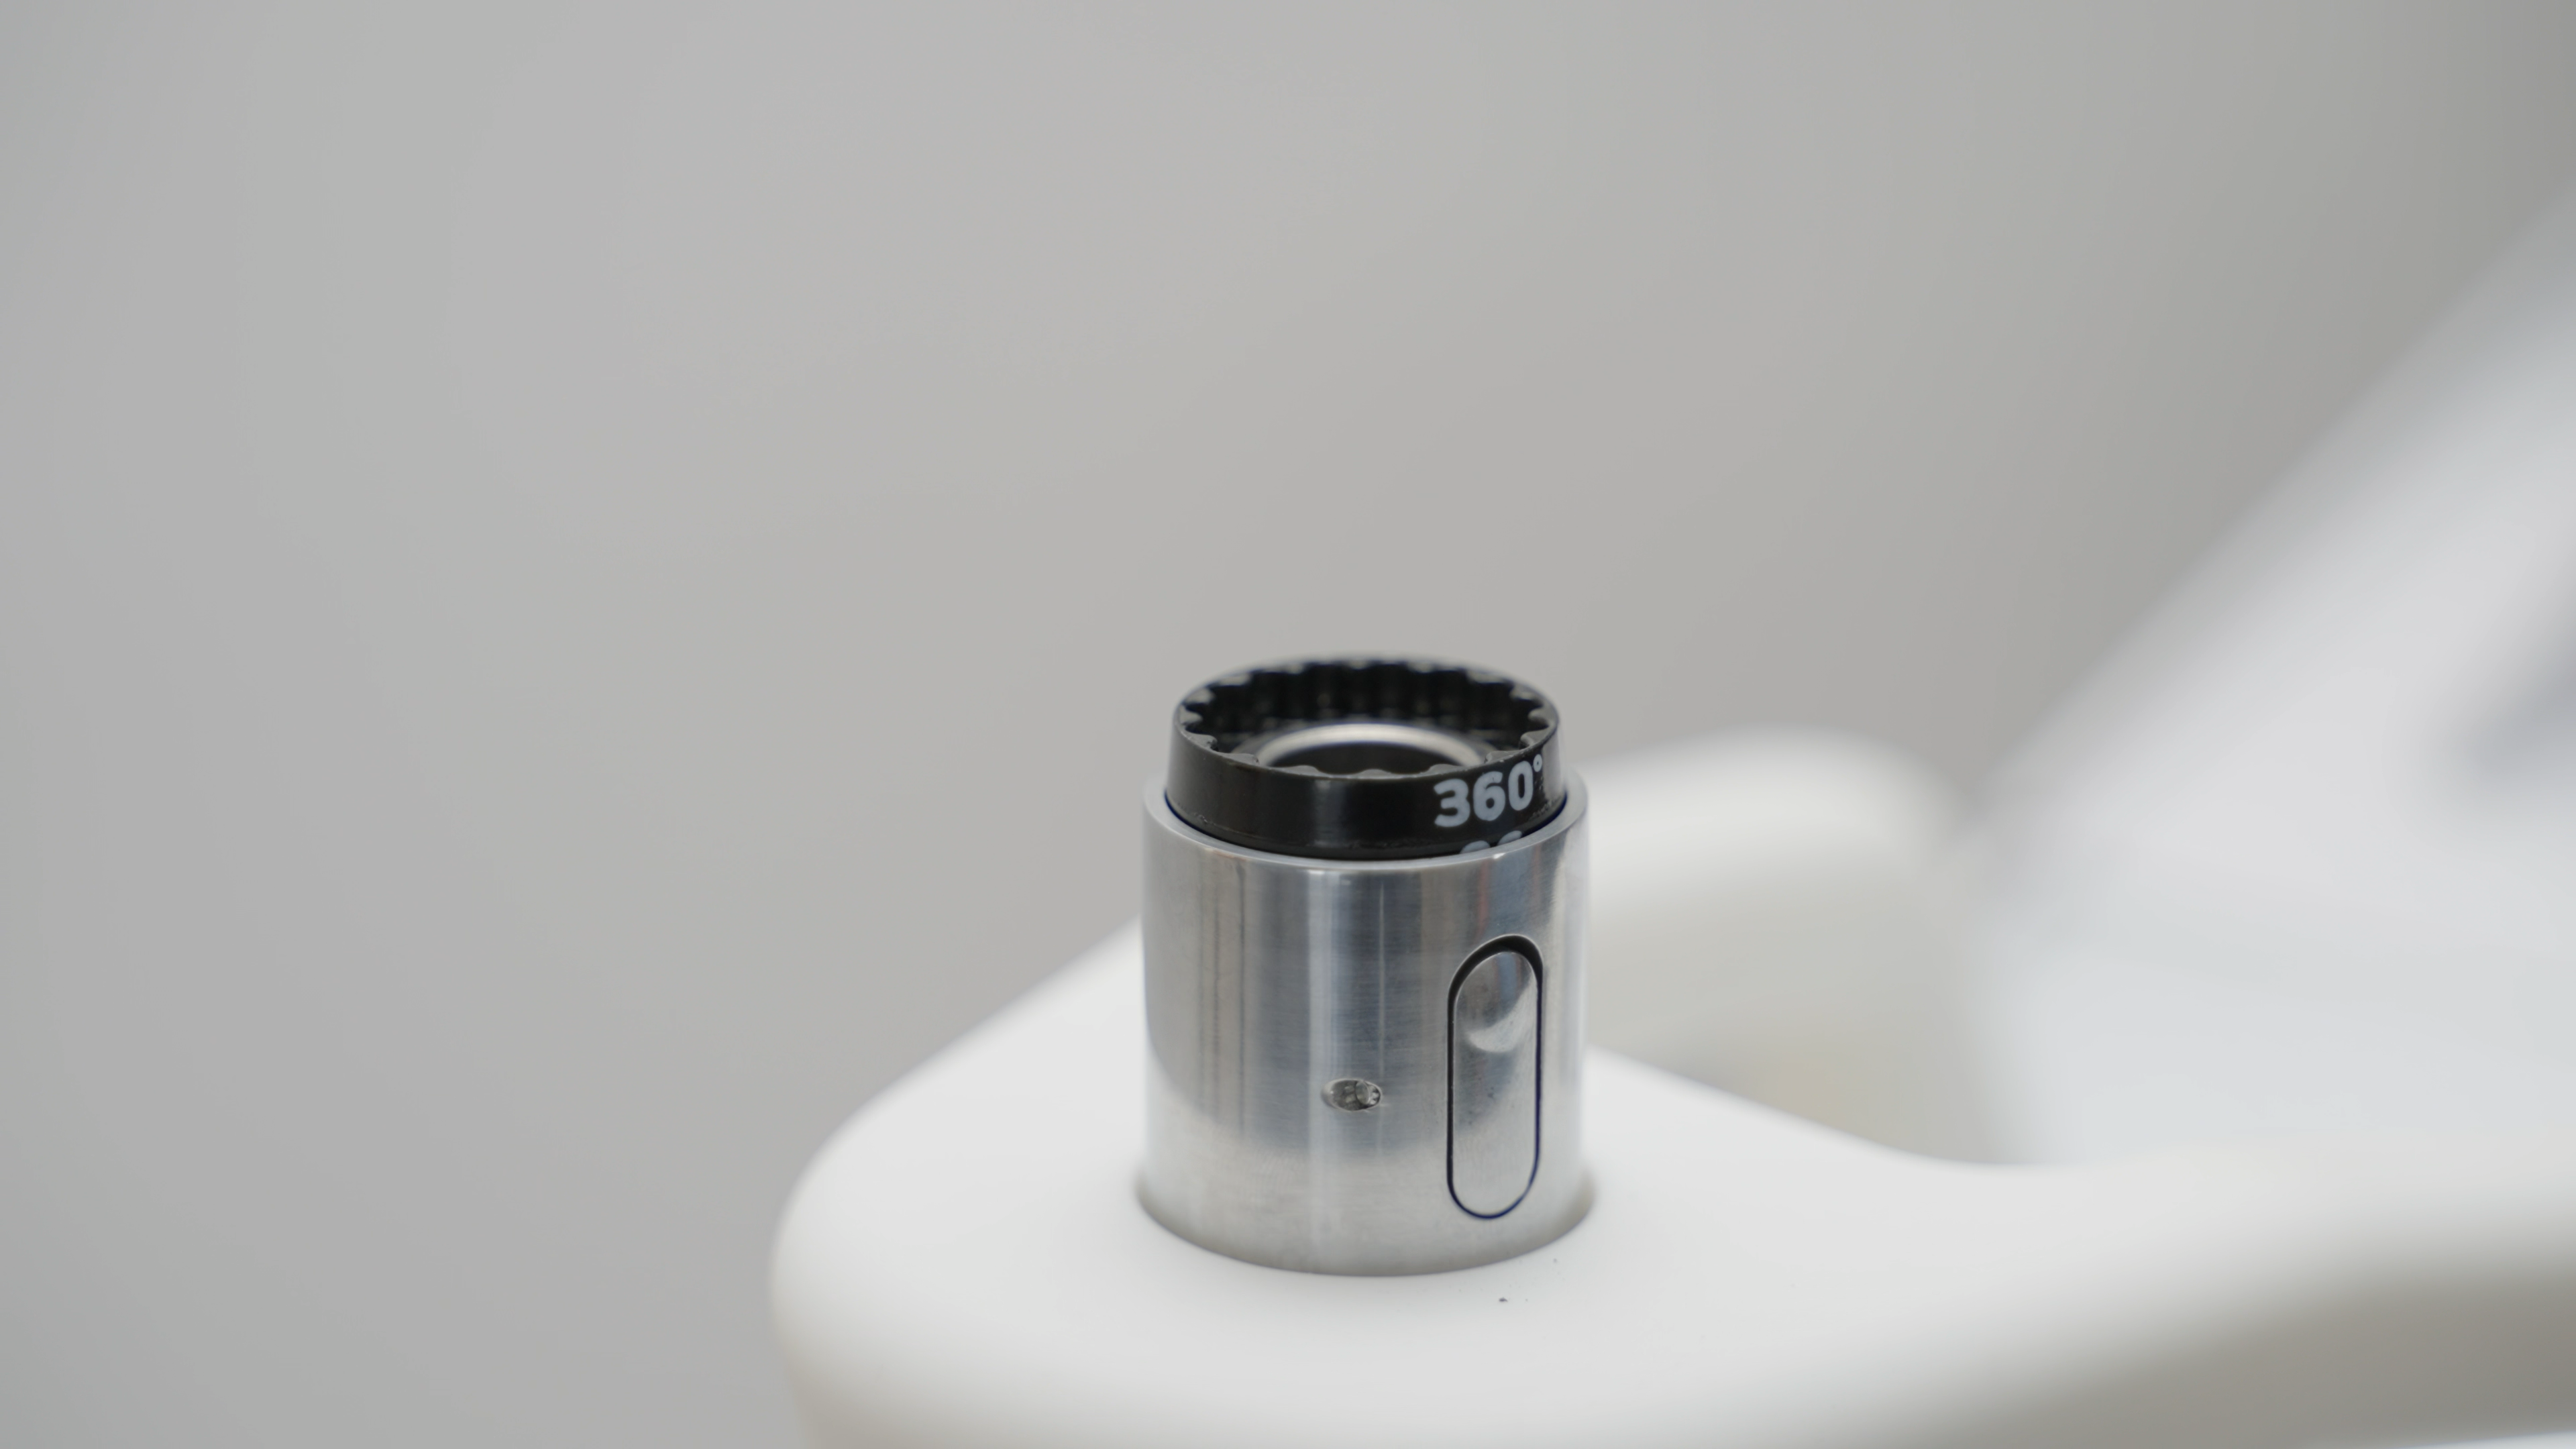
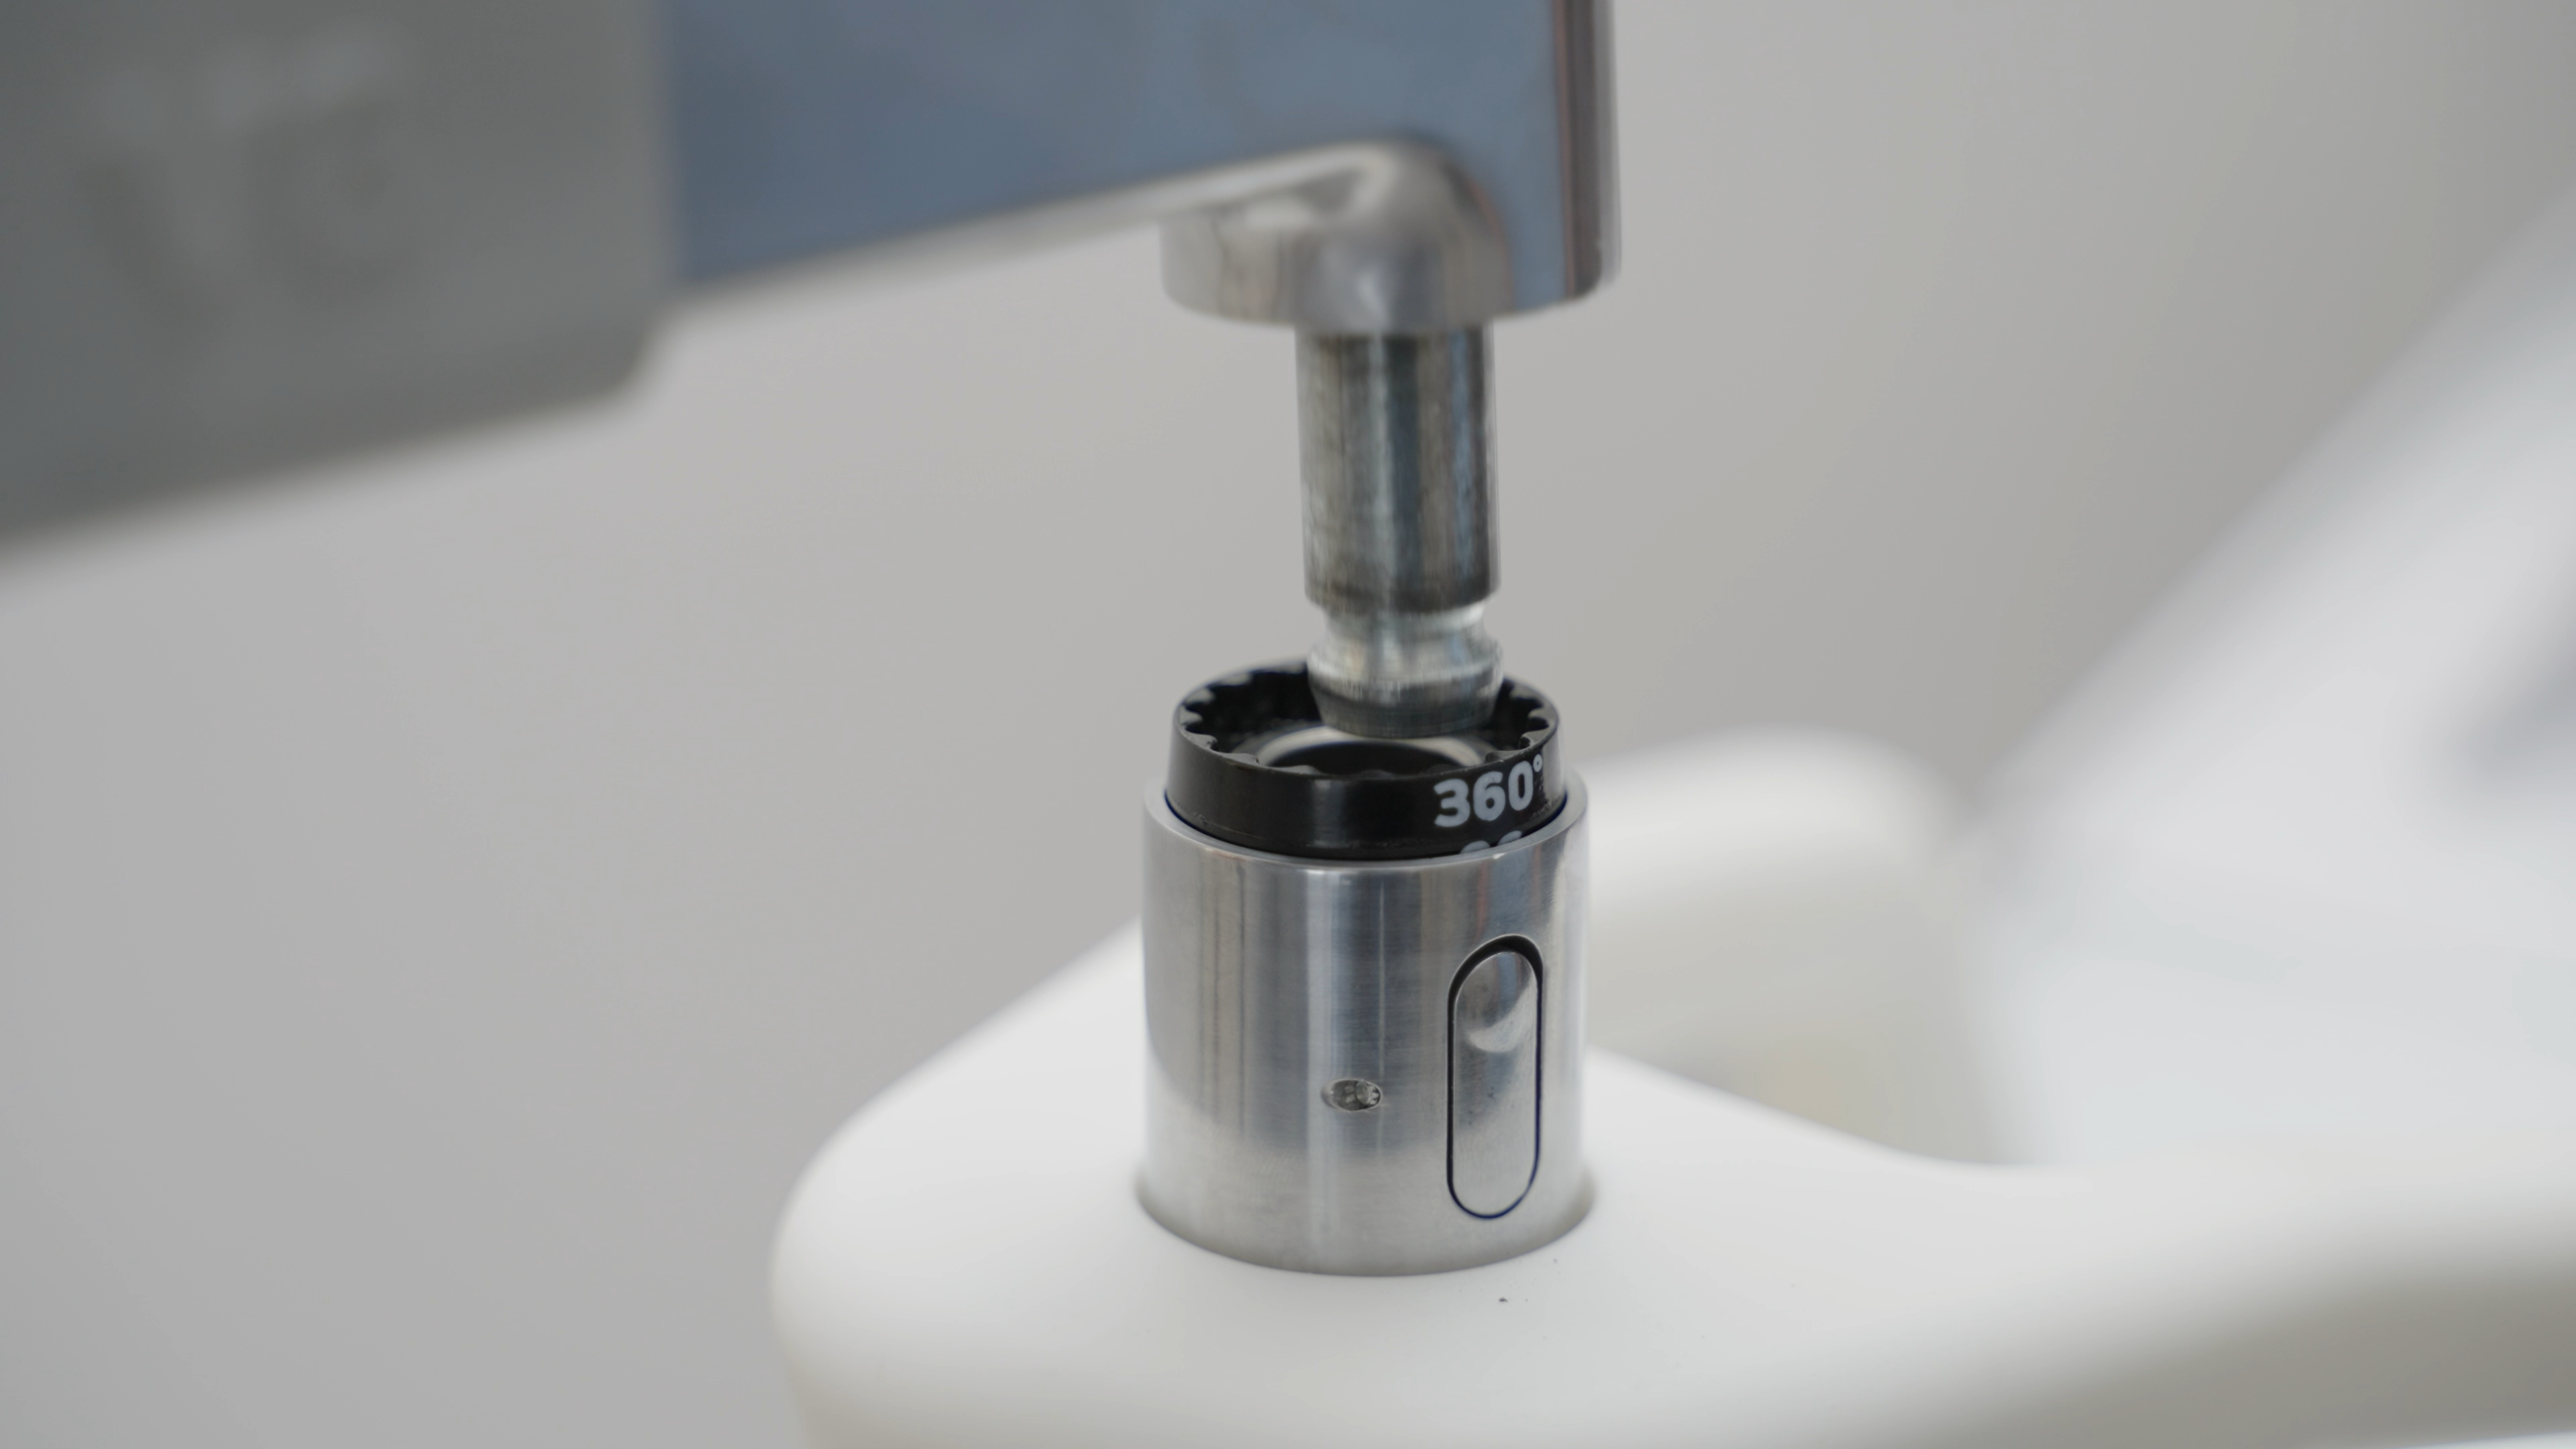
Flipping the dial over displays the 360° label.

The dial has a rigid lining with two knobs only on the 90º/180º side. The dial is meant to fit into the socket (which has a gear-like base), like a puzzle, for it to work. 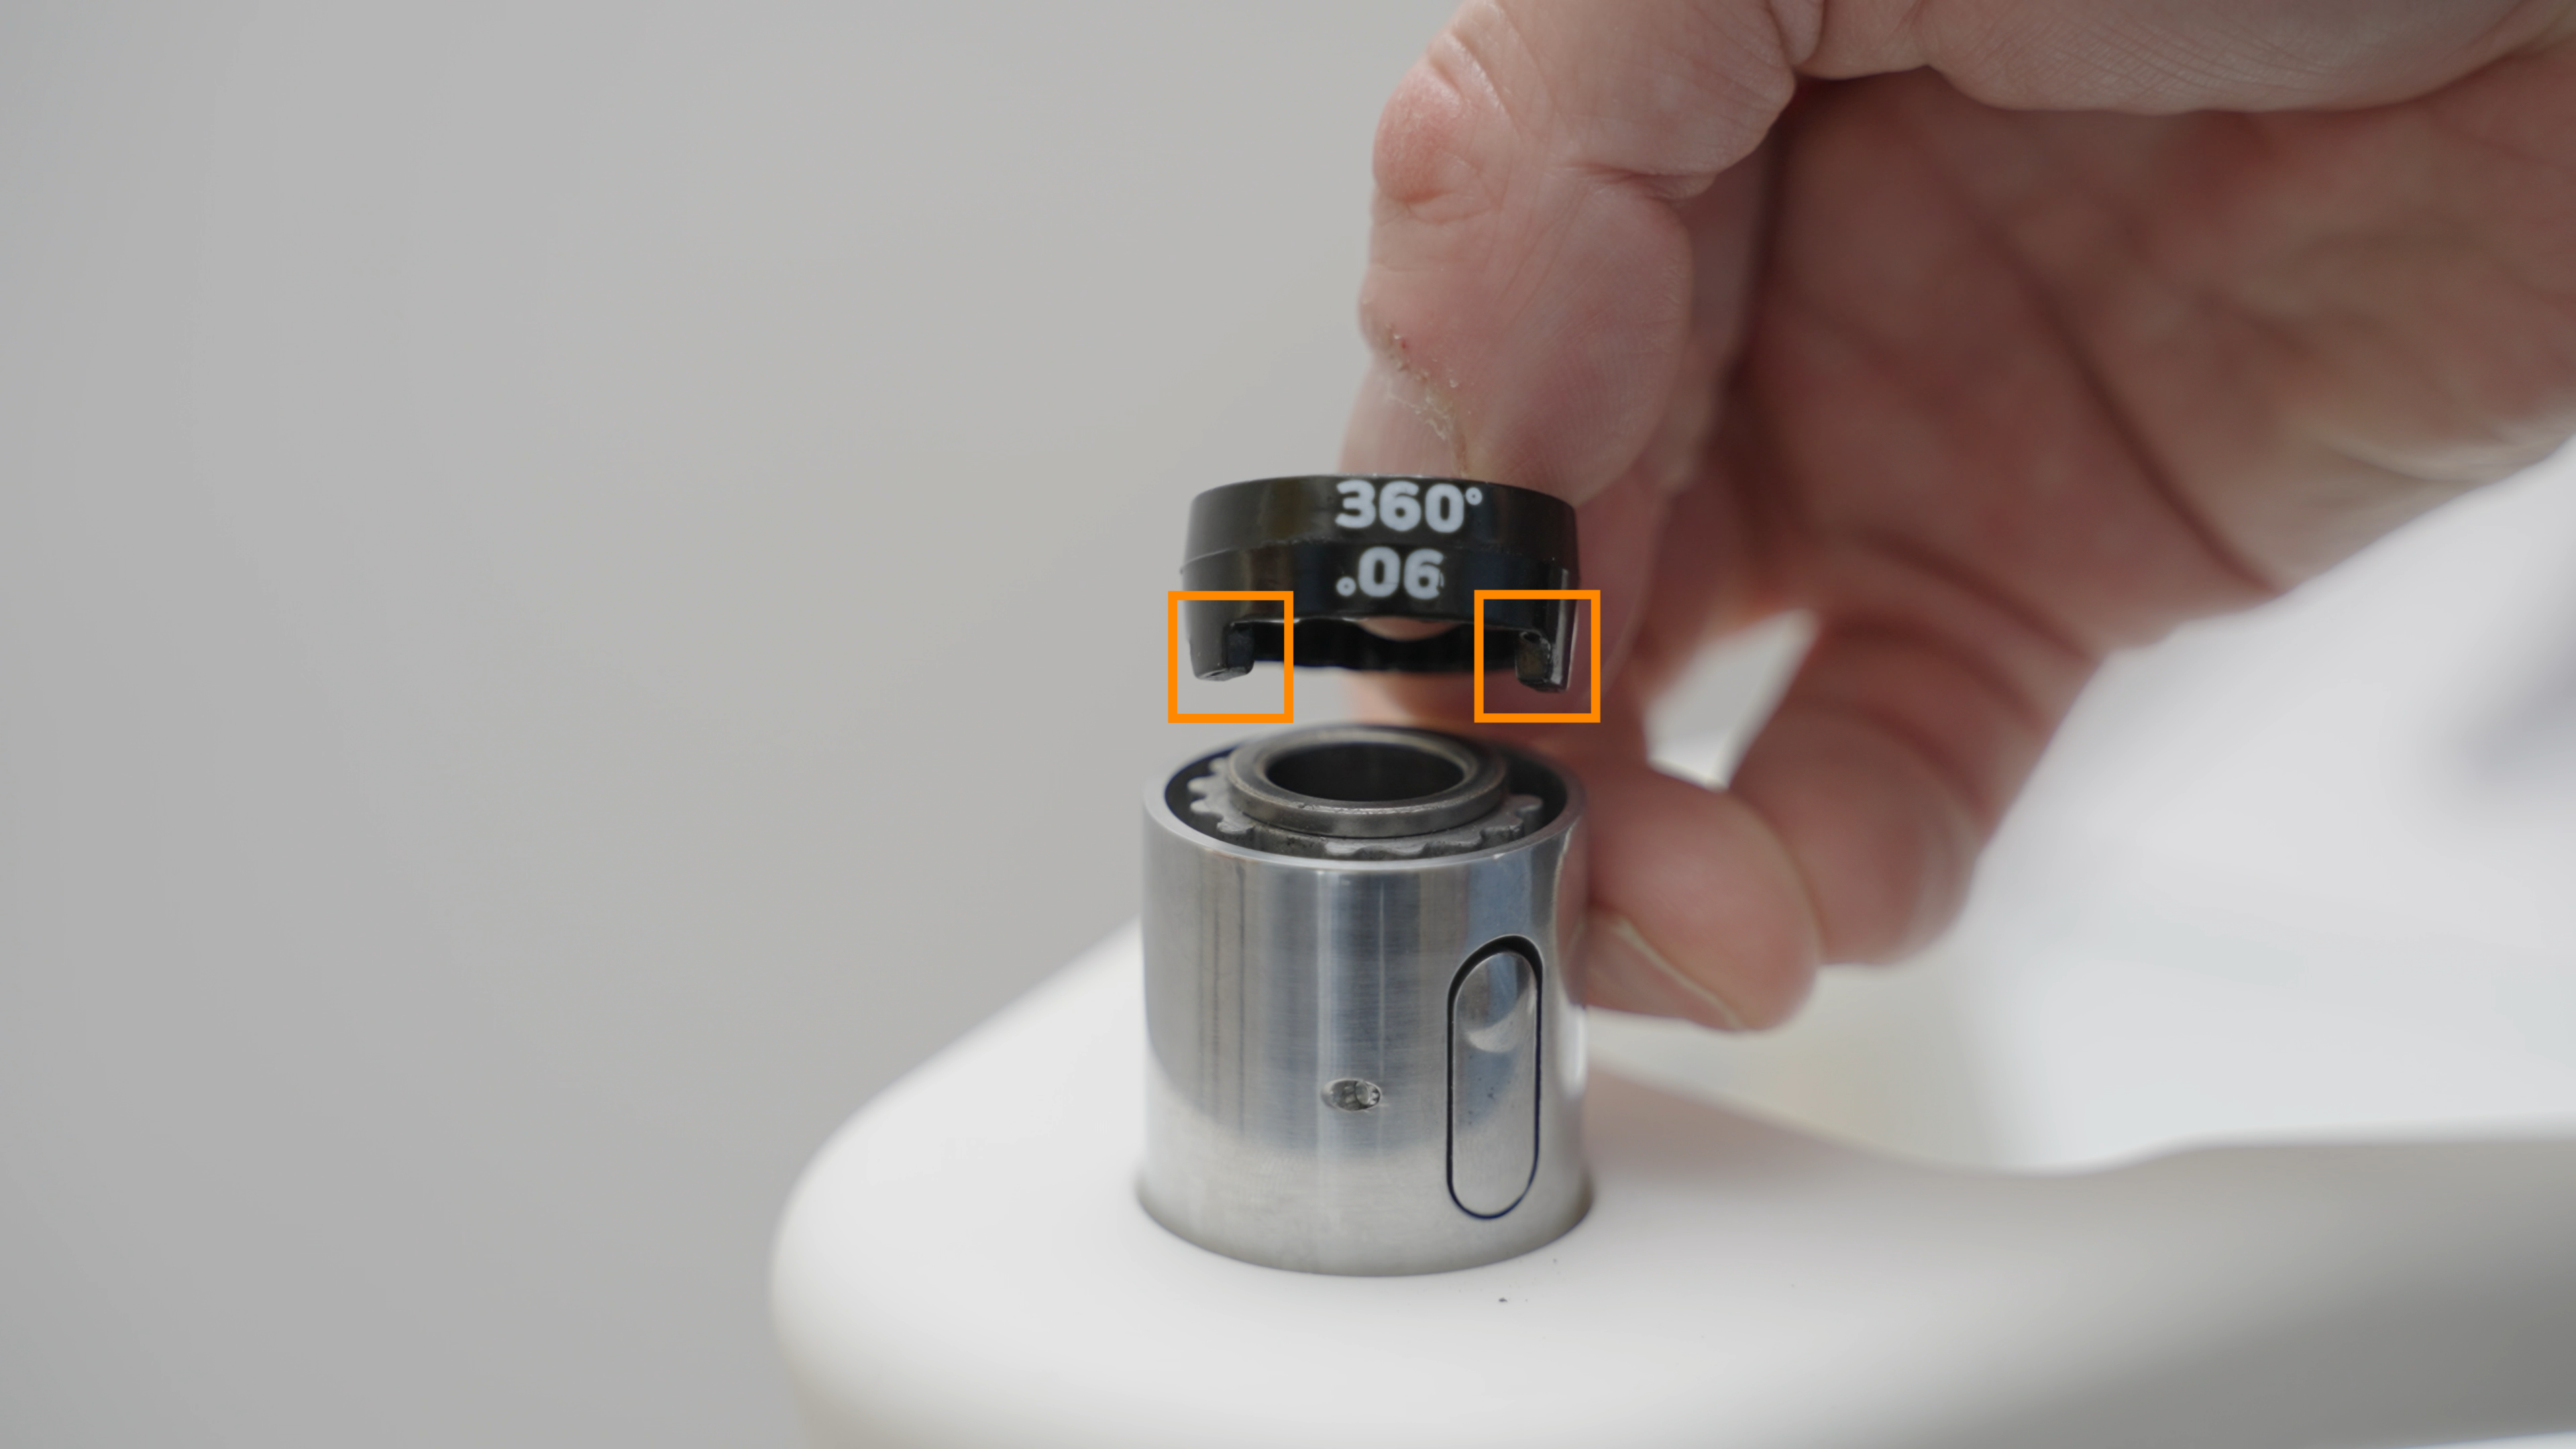
Customizing the range and direction of rotation
To change the range of rotation, the Zero-Gravity Arm must be fully removed first, by pressing the release button at its base. 

Restricting the range of rotation to 90º or 180º
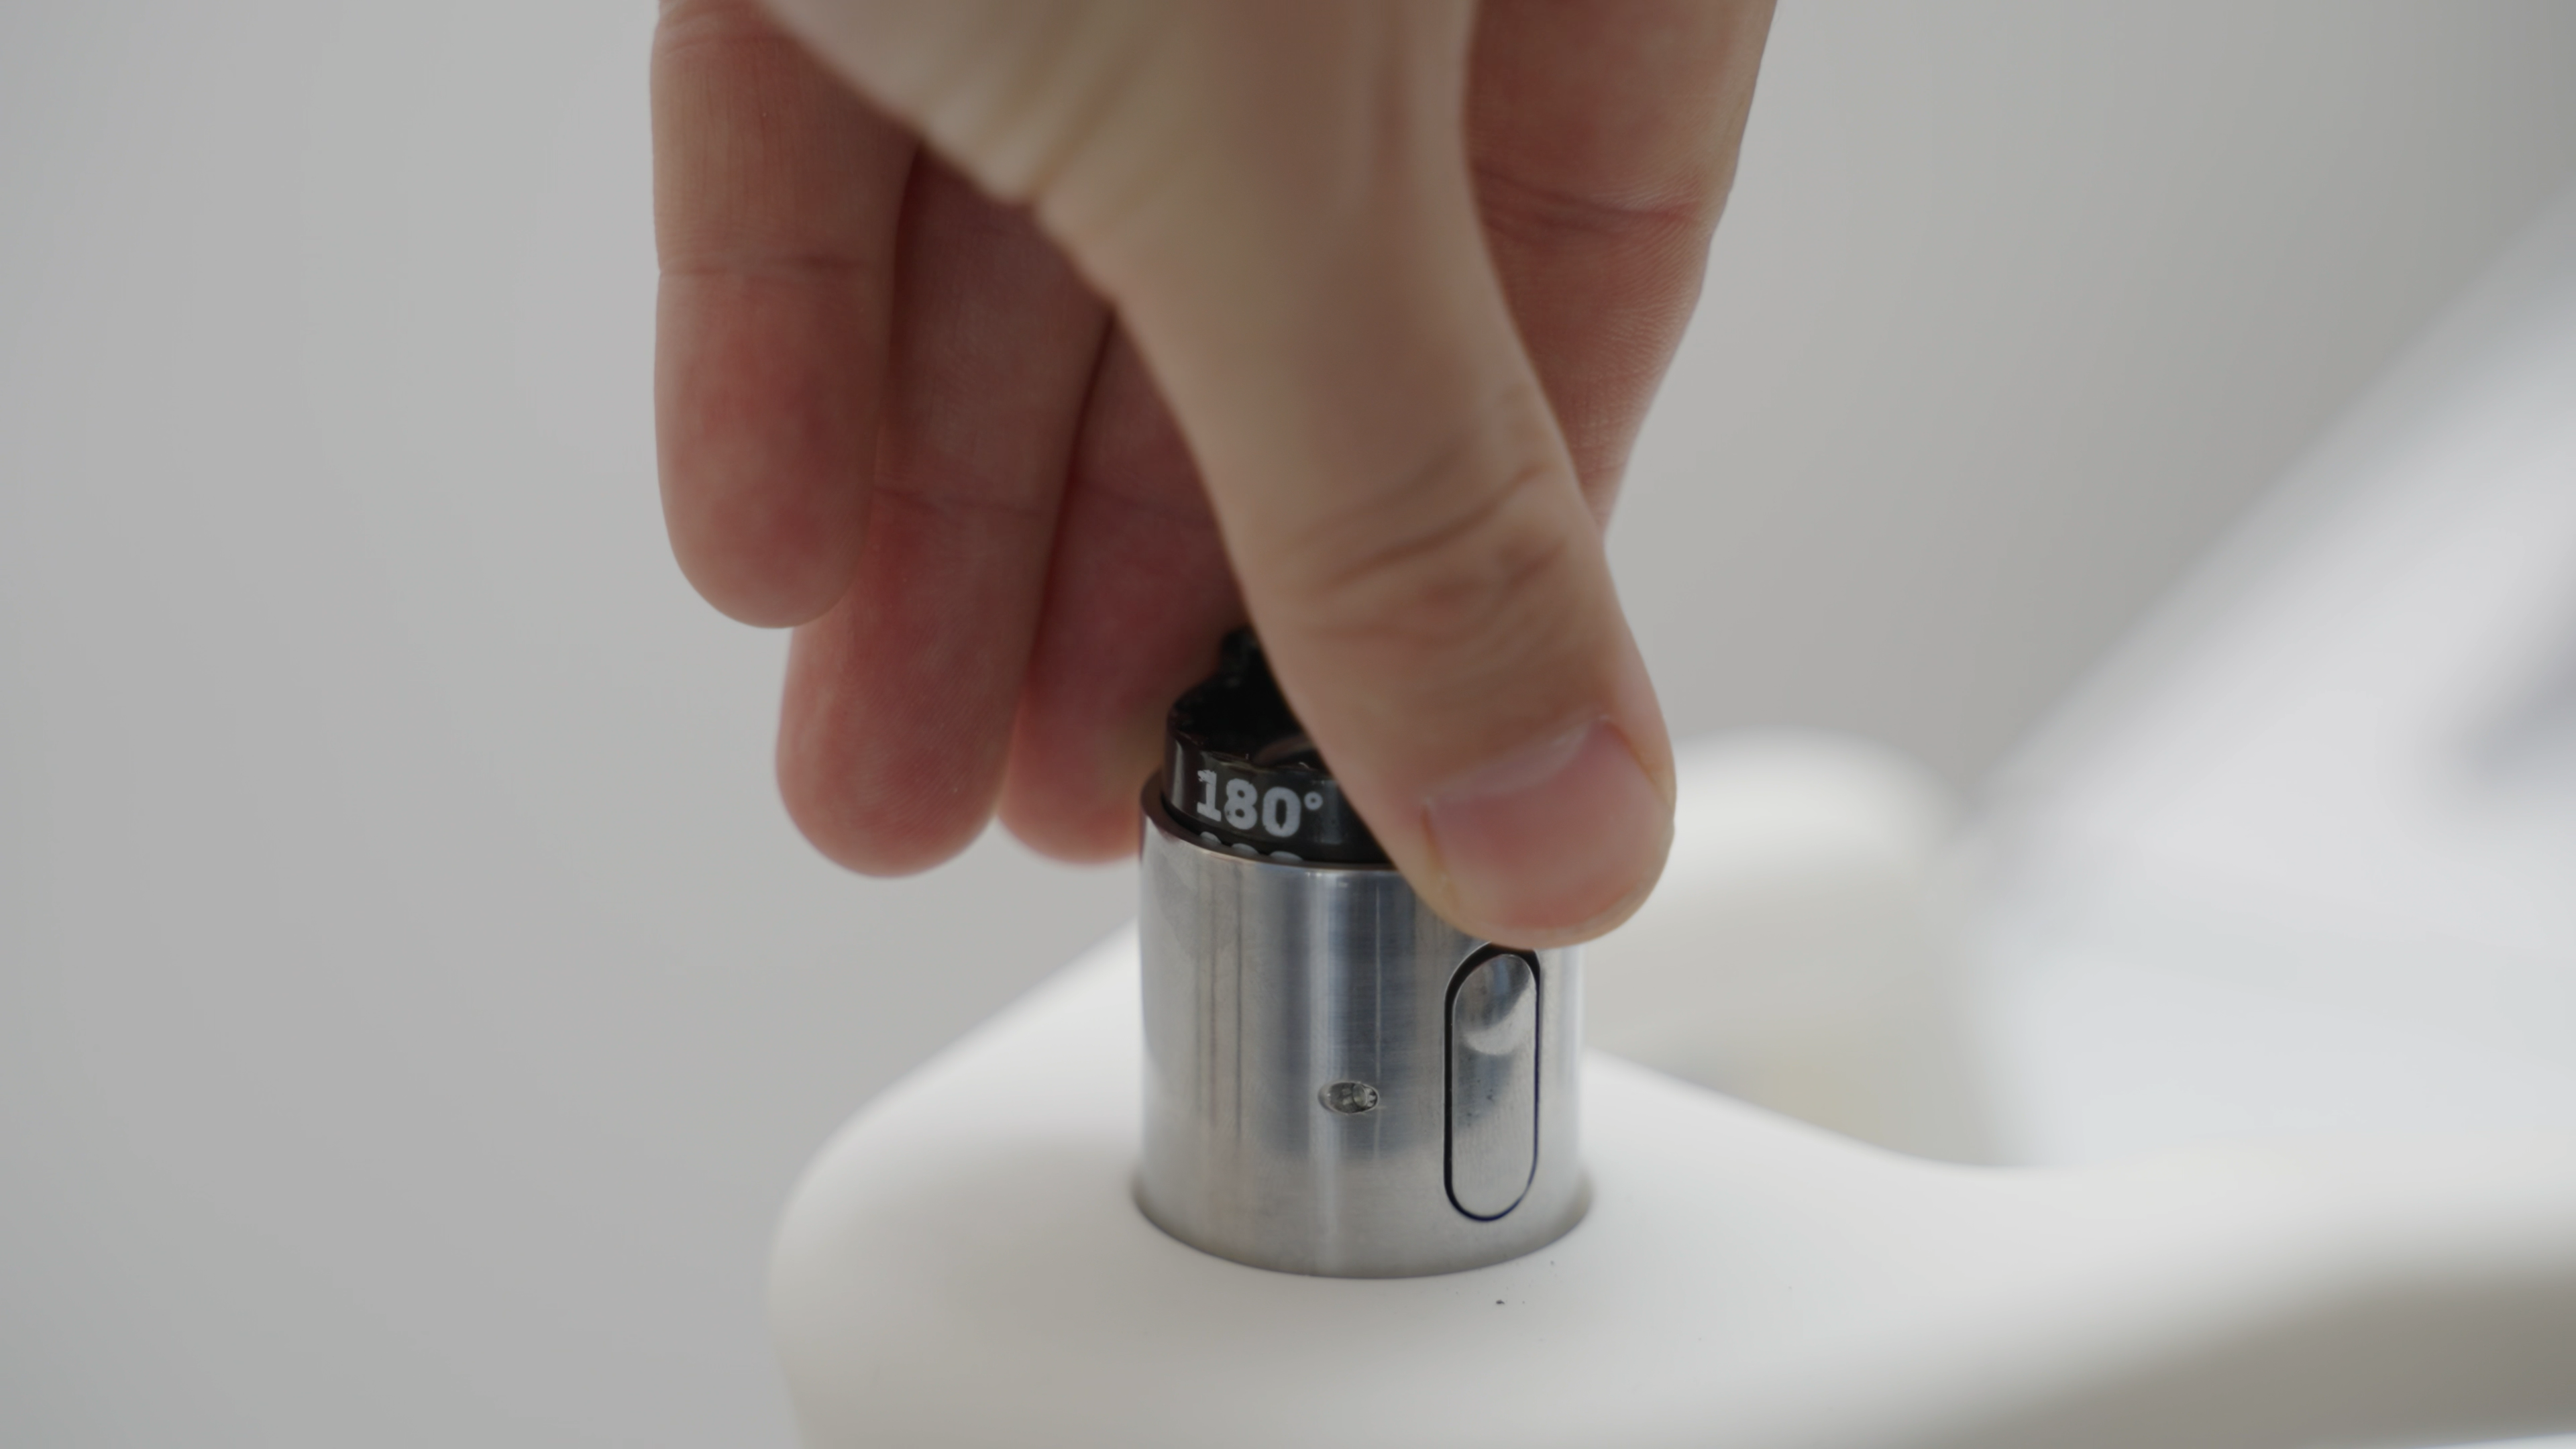
- Remove the rotation dial from the socket and place it back so that the 90º or 180º label (depending on your choice of range) are pointing towards the direction that you want to be the central axis of the restricted rotation range.
- After fitting the rotation dial back into the socket, insert the Zero-Gravity Arm back pointing in the same direction as the label.
- Test if the rotation range is suitable for your preferences
Example
The following customisation example shows a rotation range restriction to 180º centered towards the front of the system (opposite the screen):
- The rotation dial is removed from the socket
- Then, the dial is placed back into the socket with the 180º label pointing forwards (in the direction opposite to the screen).
- The Zero-Gravity arm is then inserted back into the socket facing in the same direction as the label.
Allowing rotation in all directions (360º)
- To allow Zero-Gravity Arm to rotate freely in all directions (360°), remove the rotation dial from the socket and flip it so that the 360º label is on top and the two knobs are facing downwards:


- Insert the rotation dial back into the socket in this orientation:
- Place the Zero-Gravity arm back into the unit:
- Carefully check that the arm is now rotating freely.