
Two people are required in order to safely remove or attach the PIC camera to the Zero-Gravity Arm.
Do not attempt to attach or remove the PIC camera on your own as there will be a significant risk of dropping and damaging your PIC camera. PIC dental bears no responsibility for accidents caused by user negligence.
Removing the PIC camera from the Zero-Gravity Arm
-
Put the Zero-Gravity Arm in the storage/transport position by pushing together the top section to the bottom section of the arm.
-
Carefully unplug the camera cable from the back of the PIC camera. Do not apply force and avoid bending the cable excessively.
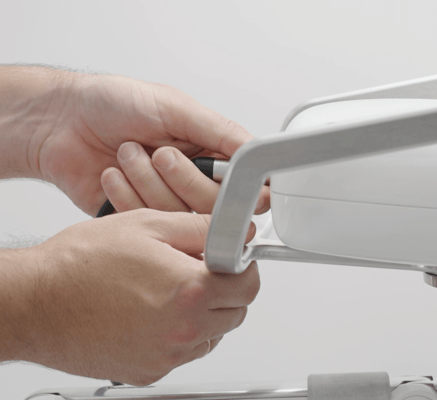
-
At this point, you may optionally loosen the friction of the ball joint holding the PIC camera to ease handling during the following steps.
-
A second person should firmly hold the Grip by both handles during all the remaining steps. Rotate the PIC camera to a side to reveal the 3 screws that are attaching the base of the Grip too the Zero-Gravity Arm.
-
Using the Allen key included with your PIC system, slightly loosen all 3 screws (by about a rotation or two). The Grip must be rotated to access all screws:
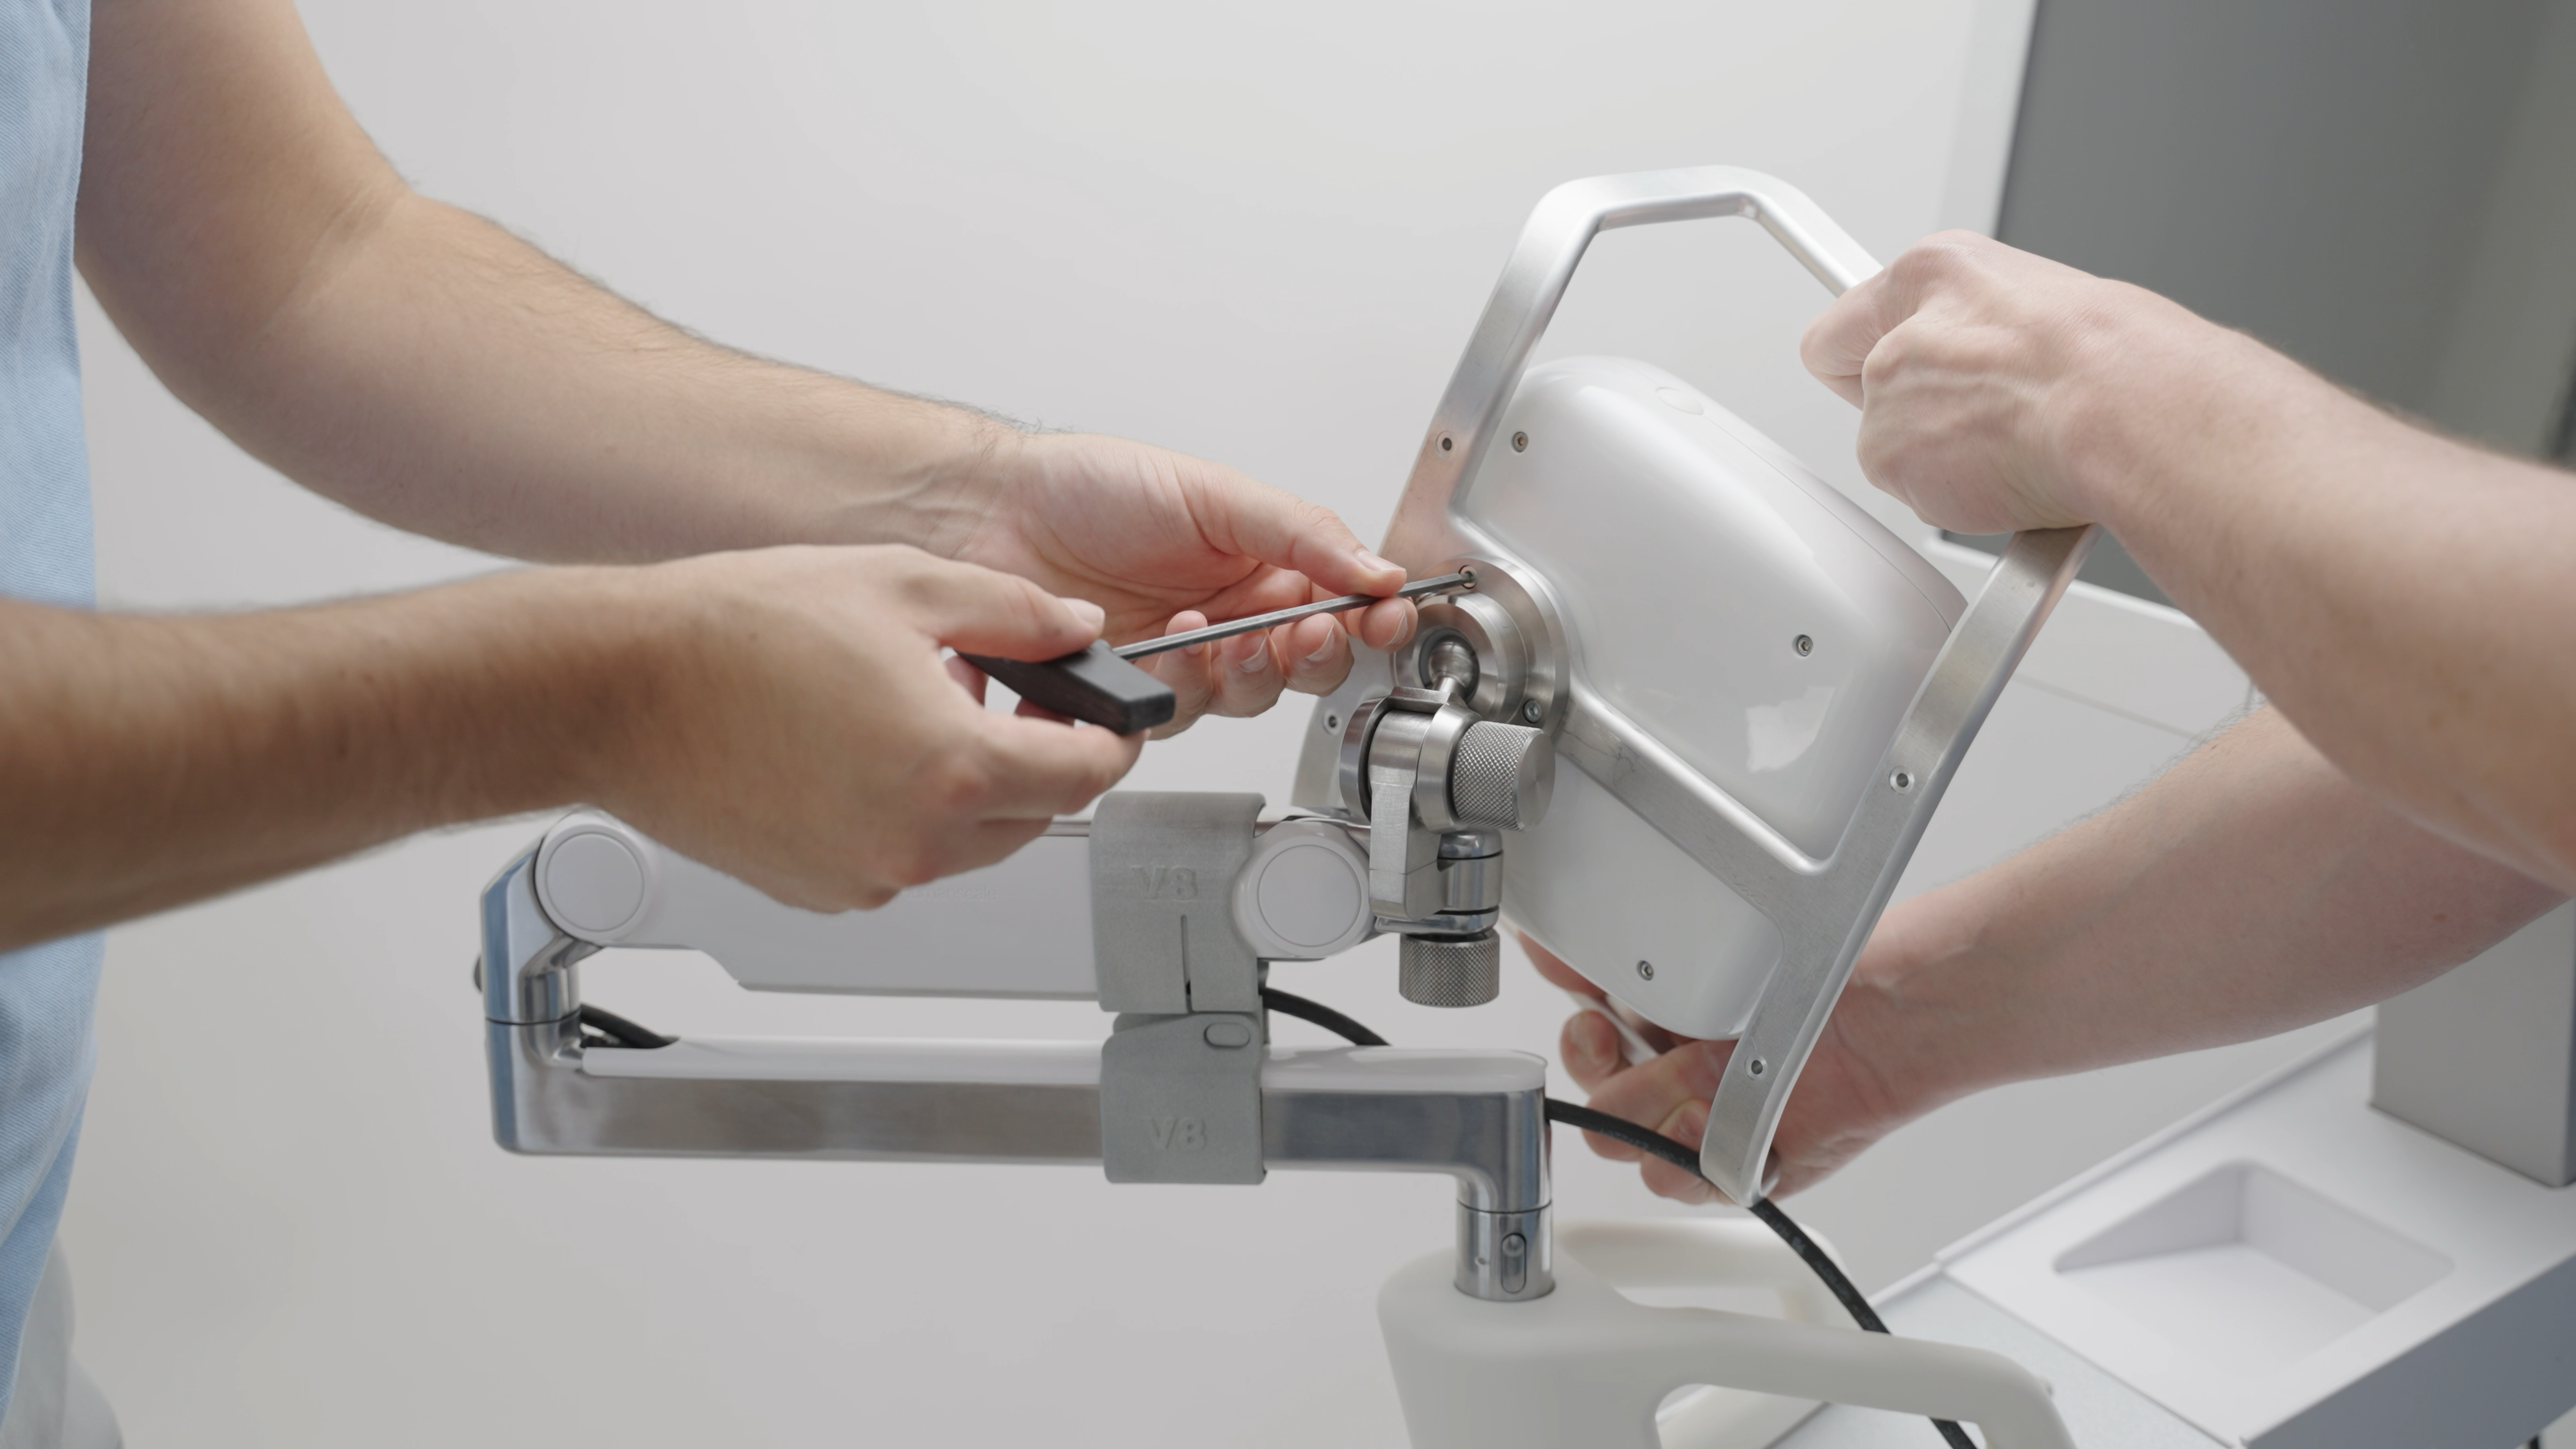
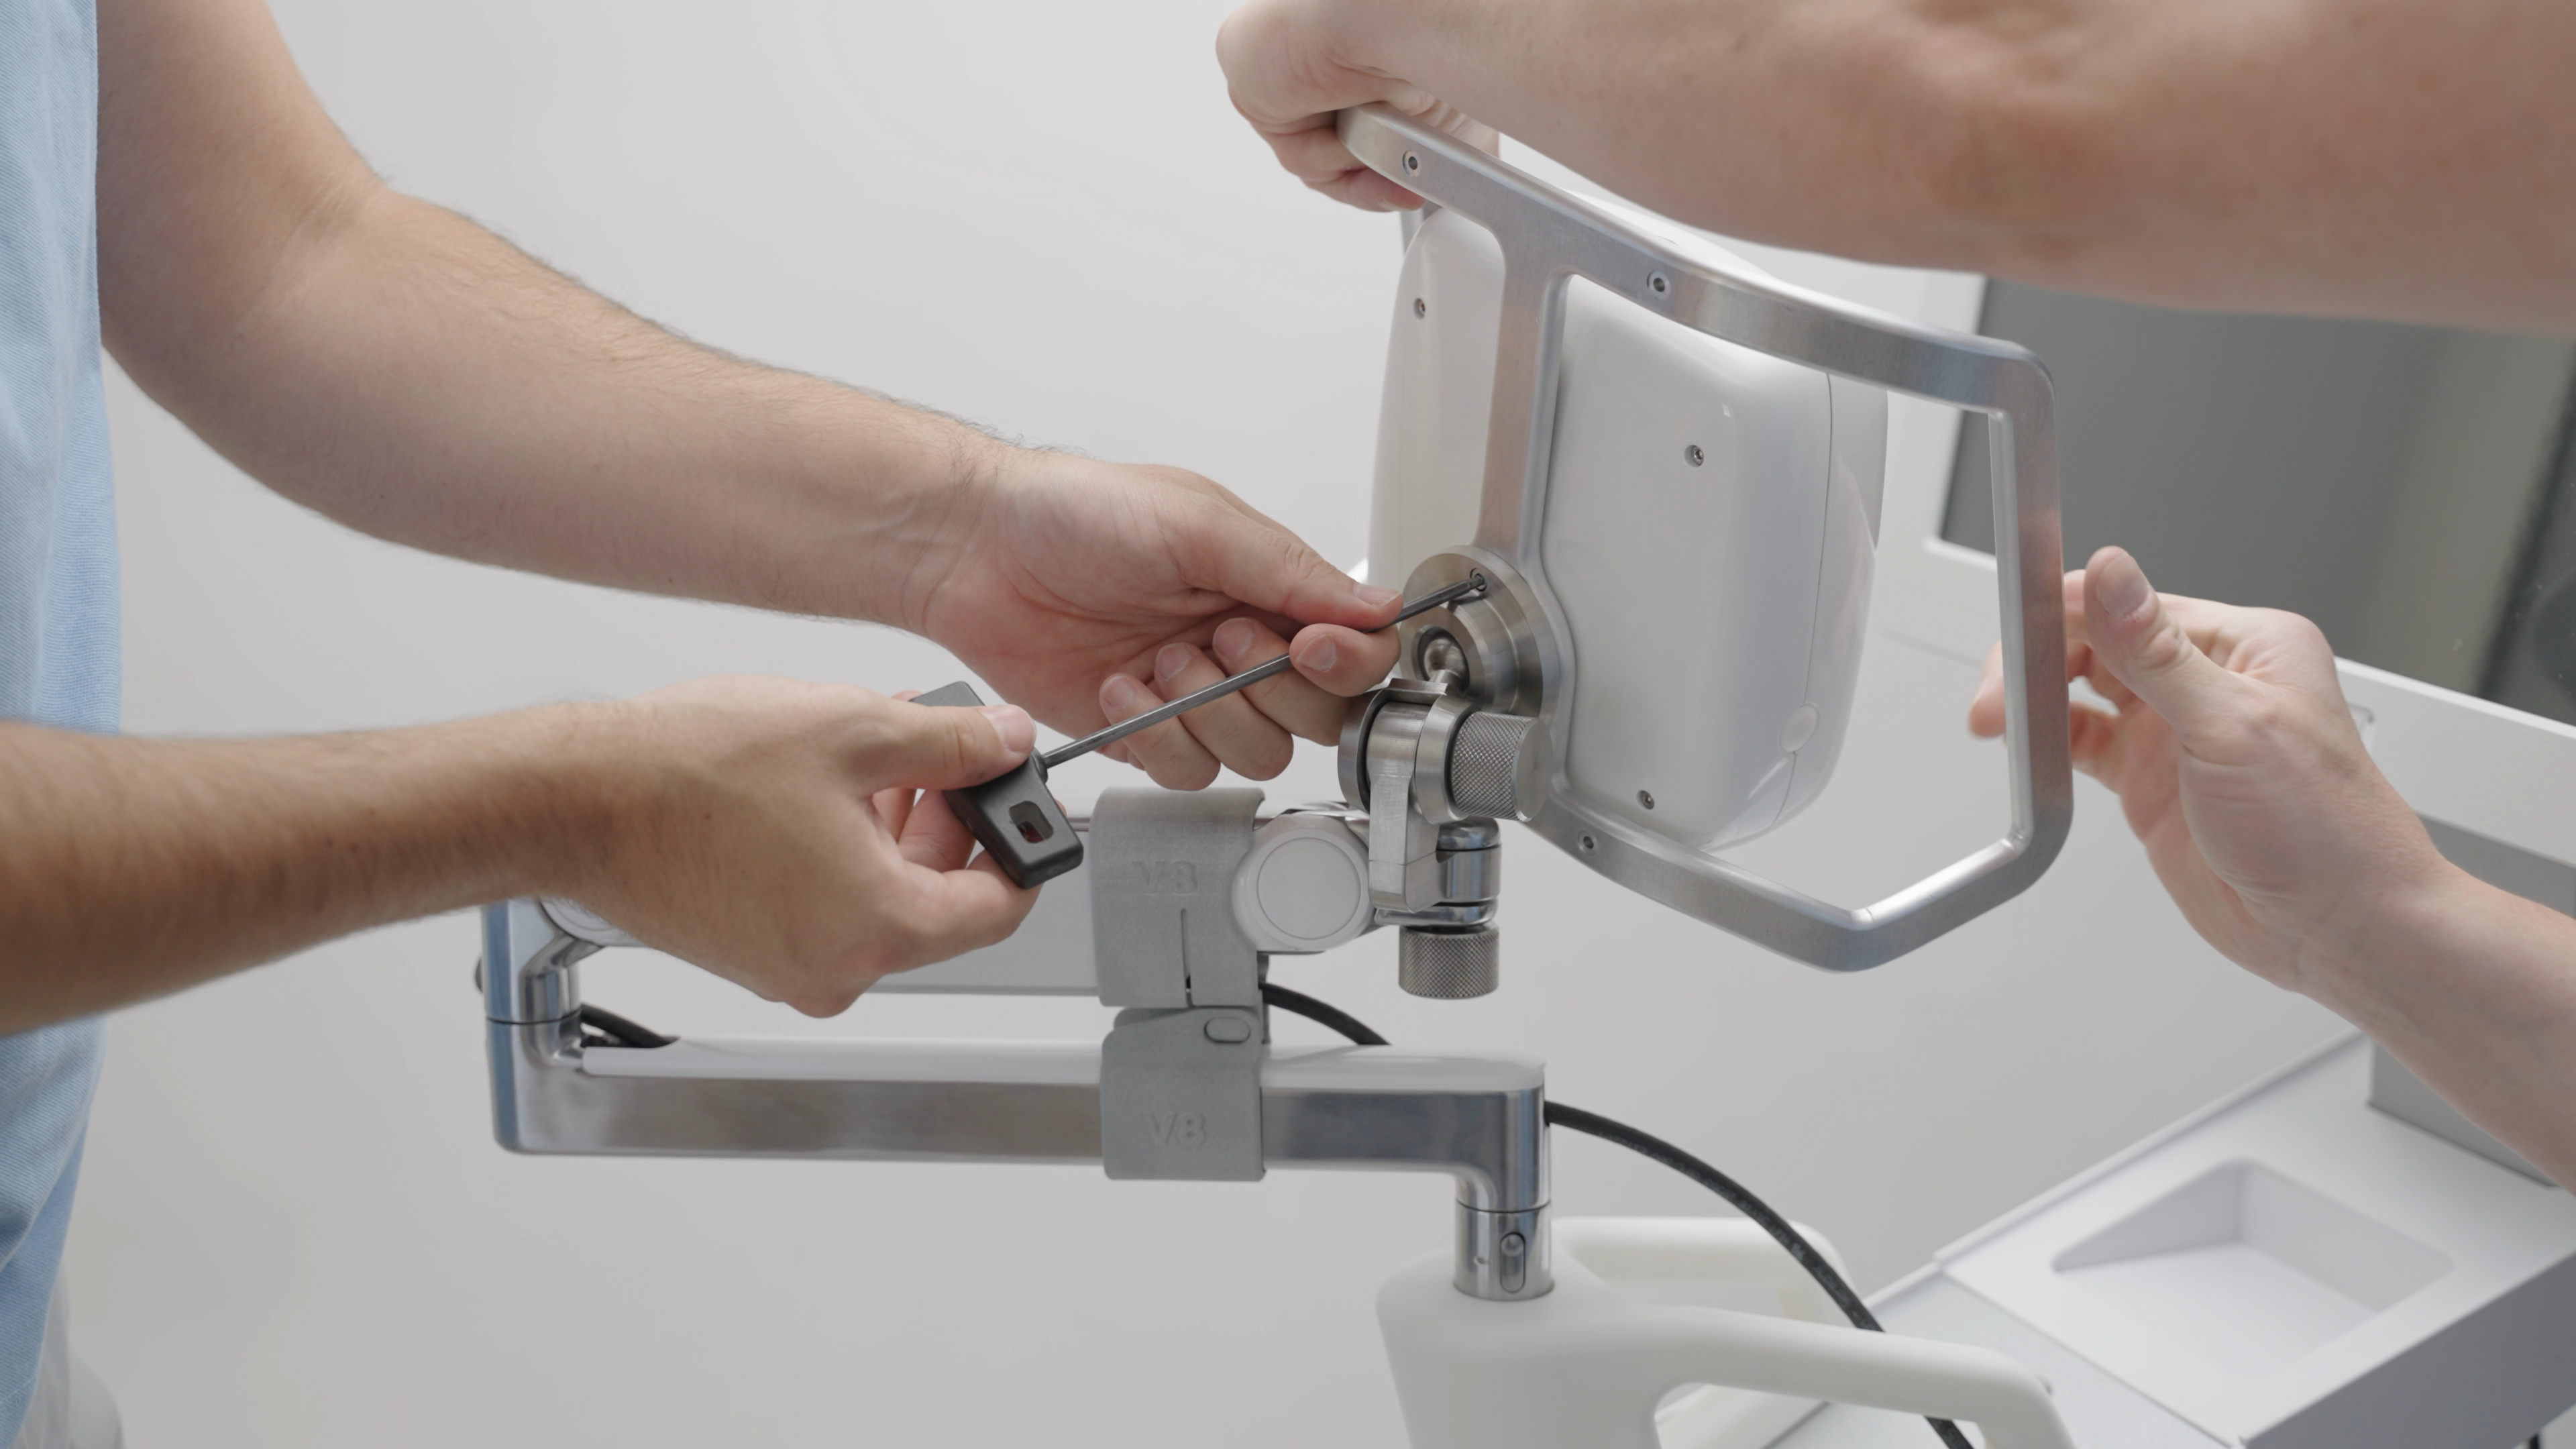
- Once all 3 screws have been loosened, proceed to fully unscrewing each screw. The Grip must be rotated to access all screws.
The second person holding the Grip must place special care during this step as the Grip will become loose when the screws are unscrewed. -
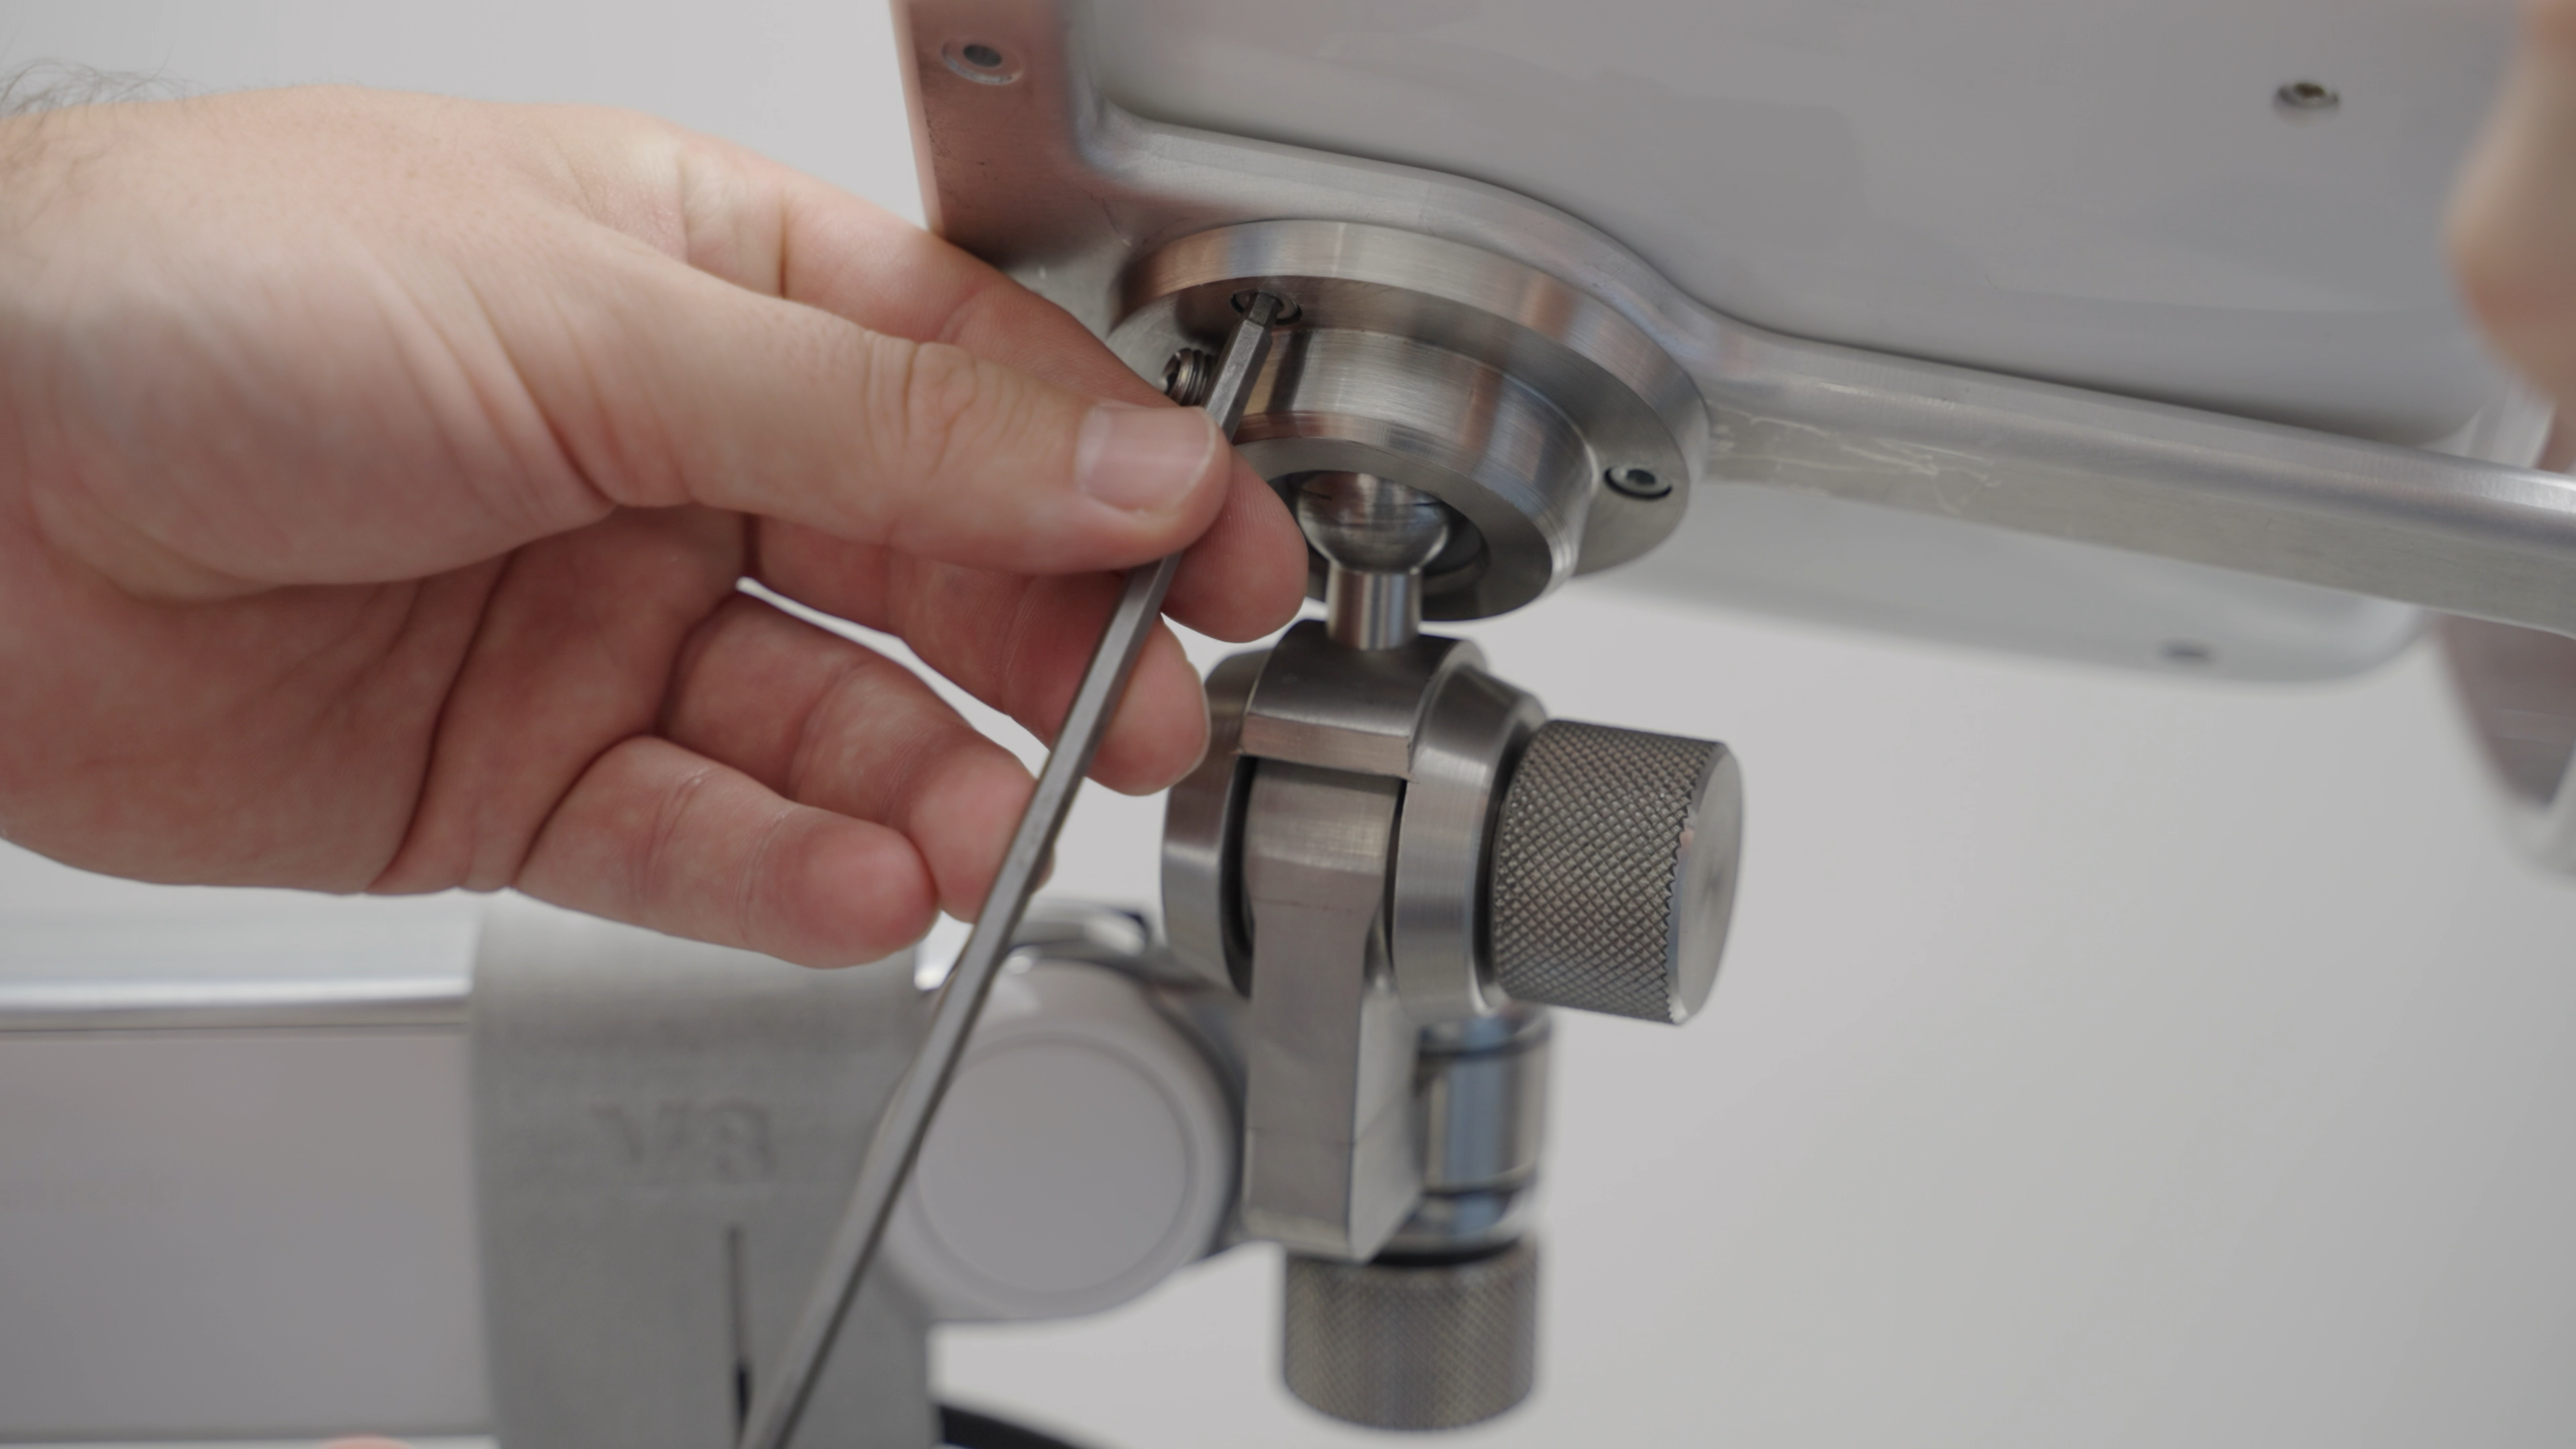
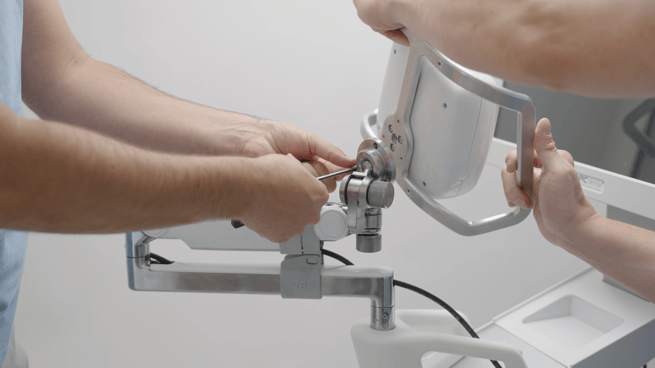
Place the Grip with the PIC camera on a flat, steady surface. Collect and store the screws as they will be needed to attach the PIC camera back.
Attaching the PIC camera back to the Zero-Gravity Arm
- If needed, you may optionally loosen the friction of the ball joint before starting to ease the following steps.
- Rotate the base on the ball joint all the way to a side.
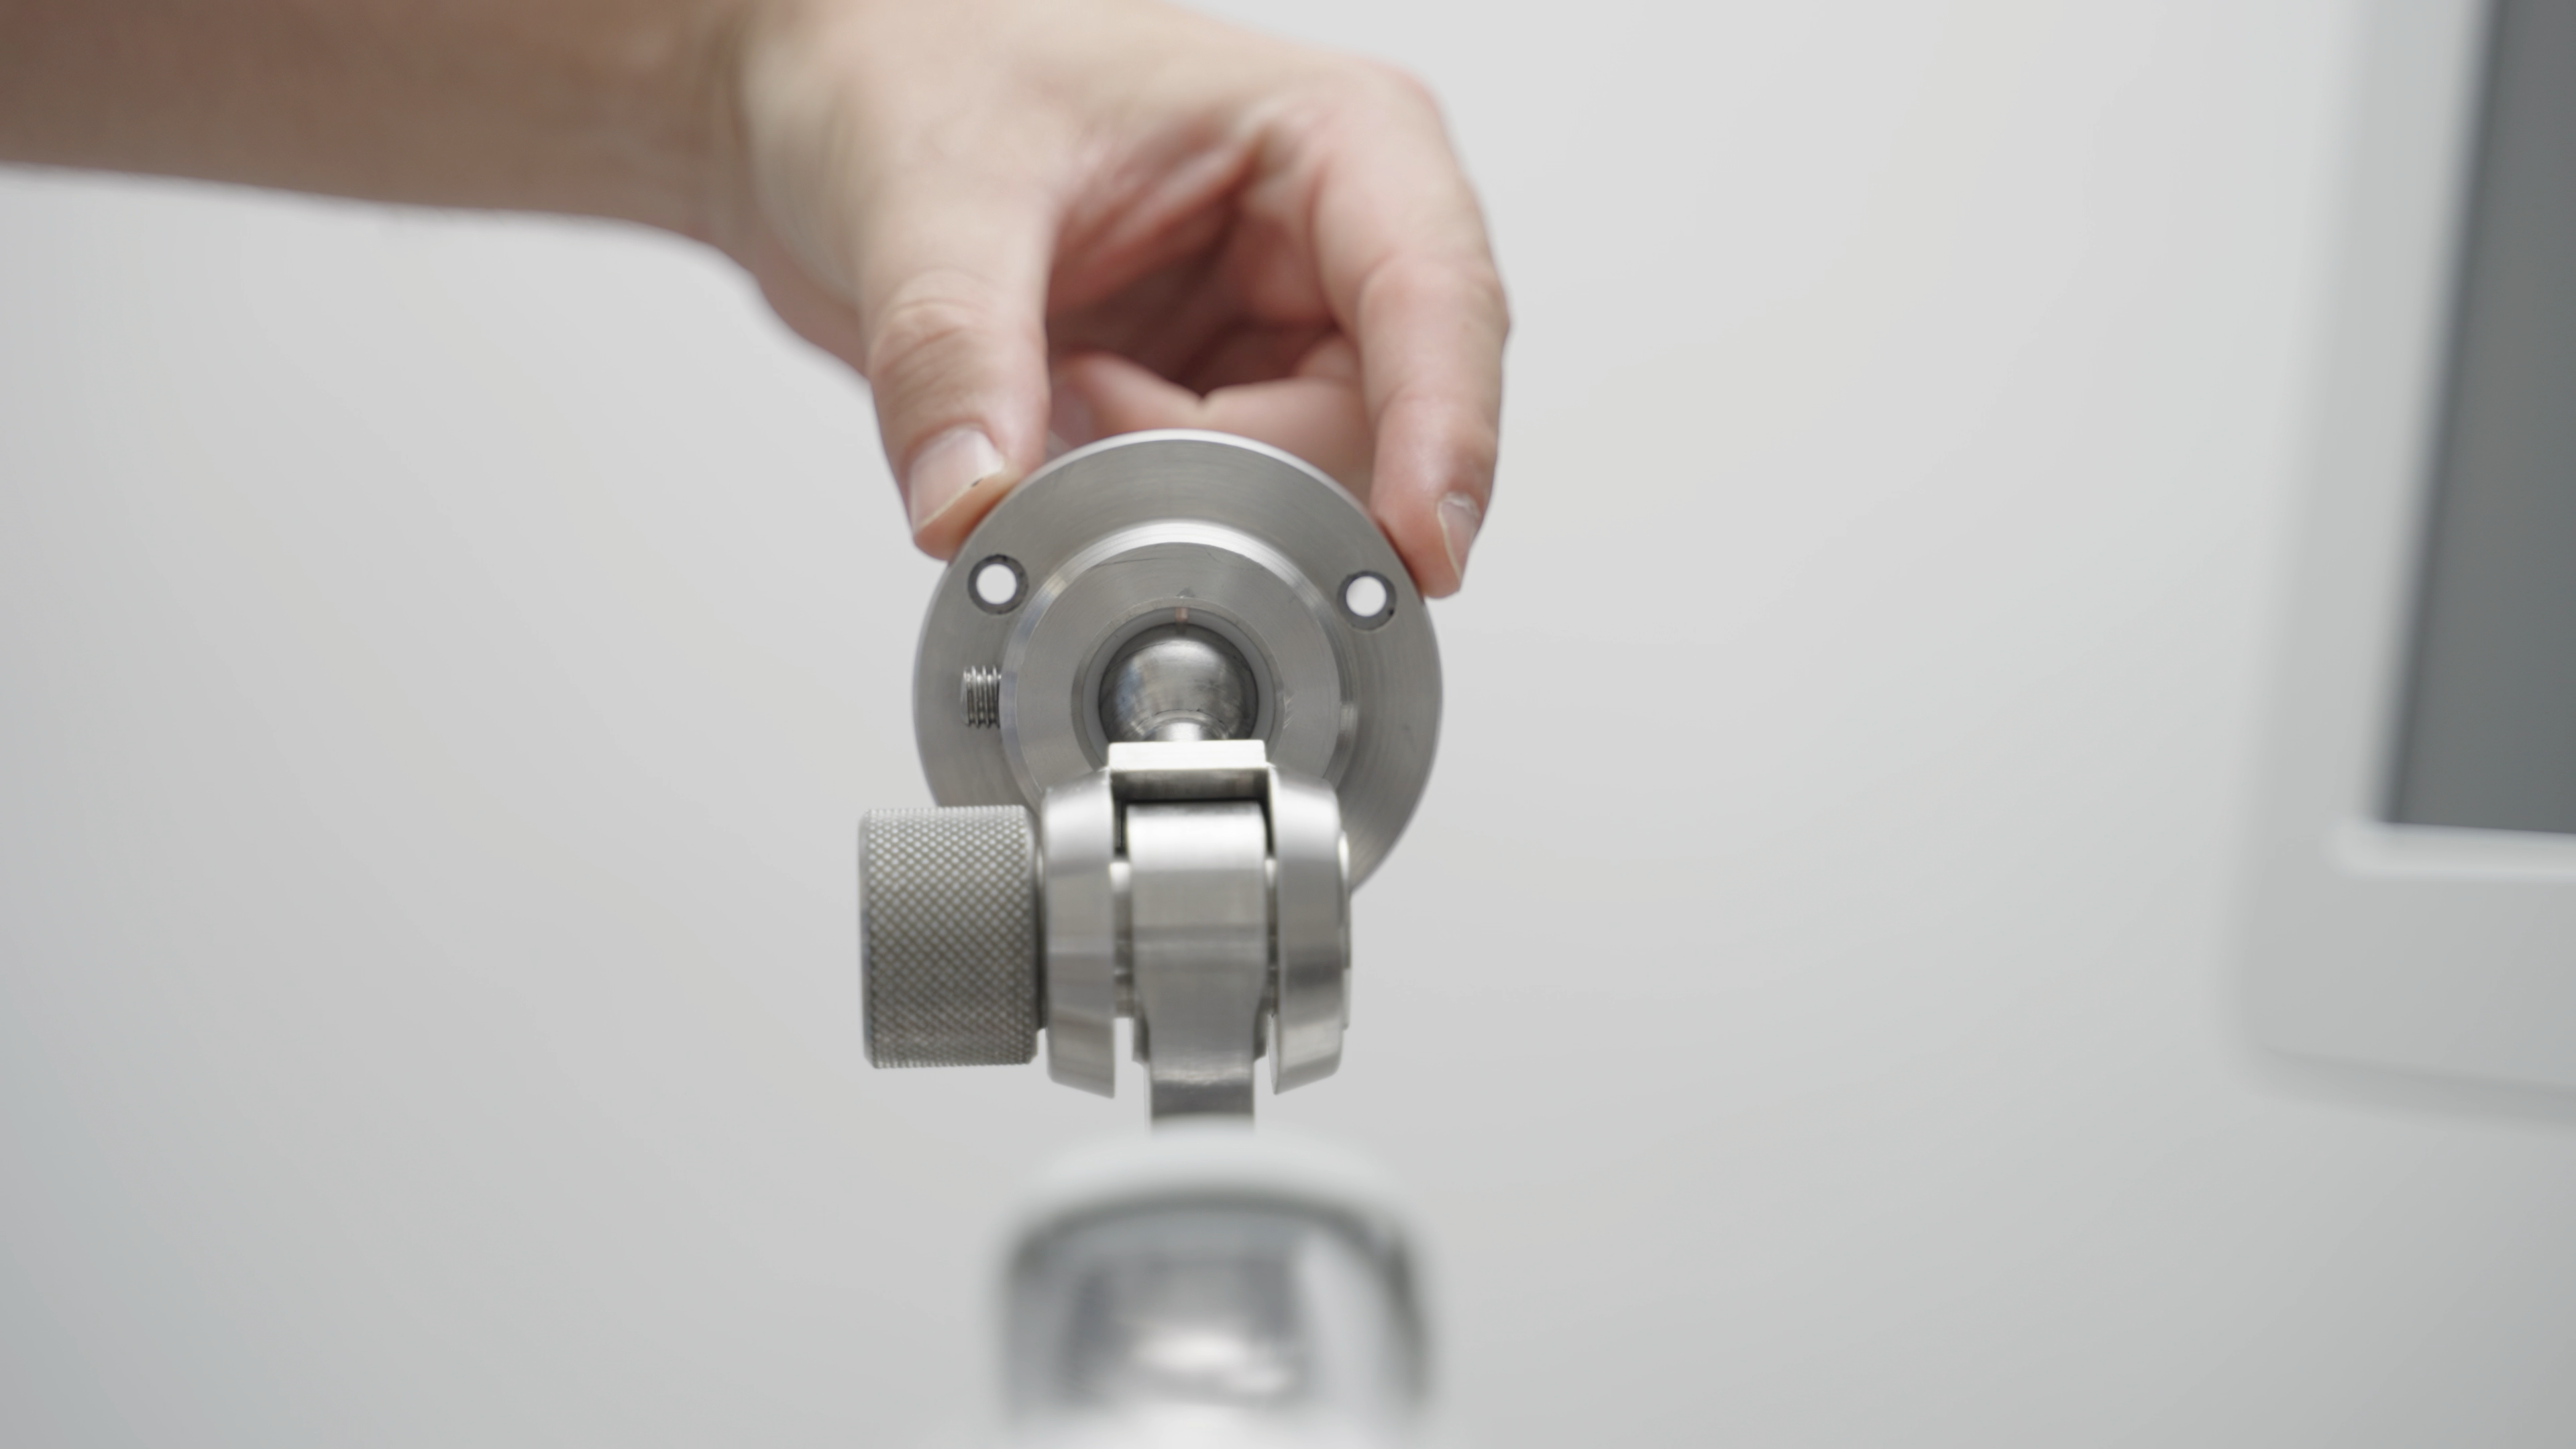
- A second person should firmly hold the Grip by both handles during all the remaining steps.
The second person holding the Grip should approach it to the base.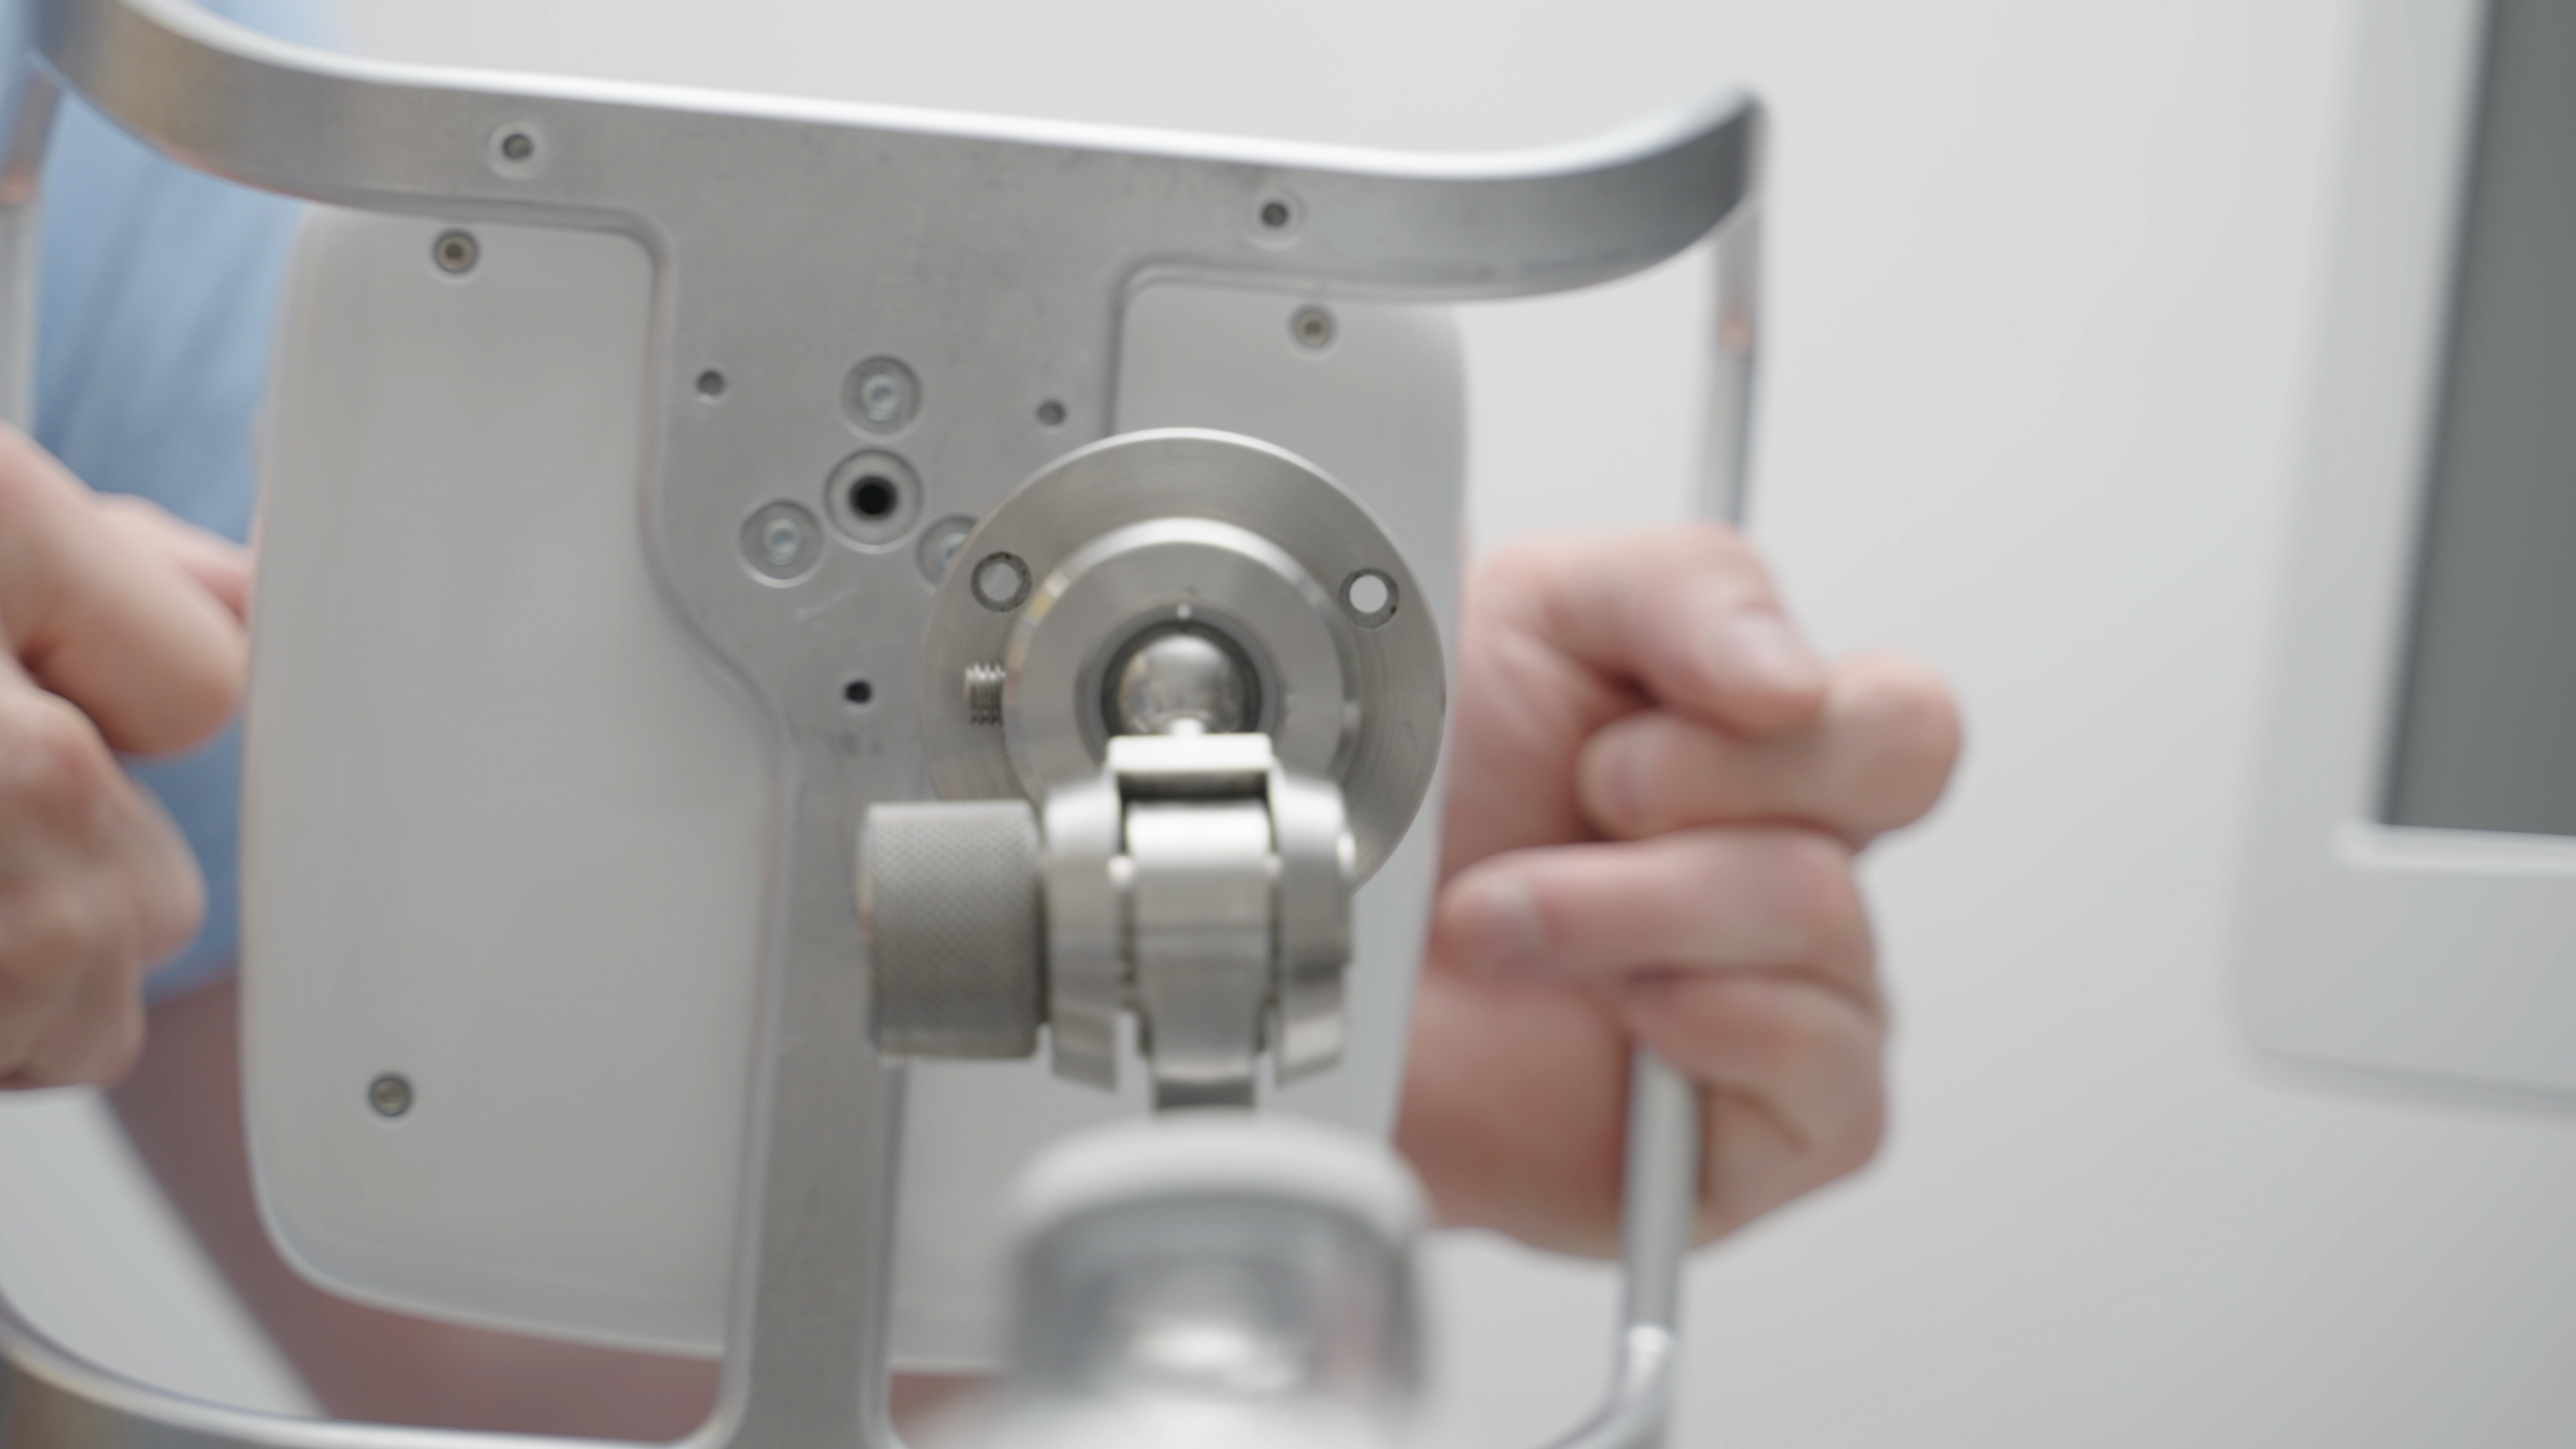
- Rotate the Grip and/or the base until their 3 holes are lined up. Screw in the 3 screws without fully tightening them.
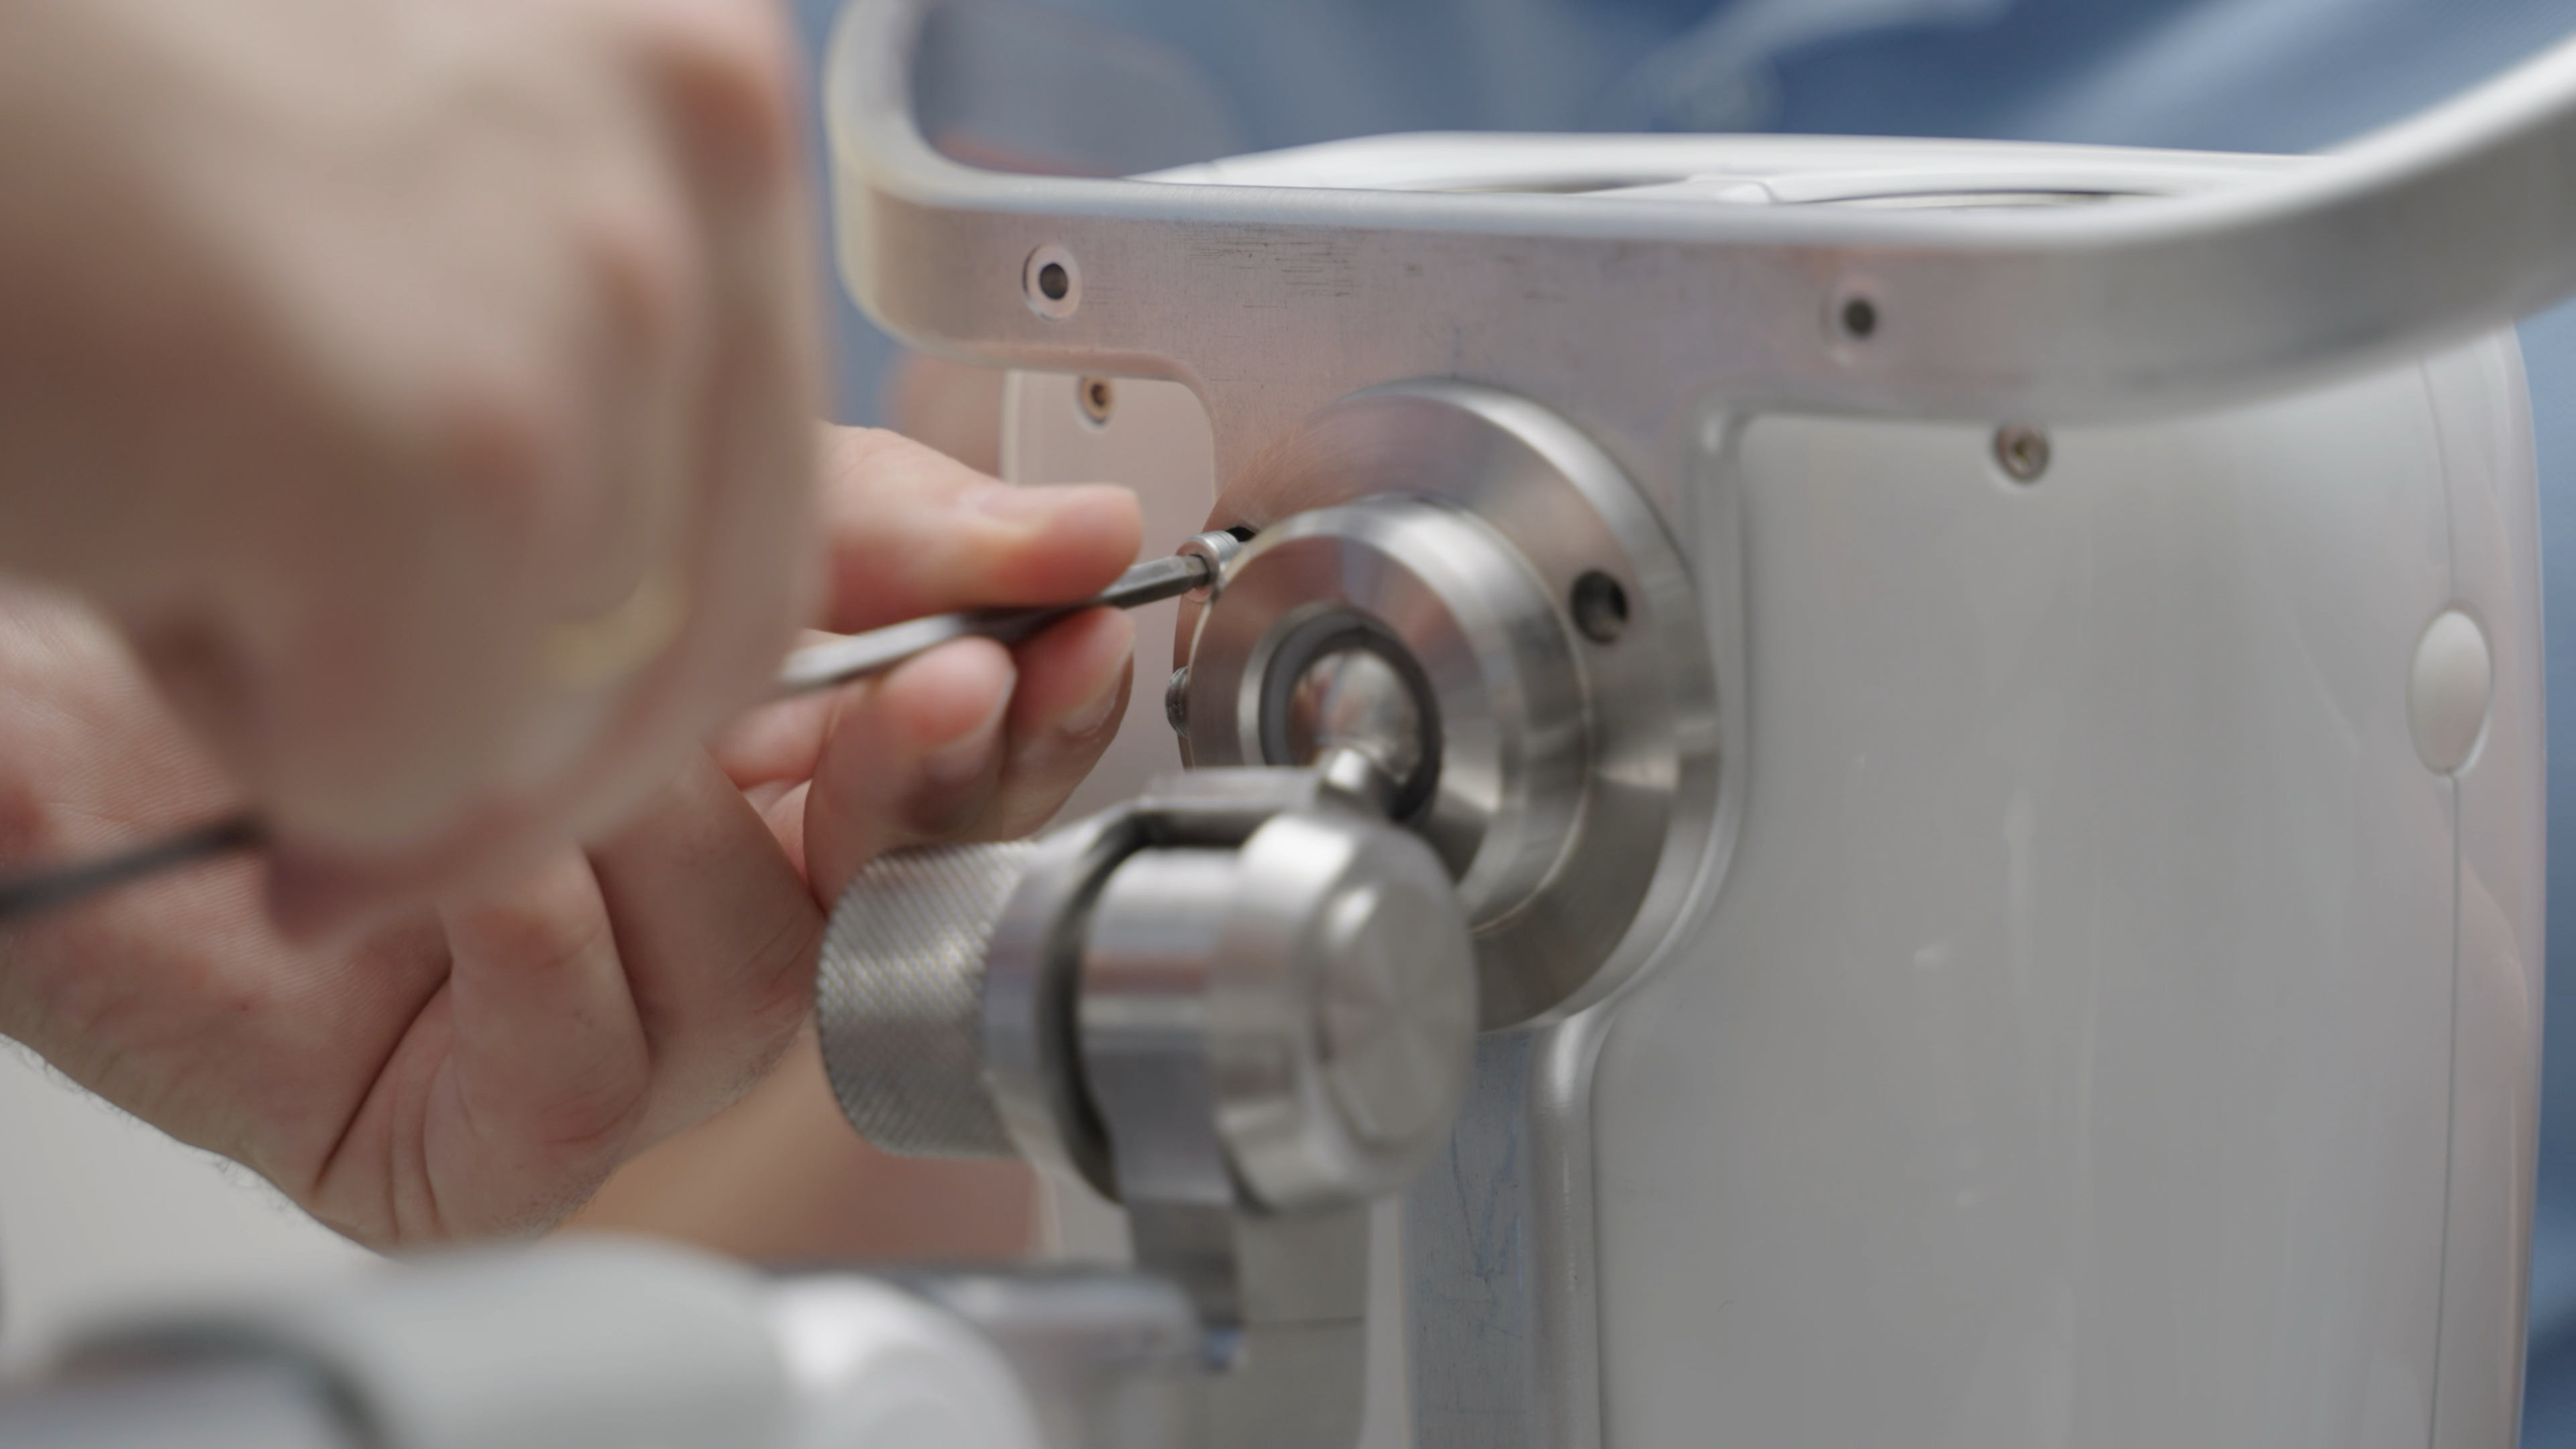
- The Grip must be rotated to access all 3 screw holes.
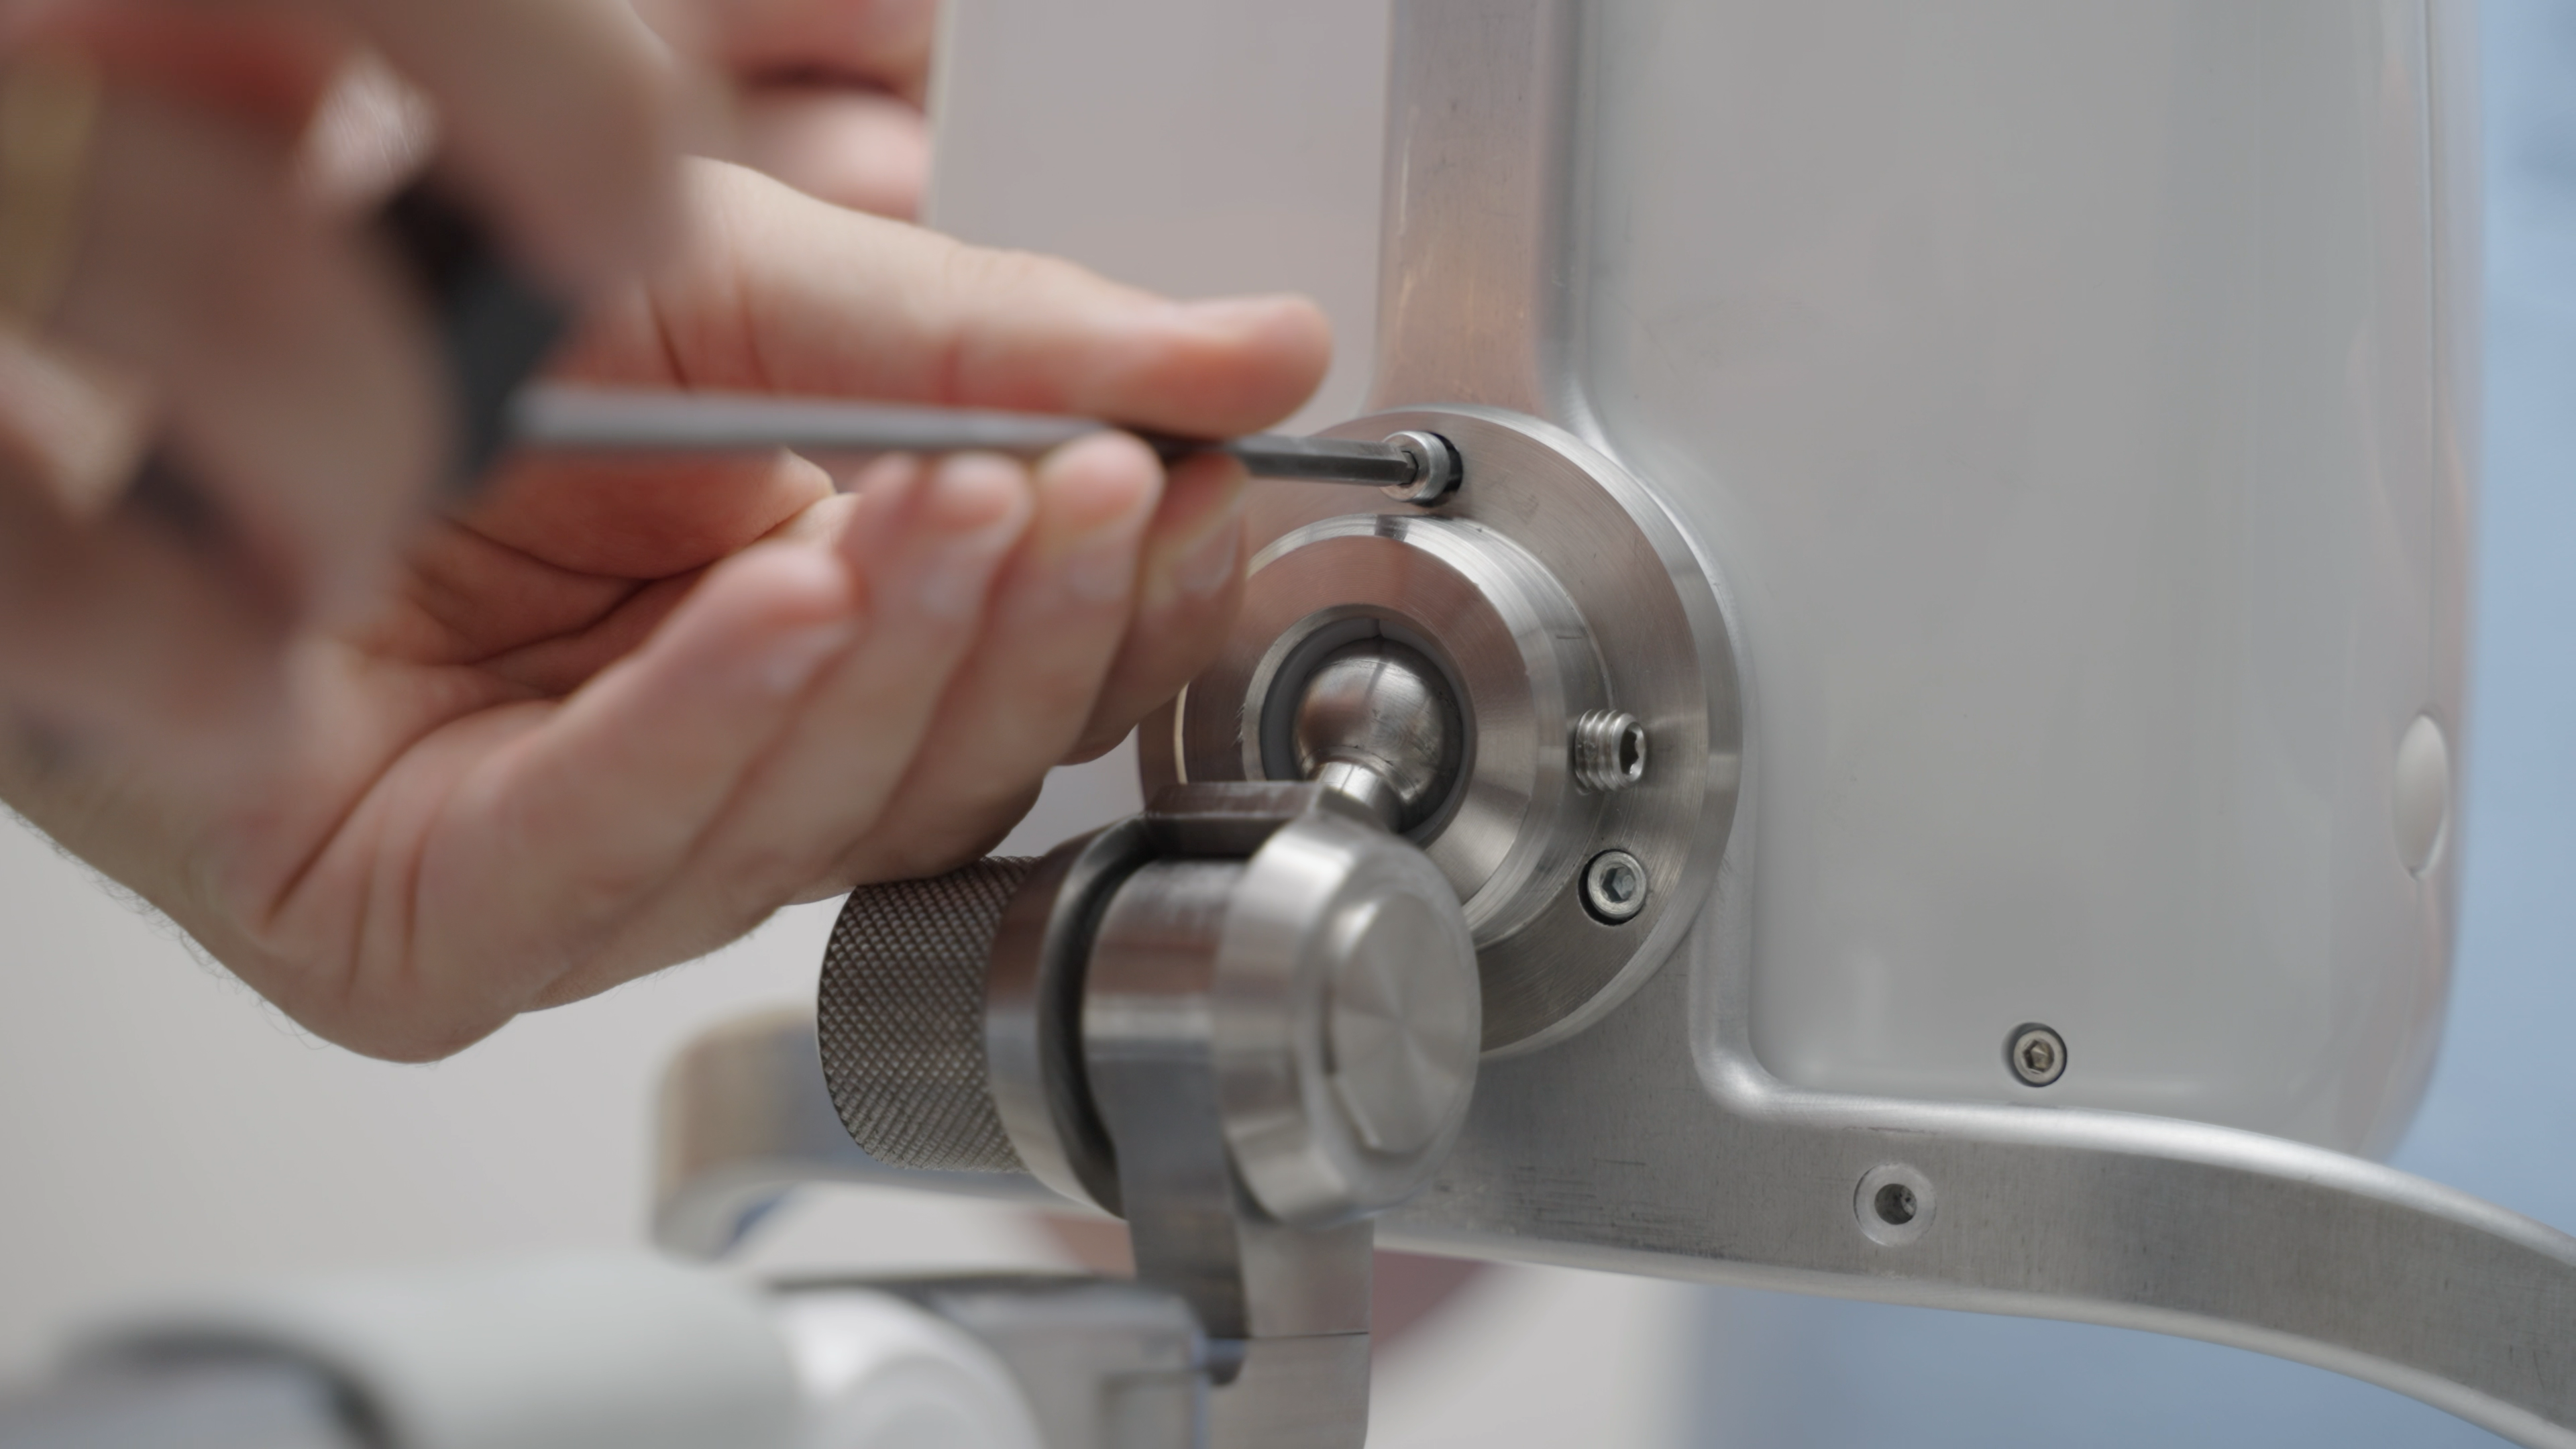
- Once all 3 screws are in place, tighten them fully.
- If you had loosened the friction of the ball joint for the installation, tighten the friction back again to your preference.