
An implant may fail or be rejected after surgery in some clinical cases. If this happens and such an implant has already been captured by the PIC system, it will still be part of the PIC file export. There are two ways to proceed to avoid interference when aligning the soft tissue data:
- The lab technician can be informed about the situation and instructed to skip the unused implant in the PIC file when performing the alignment with soft tissue scan data.
- It is also possible to remove the implant directly from the PIC file before exporting by following the instructions below.
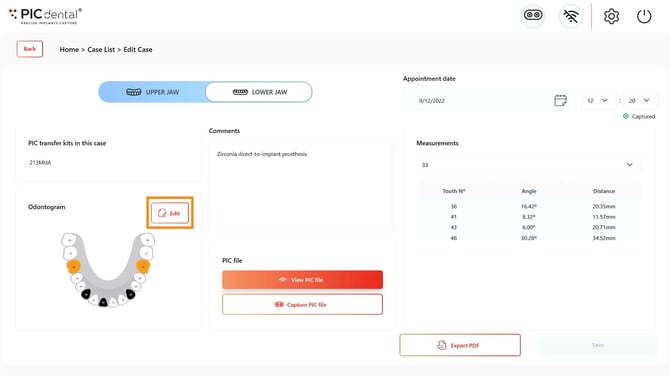
To delete an implant or implants from a PIC file after capture, access the Odontogram Editor from the Case Summary page by tapping the Edit button next to the odontogram preview:
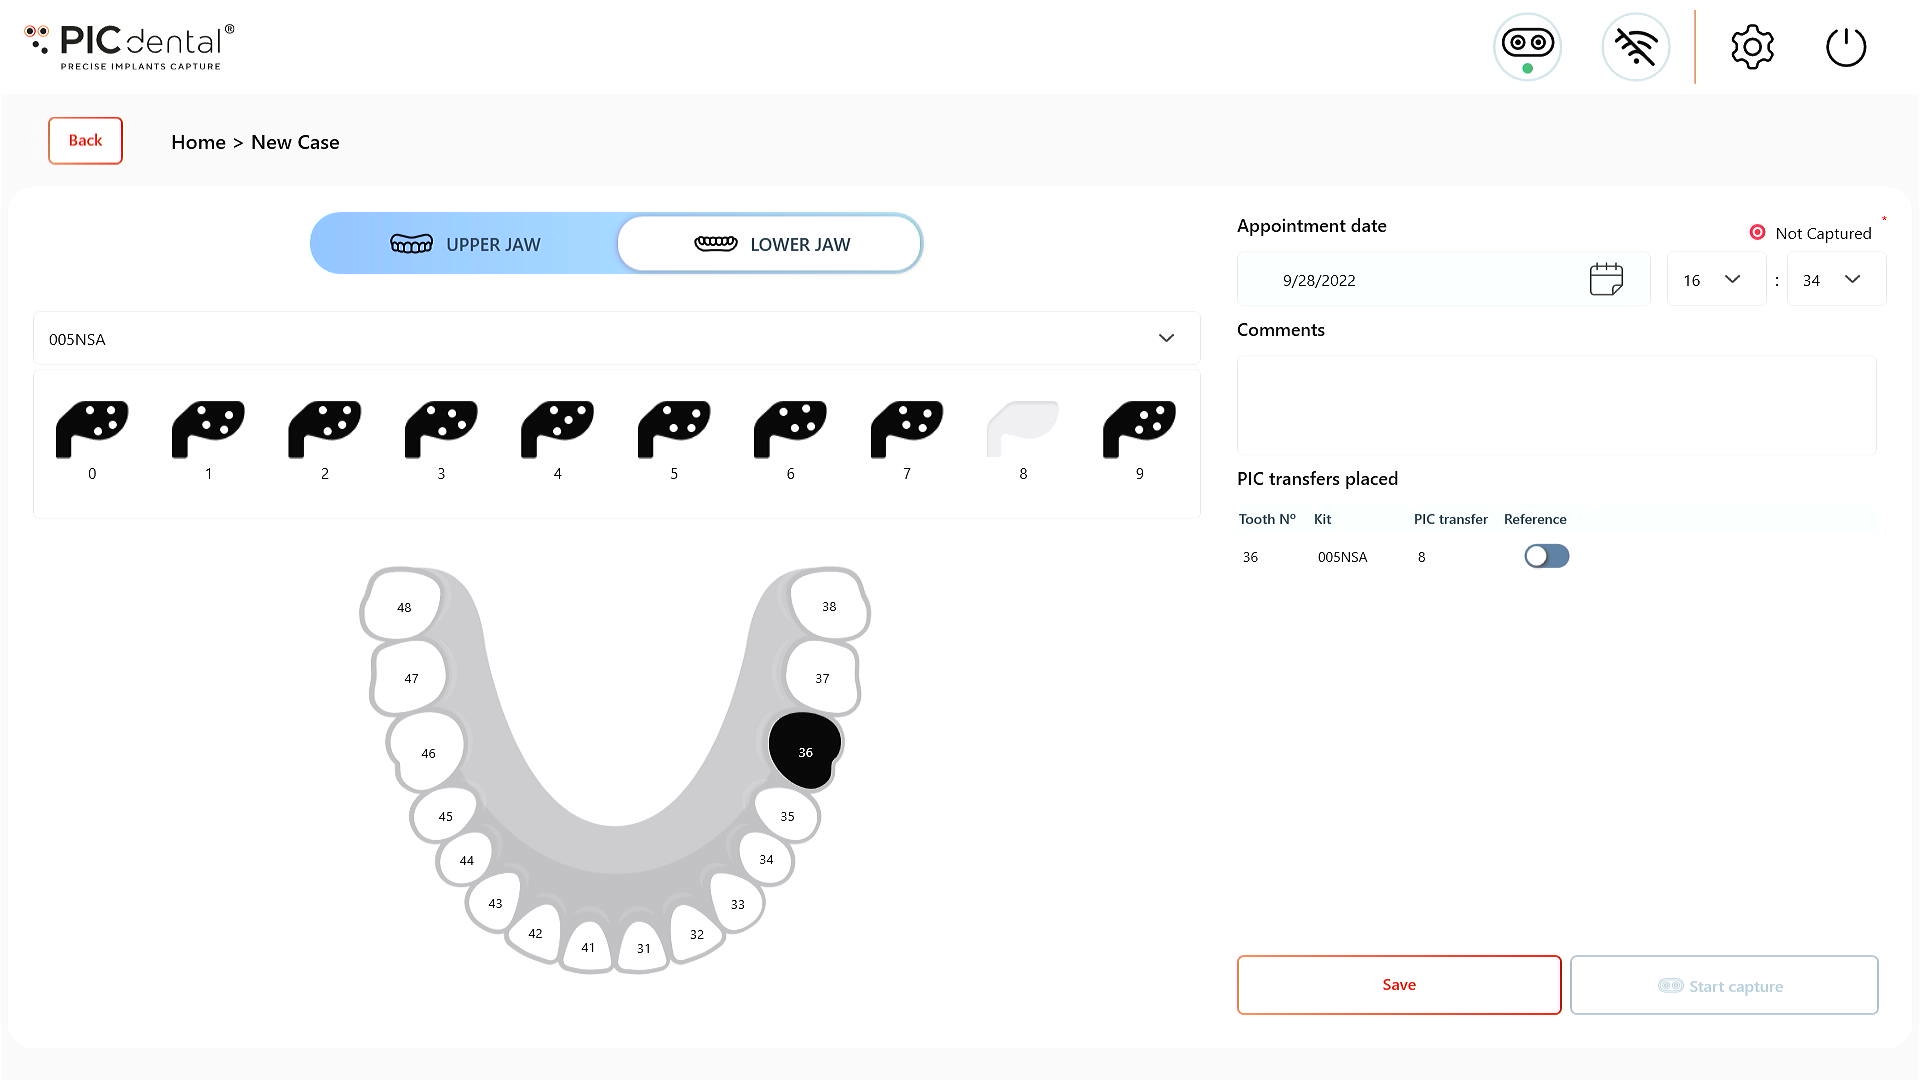
At the Odontogram Editor, tap once on the tooth position of the implant to be deleted on the odontogram.
The PIC transfer will return to back to the original list.
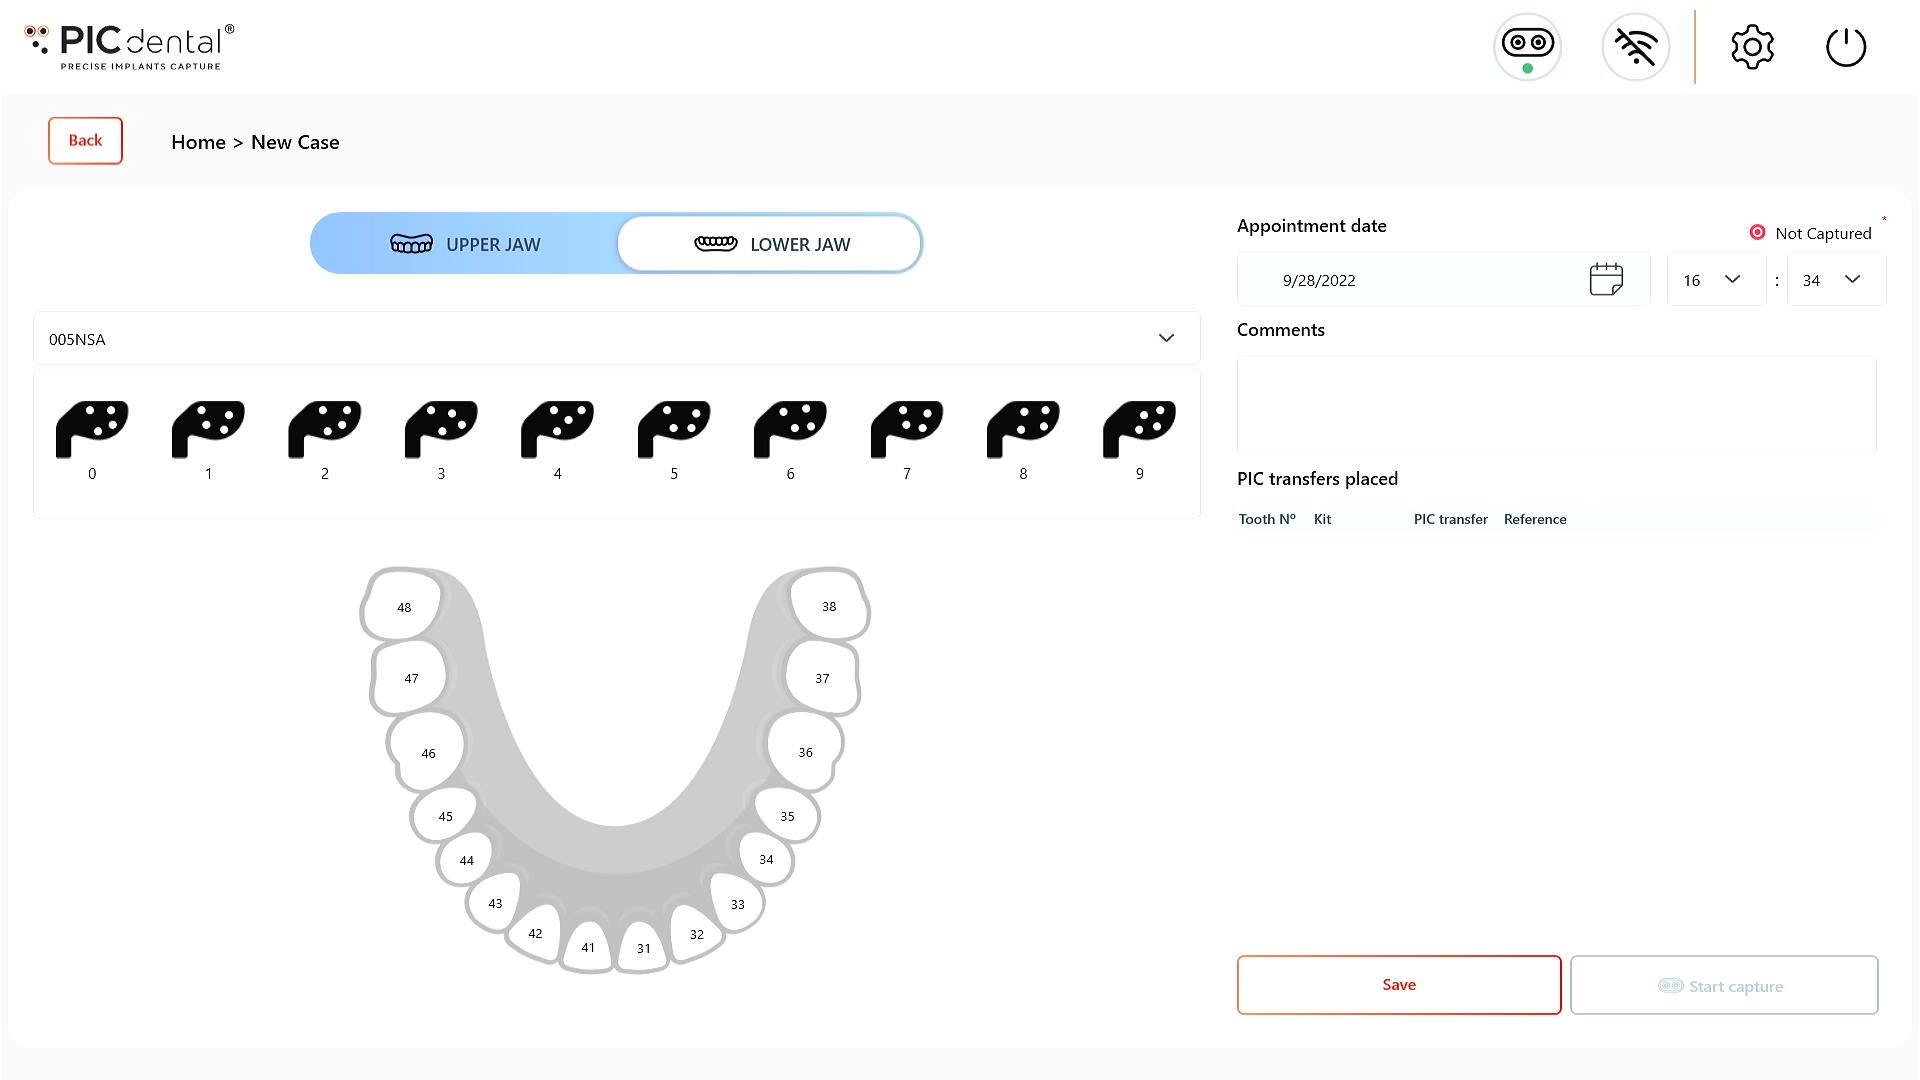
Save changes, return to the Case Summary and proceed with exporting the PIC file.
Deleting an implant from a PIC file after capture is an irreversible process. Please double check that you have chosen the intended implant or implants for deletion.
The only way to recover implant positions and angulations that were deleted unintendedly is by recreating the case and repeating the PIC file capture with the patient.