Cold sterilization of PIC transfers with Rely+On™ PeraSafe™: step-by-step
How to use PeraSafe™ to cold sterilize PIC transfers after a capture.
There are three different methods to sterilize PIC transfers. This article describes one of them.
FULL ARTICLE: How to sterilize PIC transfers
Cold sterilization with Rely+On™ PeraSafe™
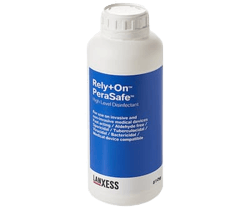
PIC transfer reprocessing has been validated for high-level disinfection, within the European Union (CE mark, Regulation EU 2017/745), with Rely+On™ PeraSafe™ disinfectant. The instructions for use of the disinfectant's manufacturer must be strictly followed.
Materials needed:
 Gloves
 - Interdental brushes
- Dry paper x2
- Two water recipients
- Sterilization pouch
- Rely+On™ PeraSafe™ powder
Step-by-step instructions
Before proceeding with any of the sterilization protocols, you must first clean the PIC transfers. Cleaning removes all solid residue and is mandatory to ensure that the sterilization reaches all the surfaces of a PIC transfer.
MORE INFORMATION: Cleaning before sterilizing
- Wear gloves and prepare the surface with dry paper to avoid stains.
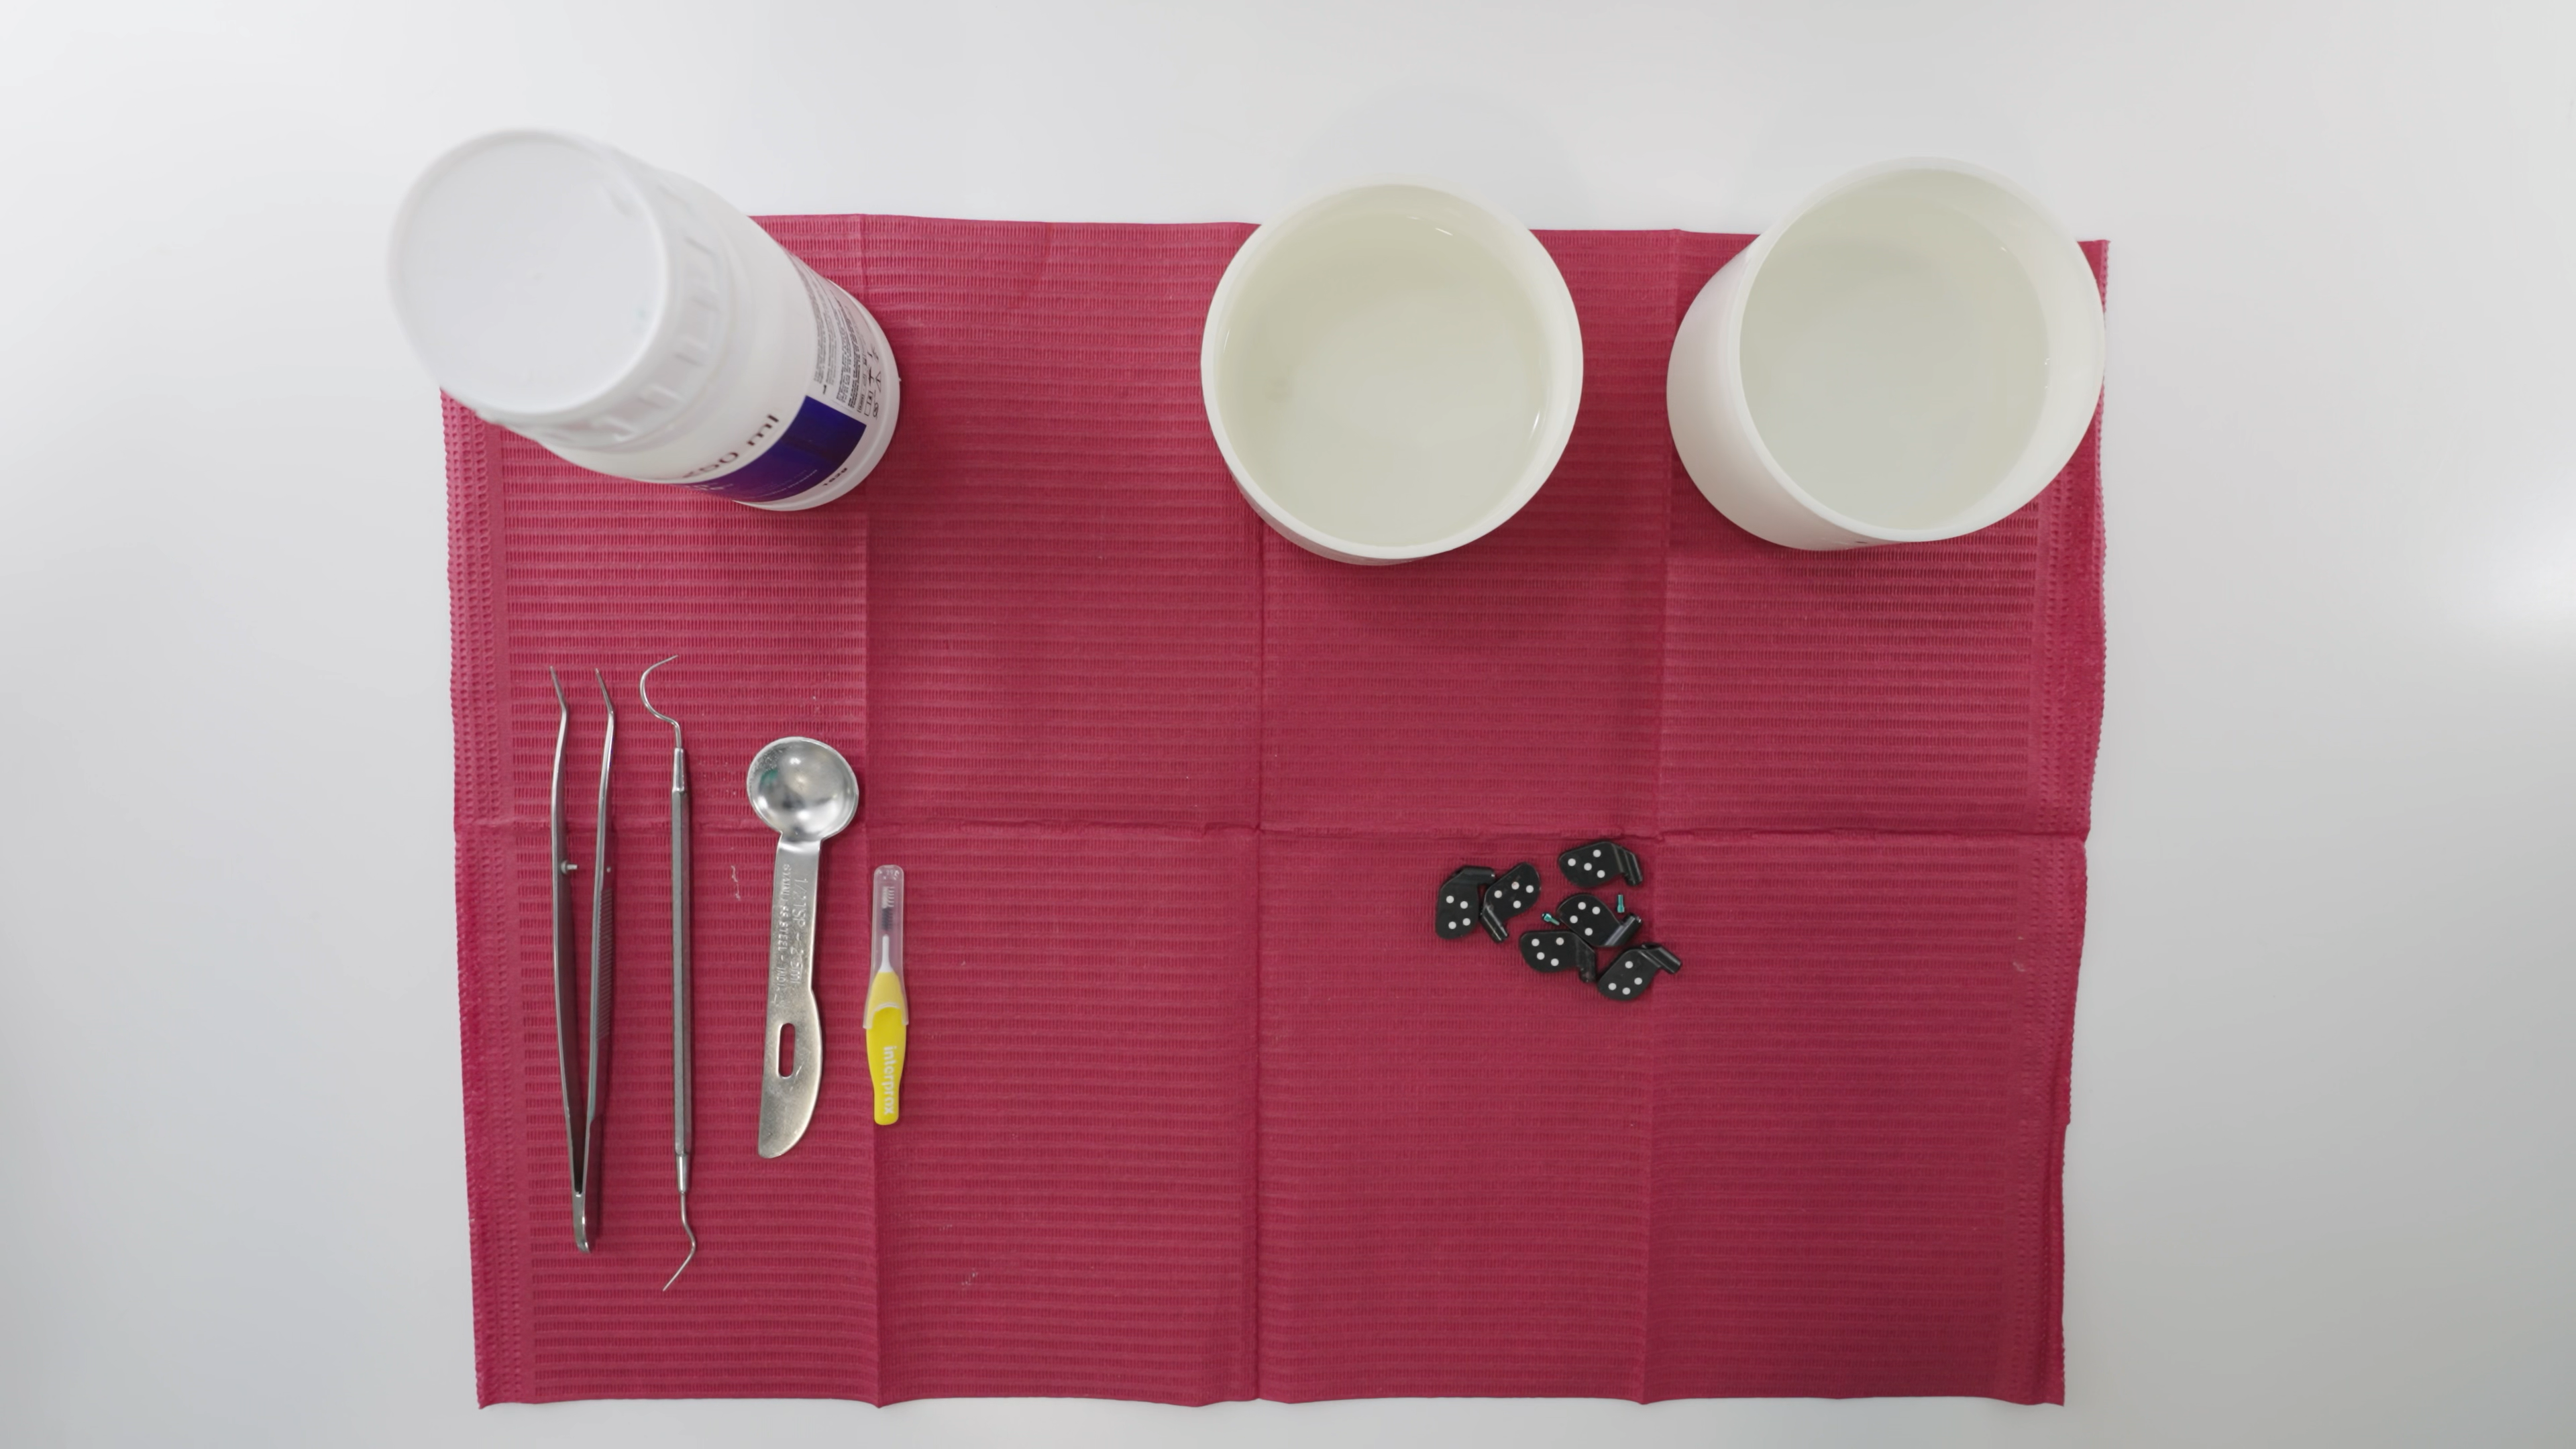
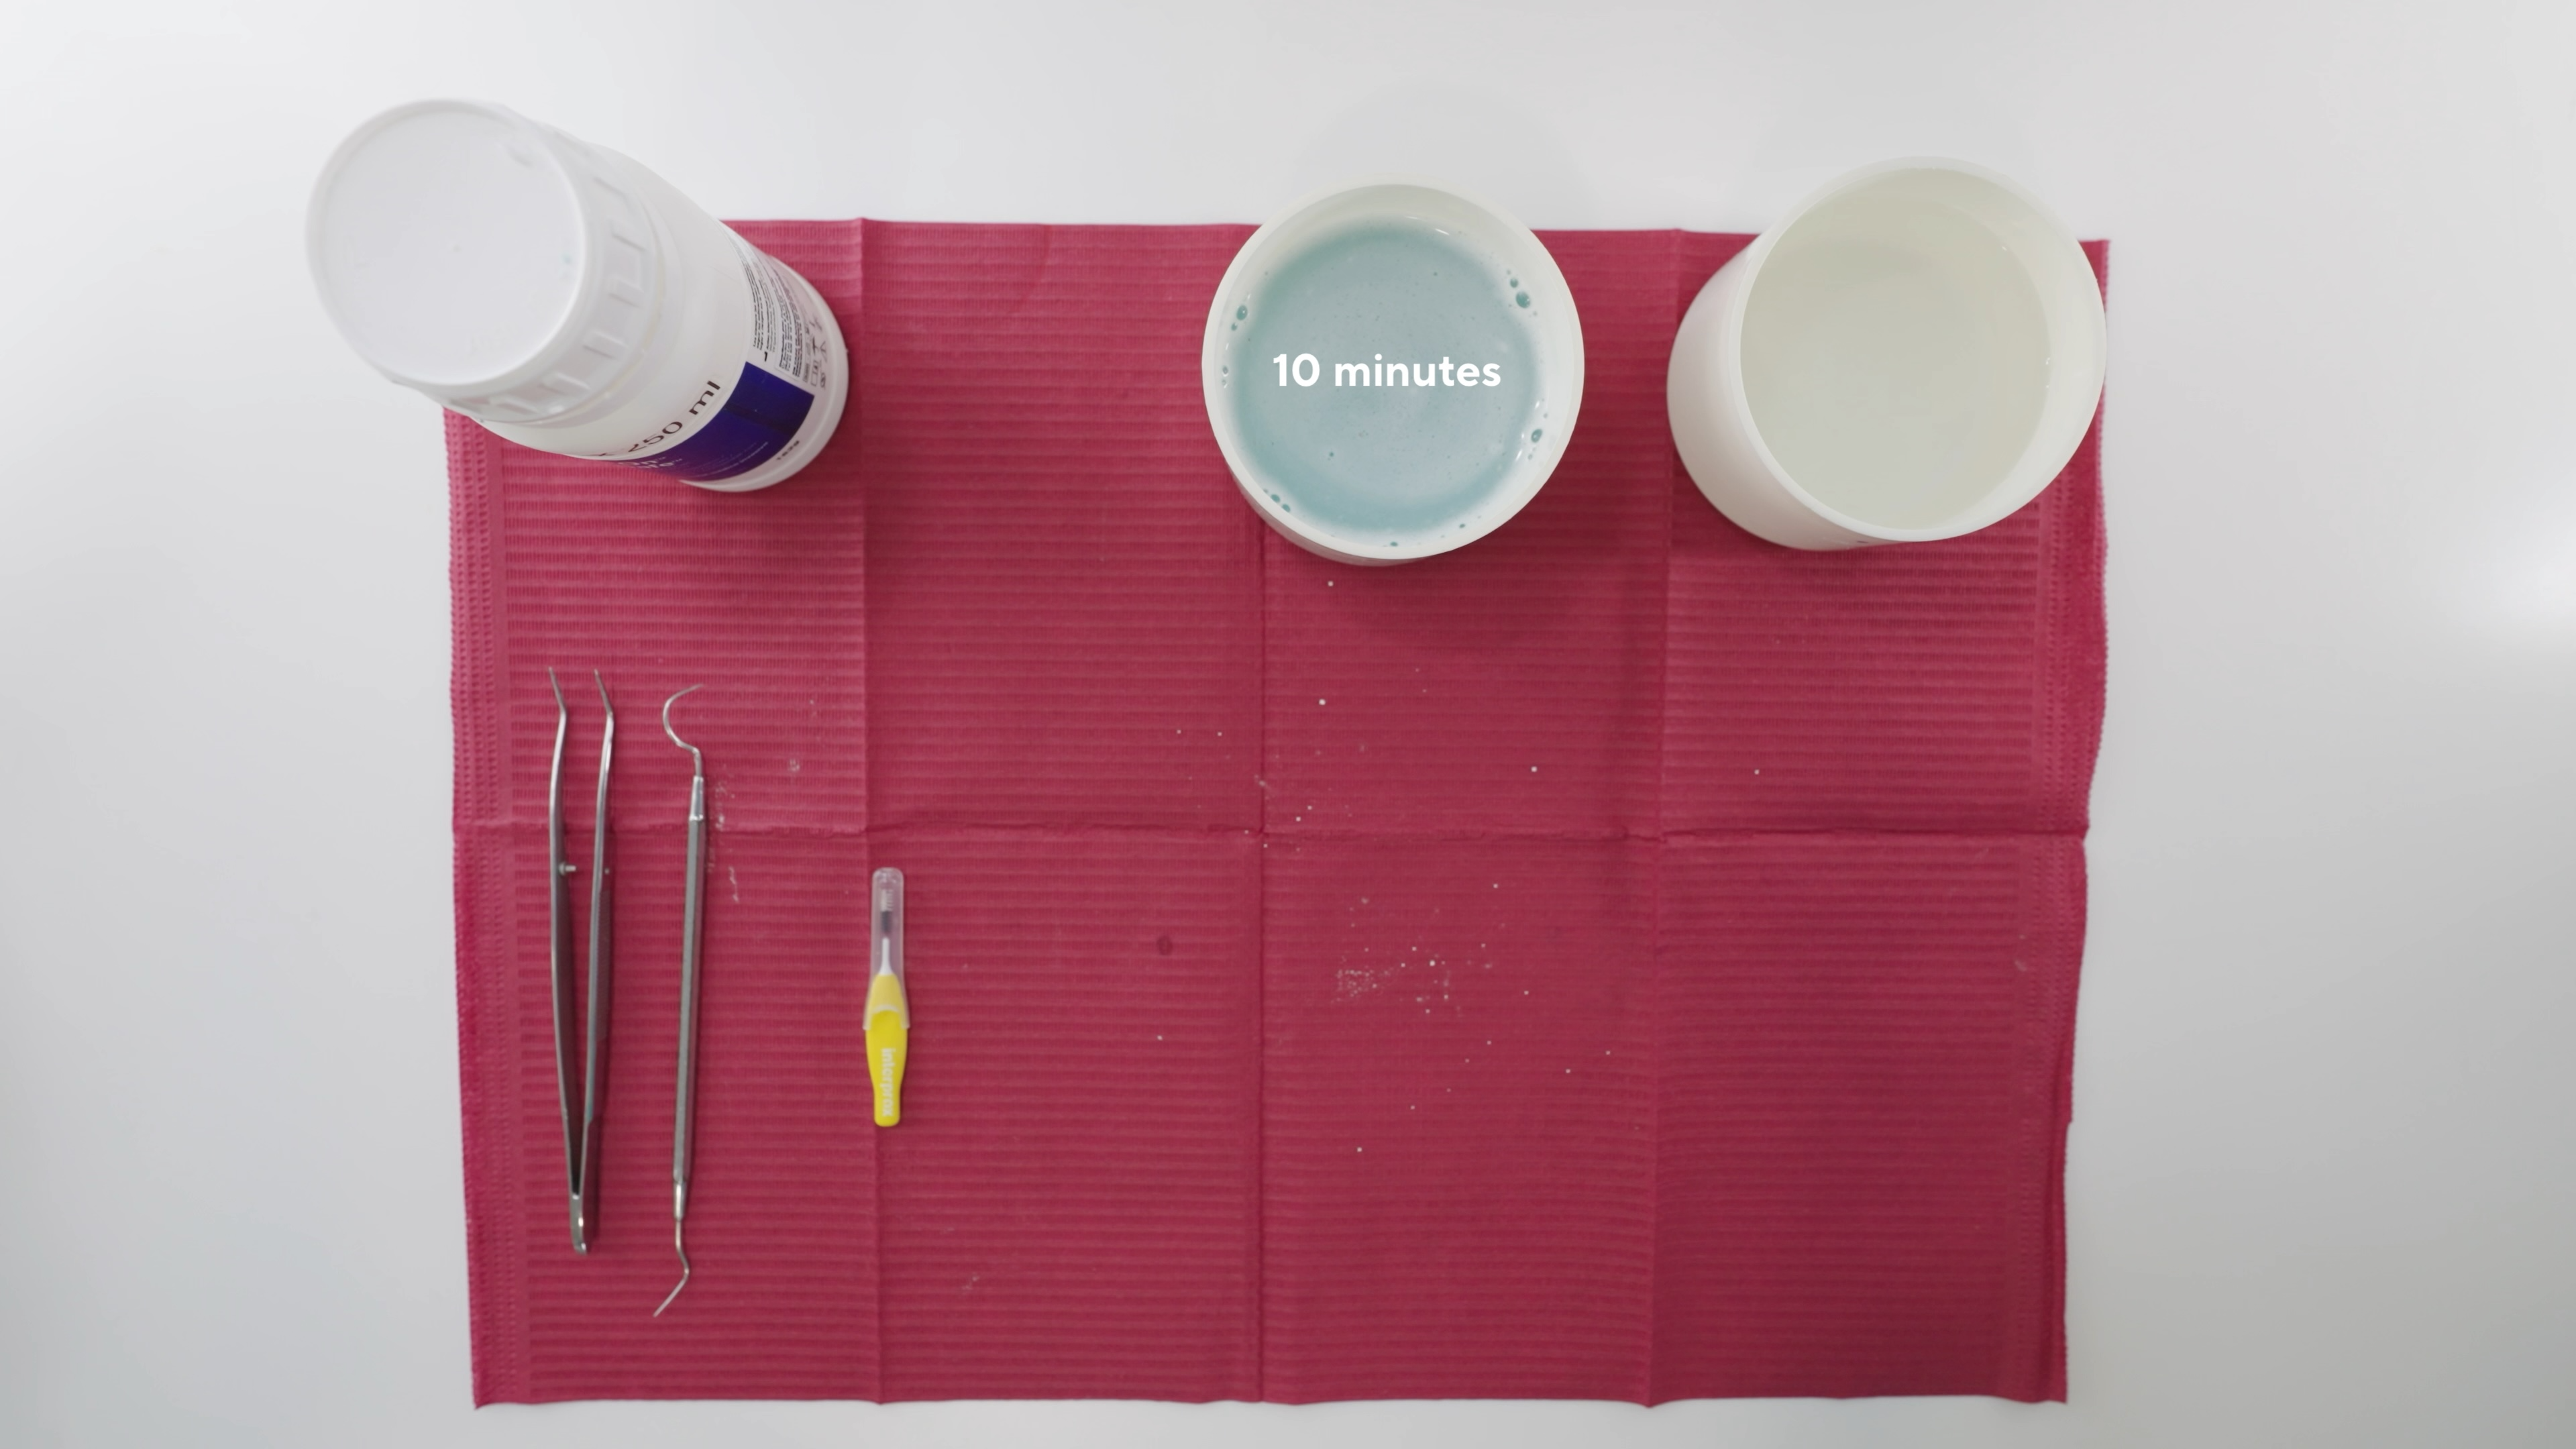
- Measure out PeraSafe™ powder according to the PeraSafe IFU™. The powder/water ratio is 16.2 g/l with a minimum solution of 1 liter of lukewarm water (30-35ºC).
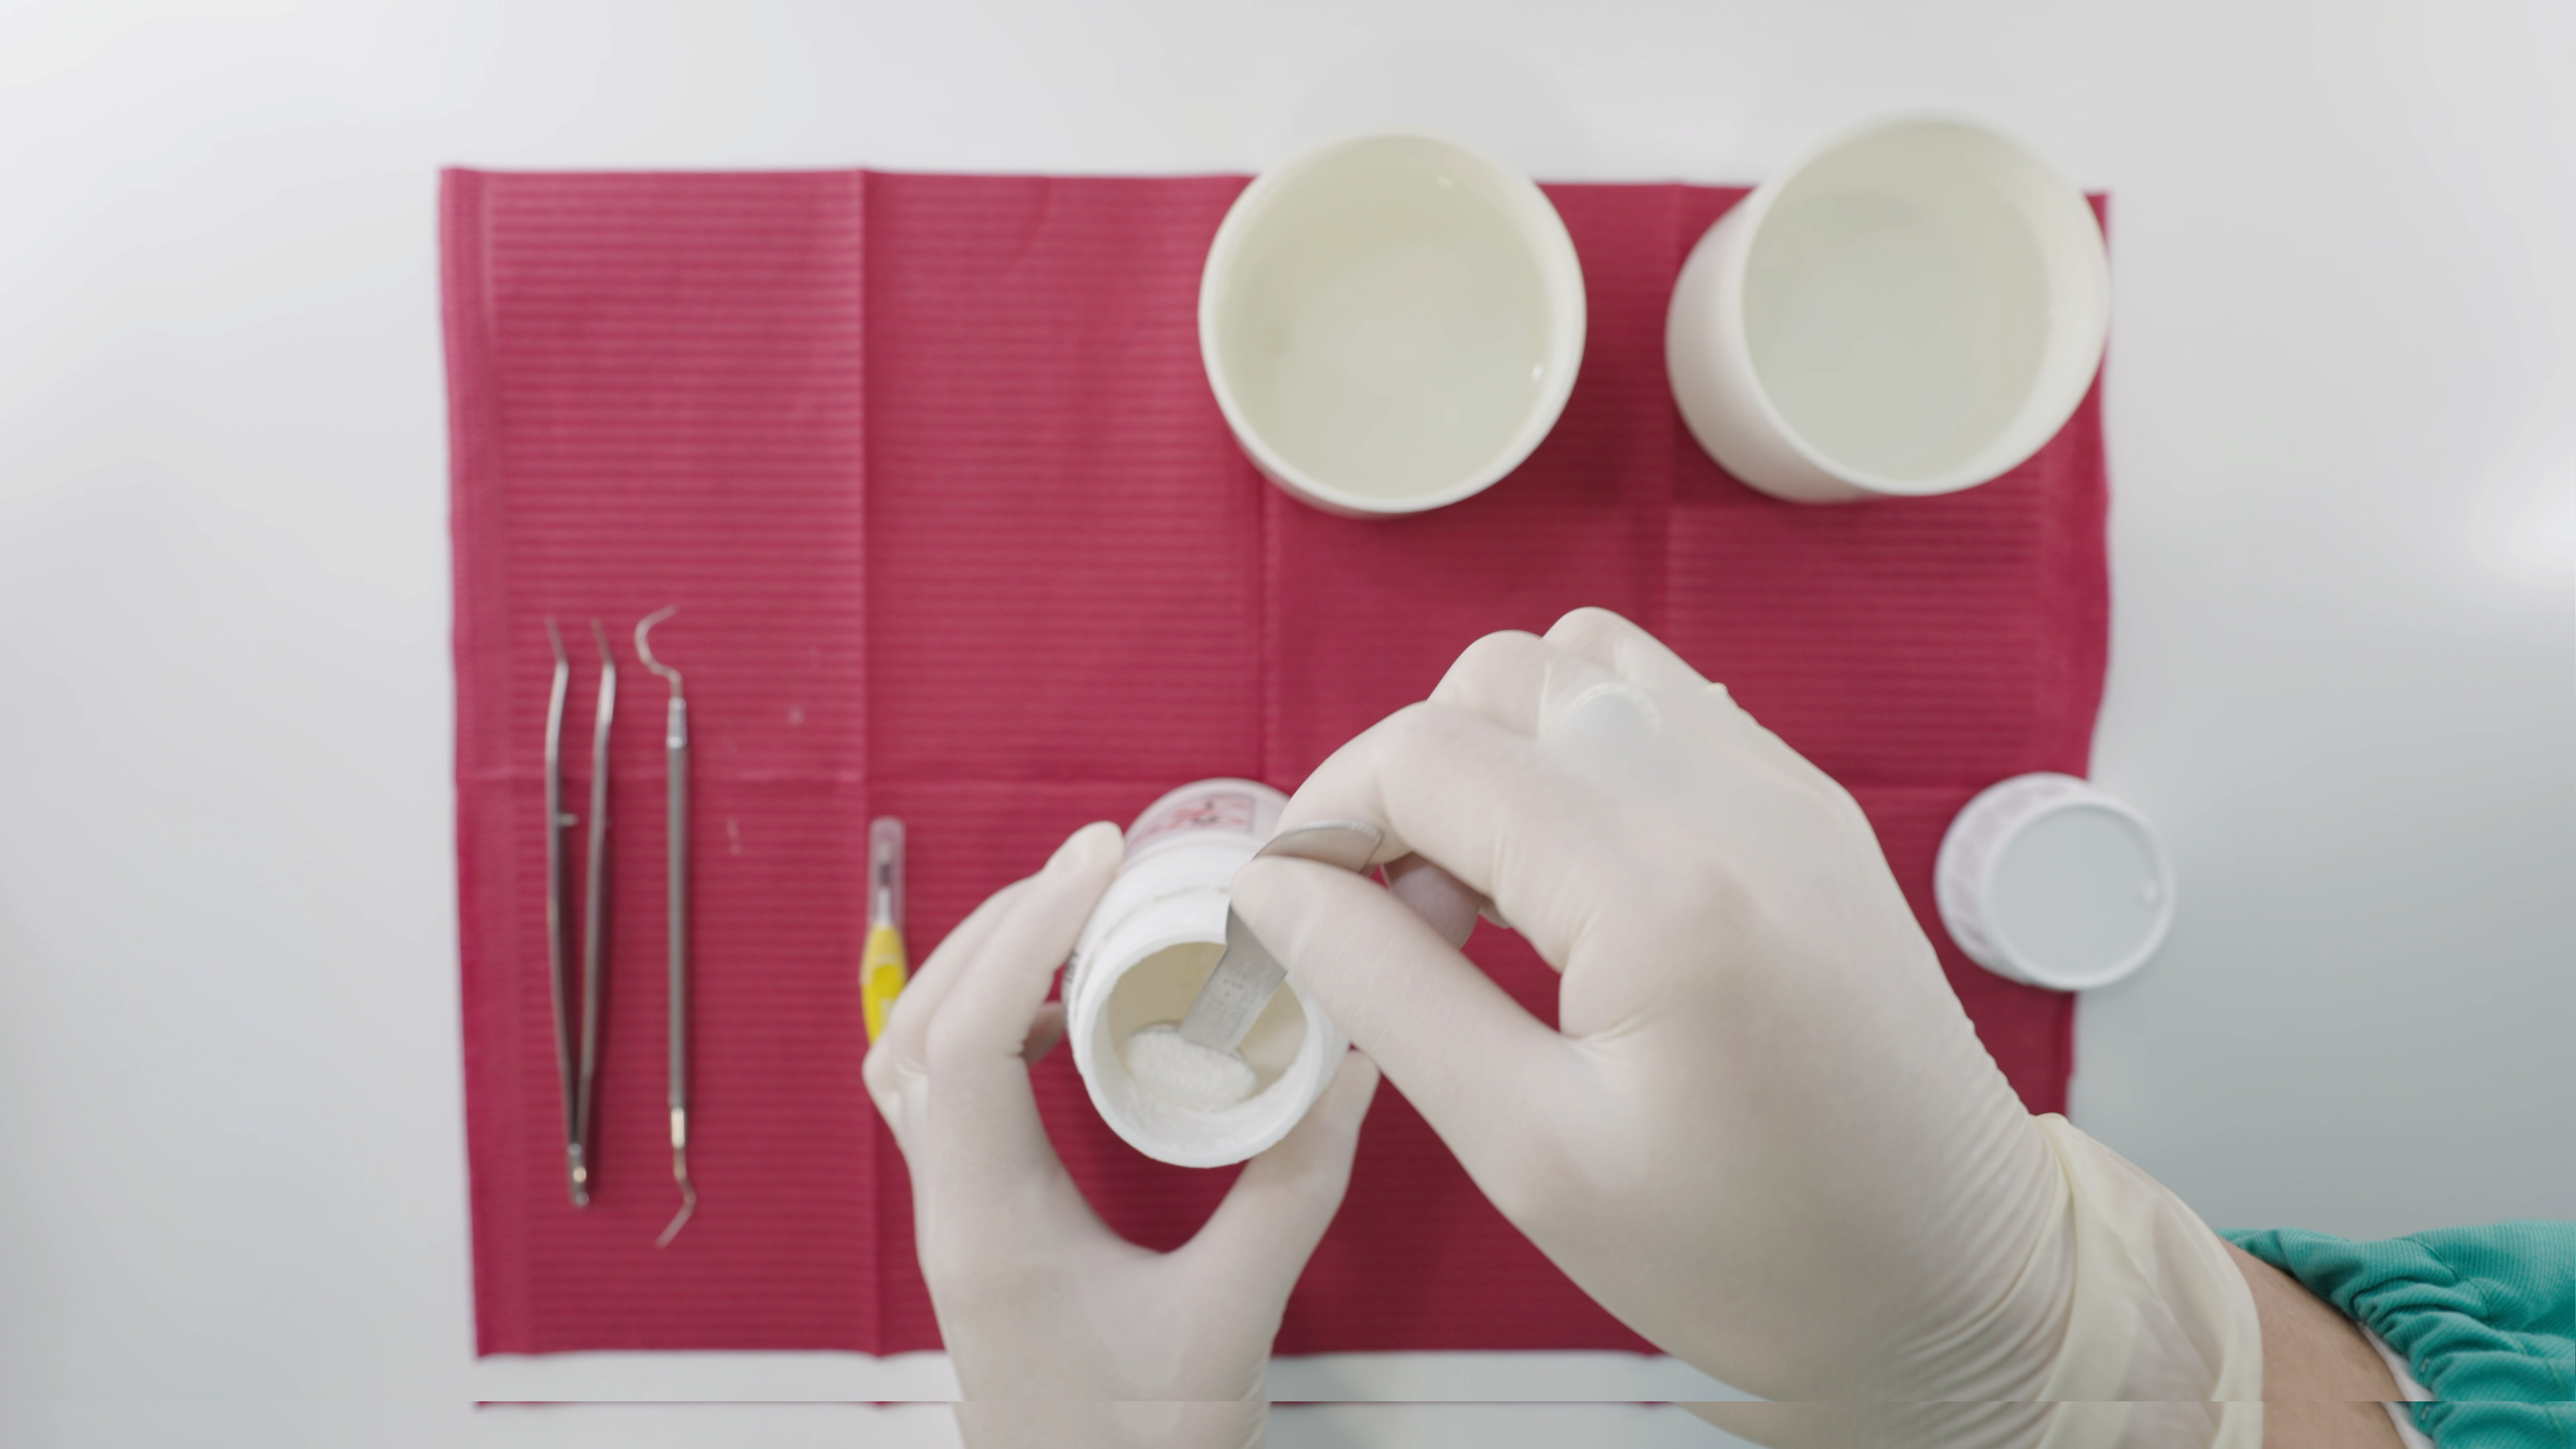
- Mix the PeraSafe™ solution into the water until it is completely dissolved. Activation of PeraSafe™ takes 15 minutes. Stir periodically throughout this activation period. The solution will turn a light blue color. The solution becomes colorless after around 30 minutes. A small amount of undissolved material is expected.
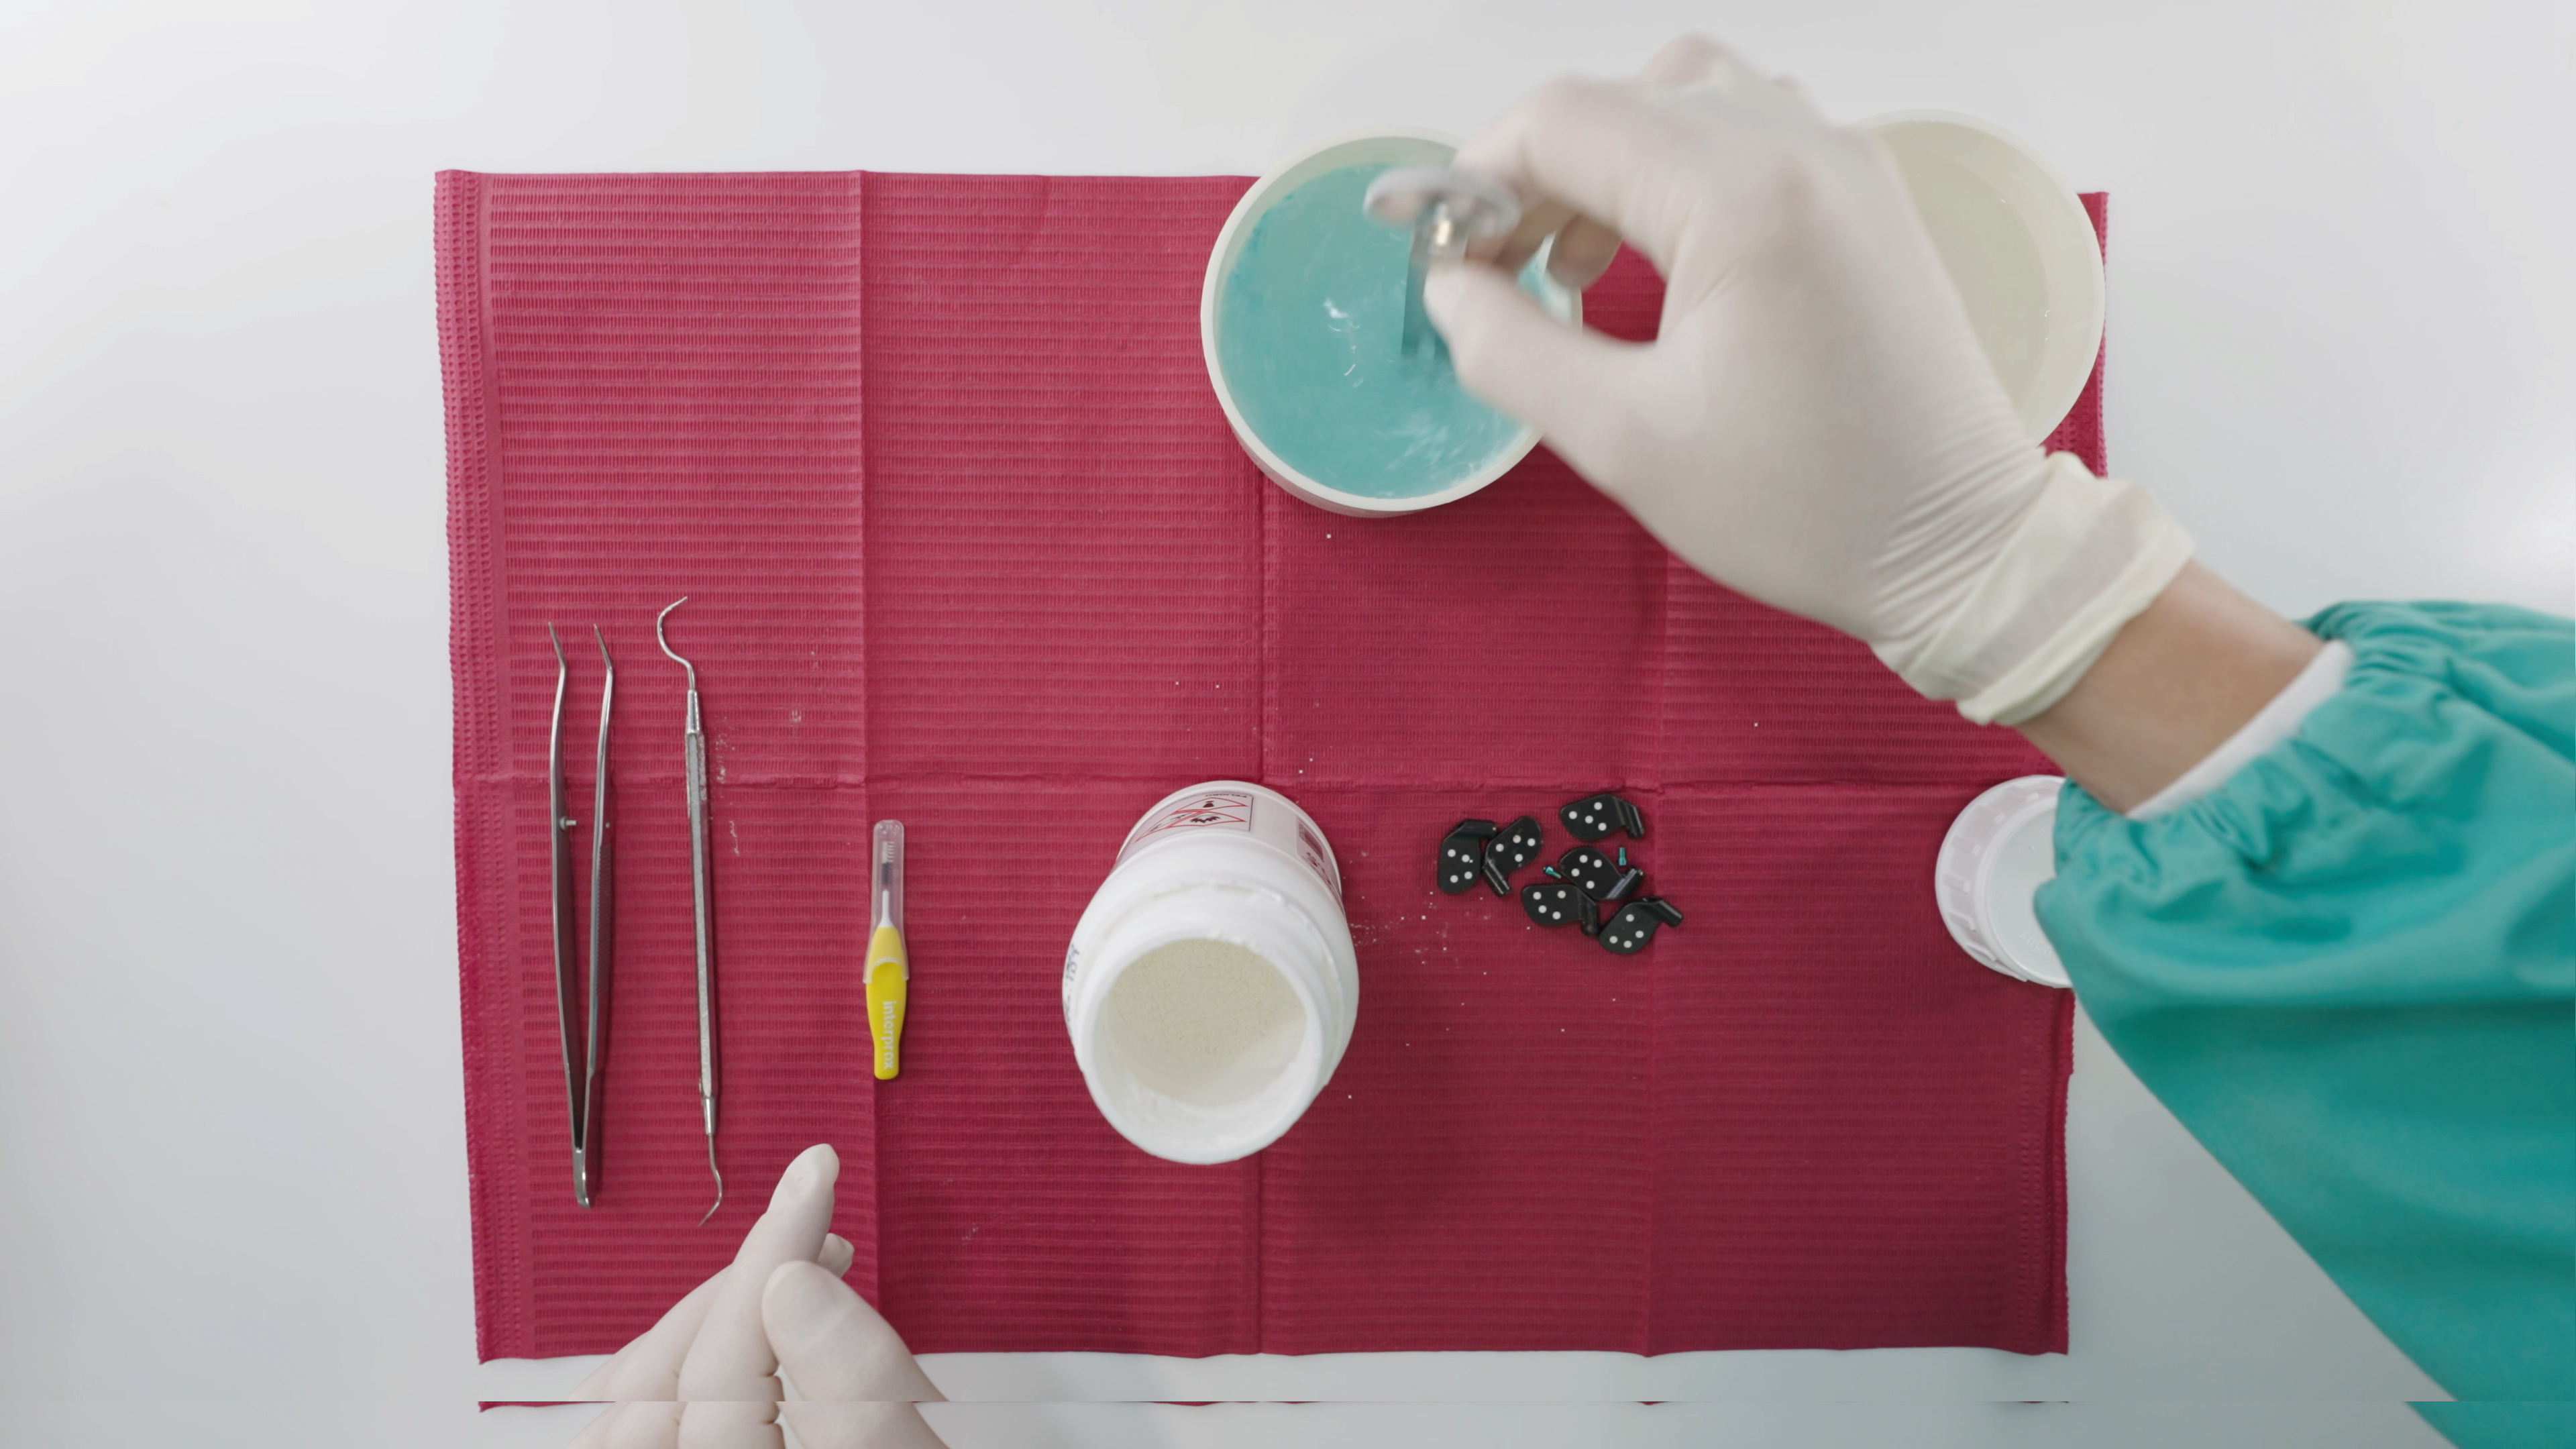
- Place each PIC transfer and its screw into the solution. Ensure that no screws remain stuck inside PIC transfers.
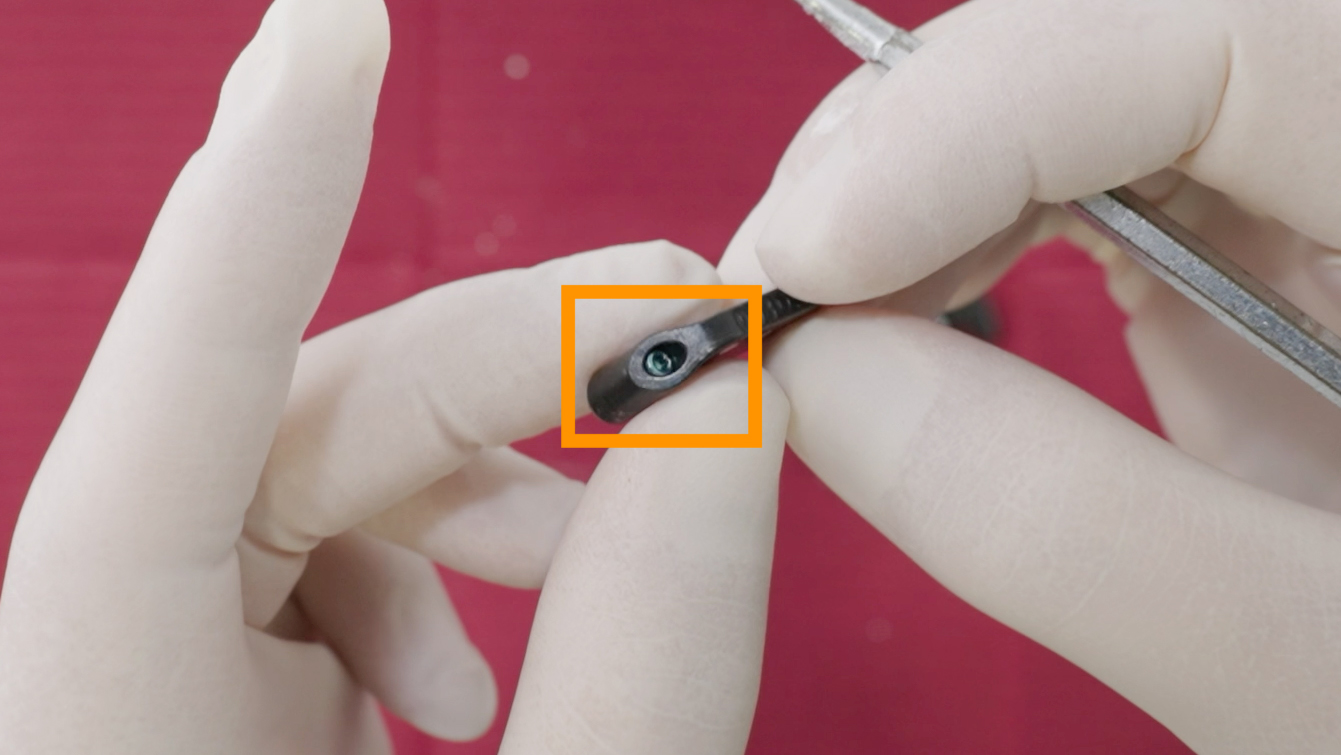
- Leave all PIC transfers and screws immersed in the PeraSafe™ solution for 10 minutes.
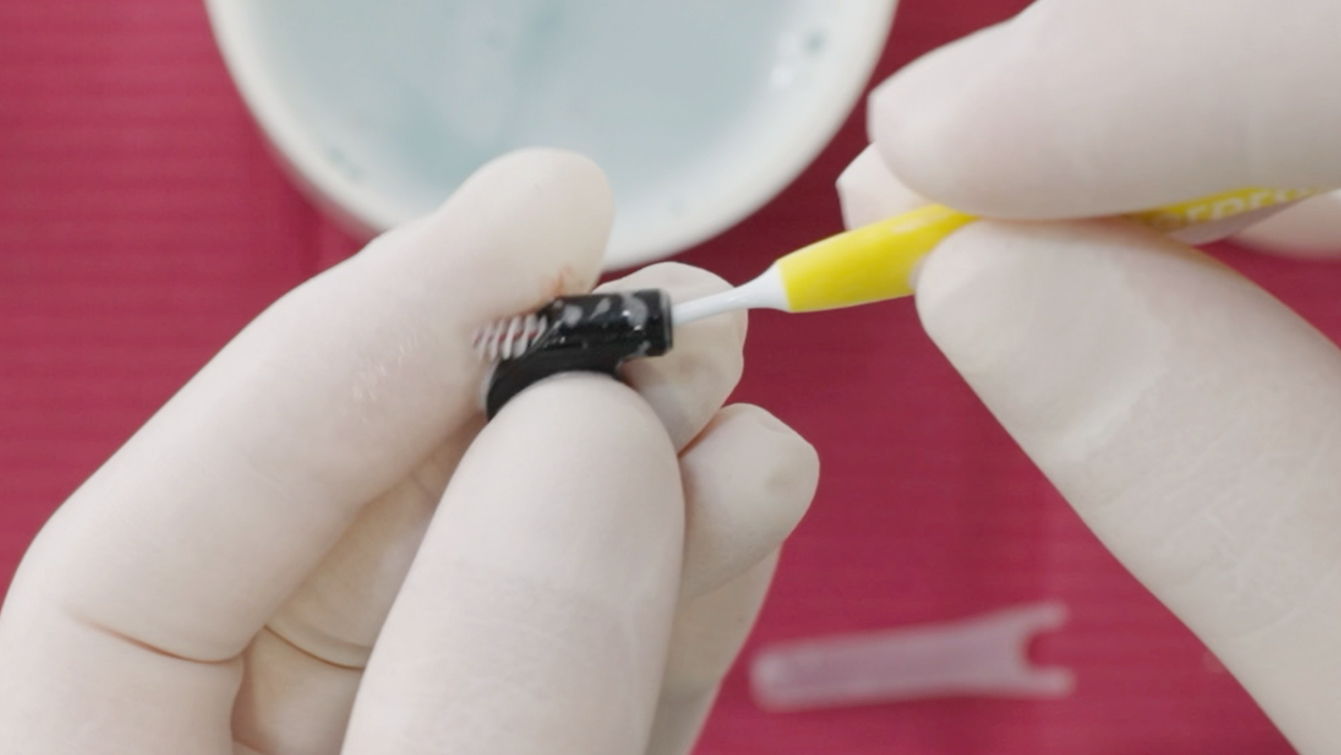
- Remove each PIC transfer one by one. Using a new, clean interdental brush, clean the screw hole and the outside surfaces of each PIC transfer again. Remove all screws from the solution at this time as well. Then, place the PIC transfers and the screws in a cup of clean sterile water to rinse them, being sure to remove all traces of the Rely+On™ PeraSafe™ solution.
- Lay out a second, clean, dry piece of paper.
- Extract all PIC transfers and their screws, and place them on the dry paper.
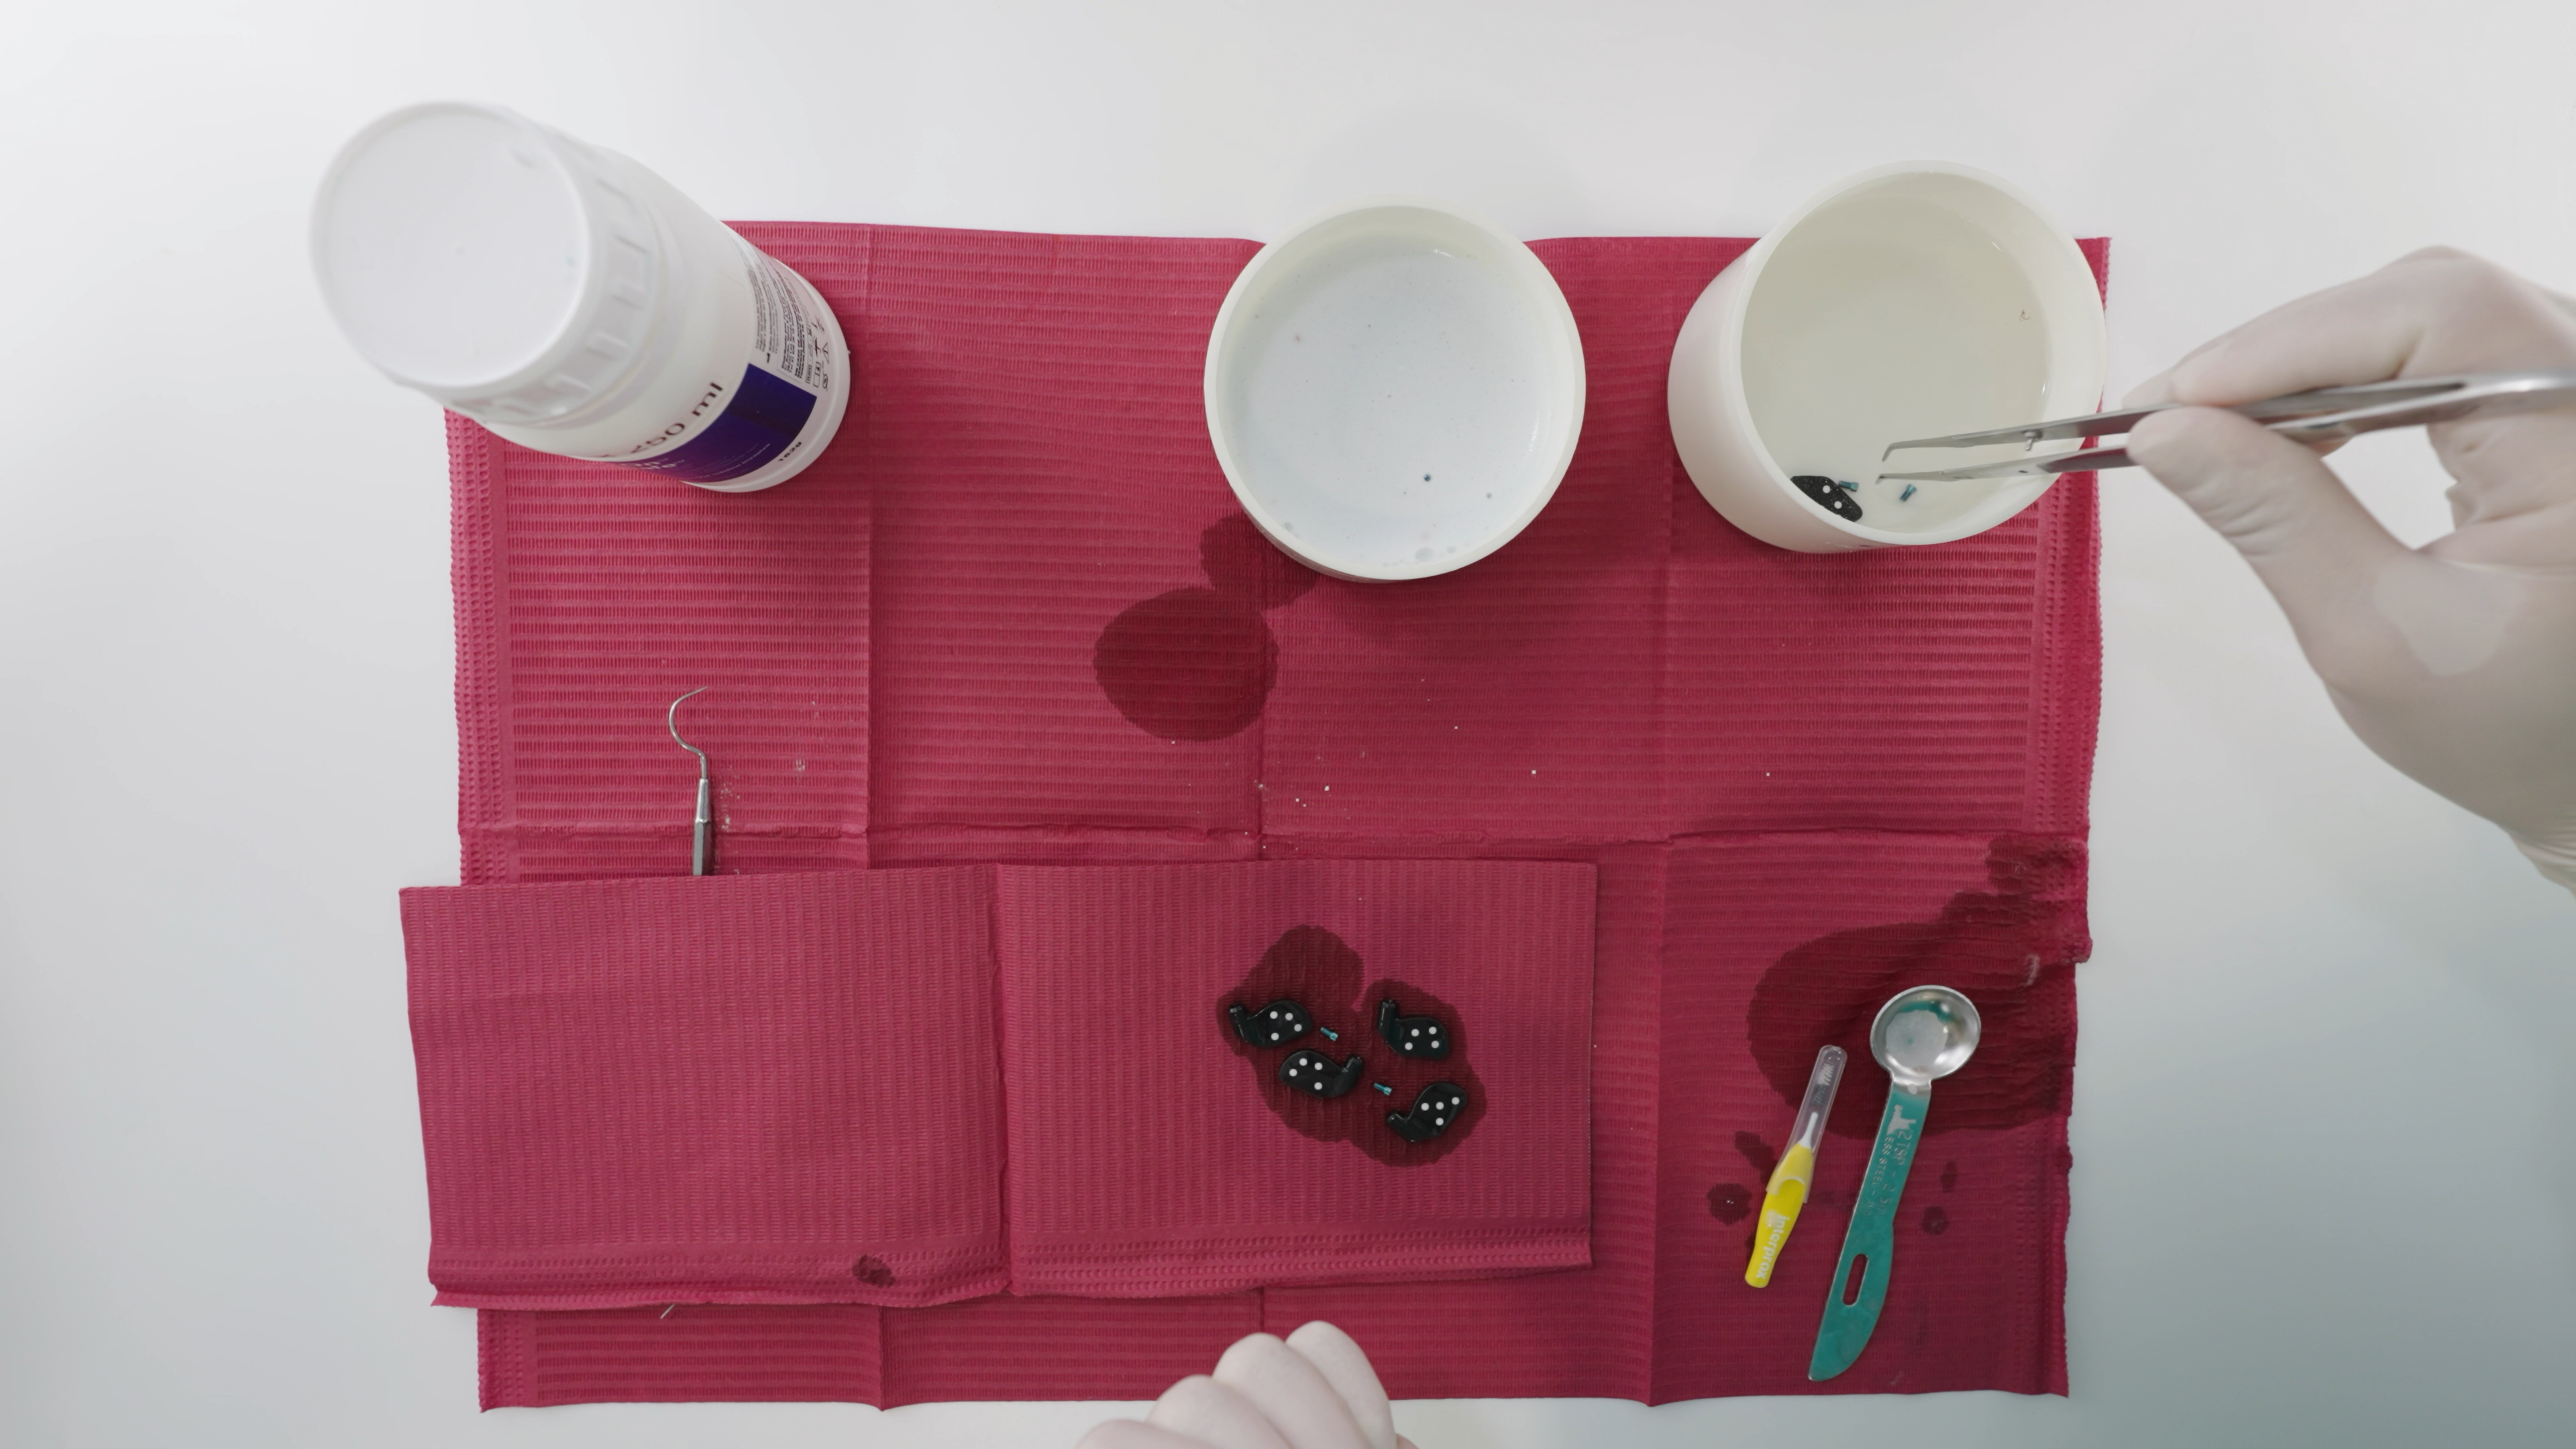
- Dry the PIC transfers and screws thoroughly.
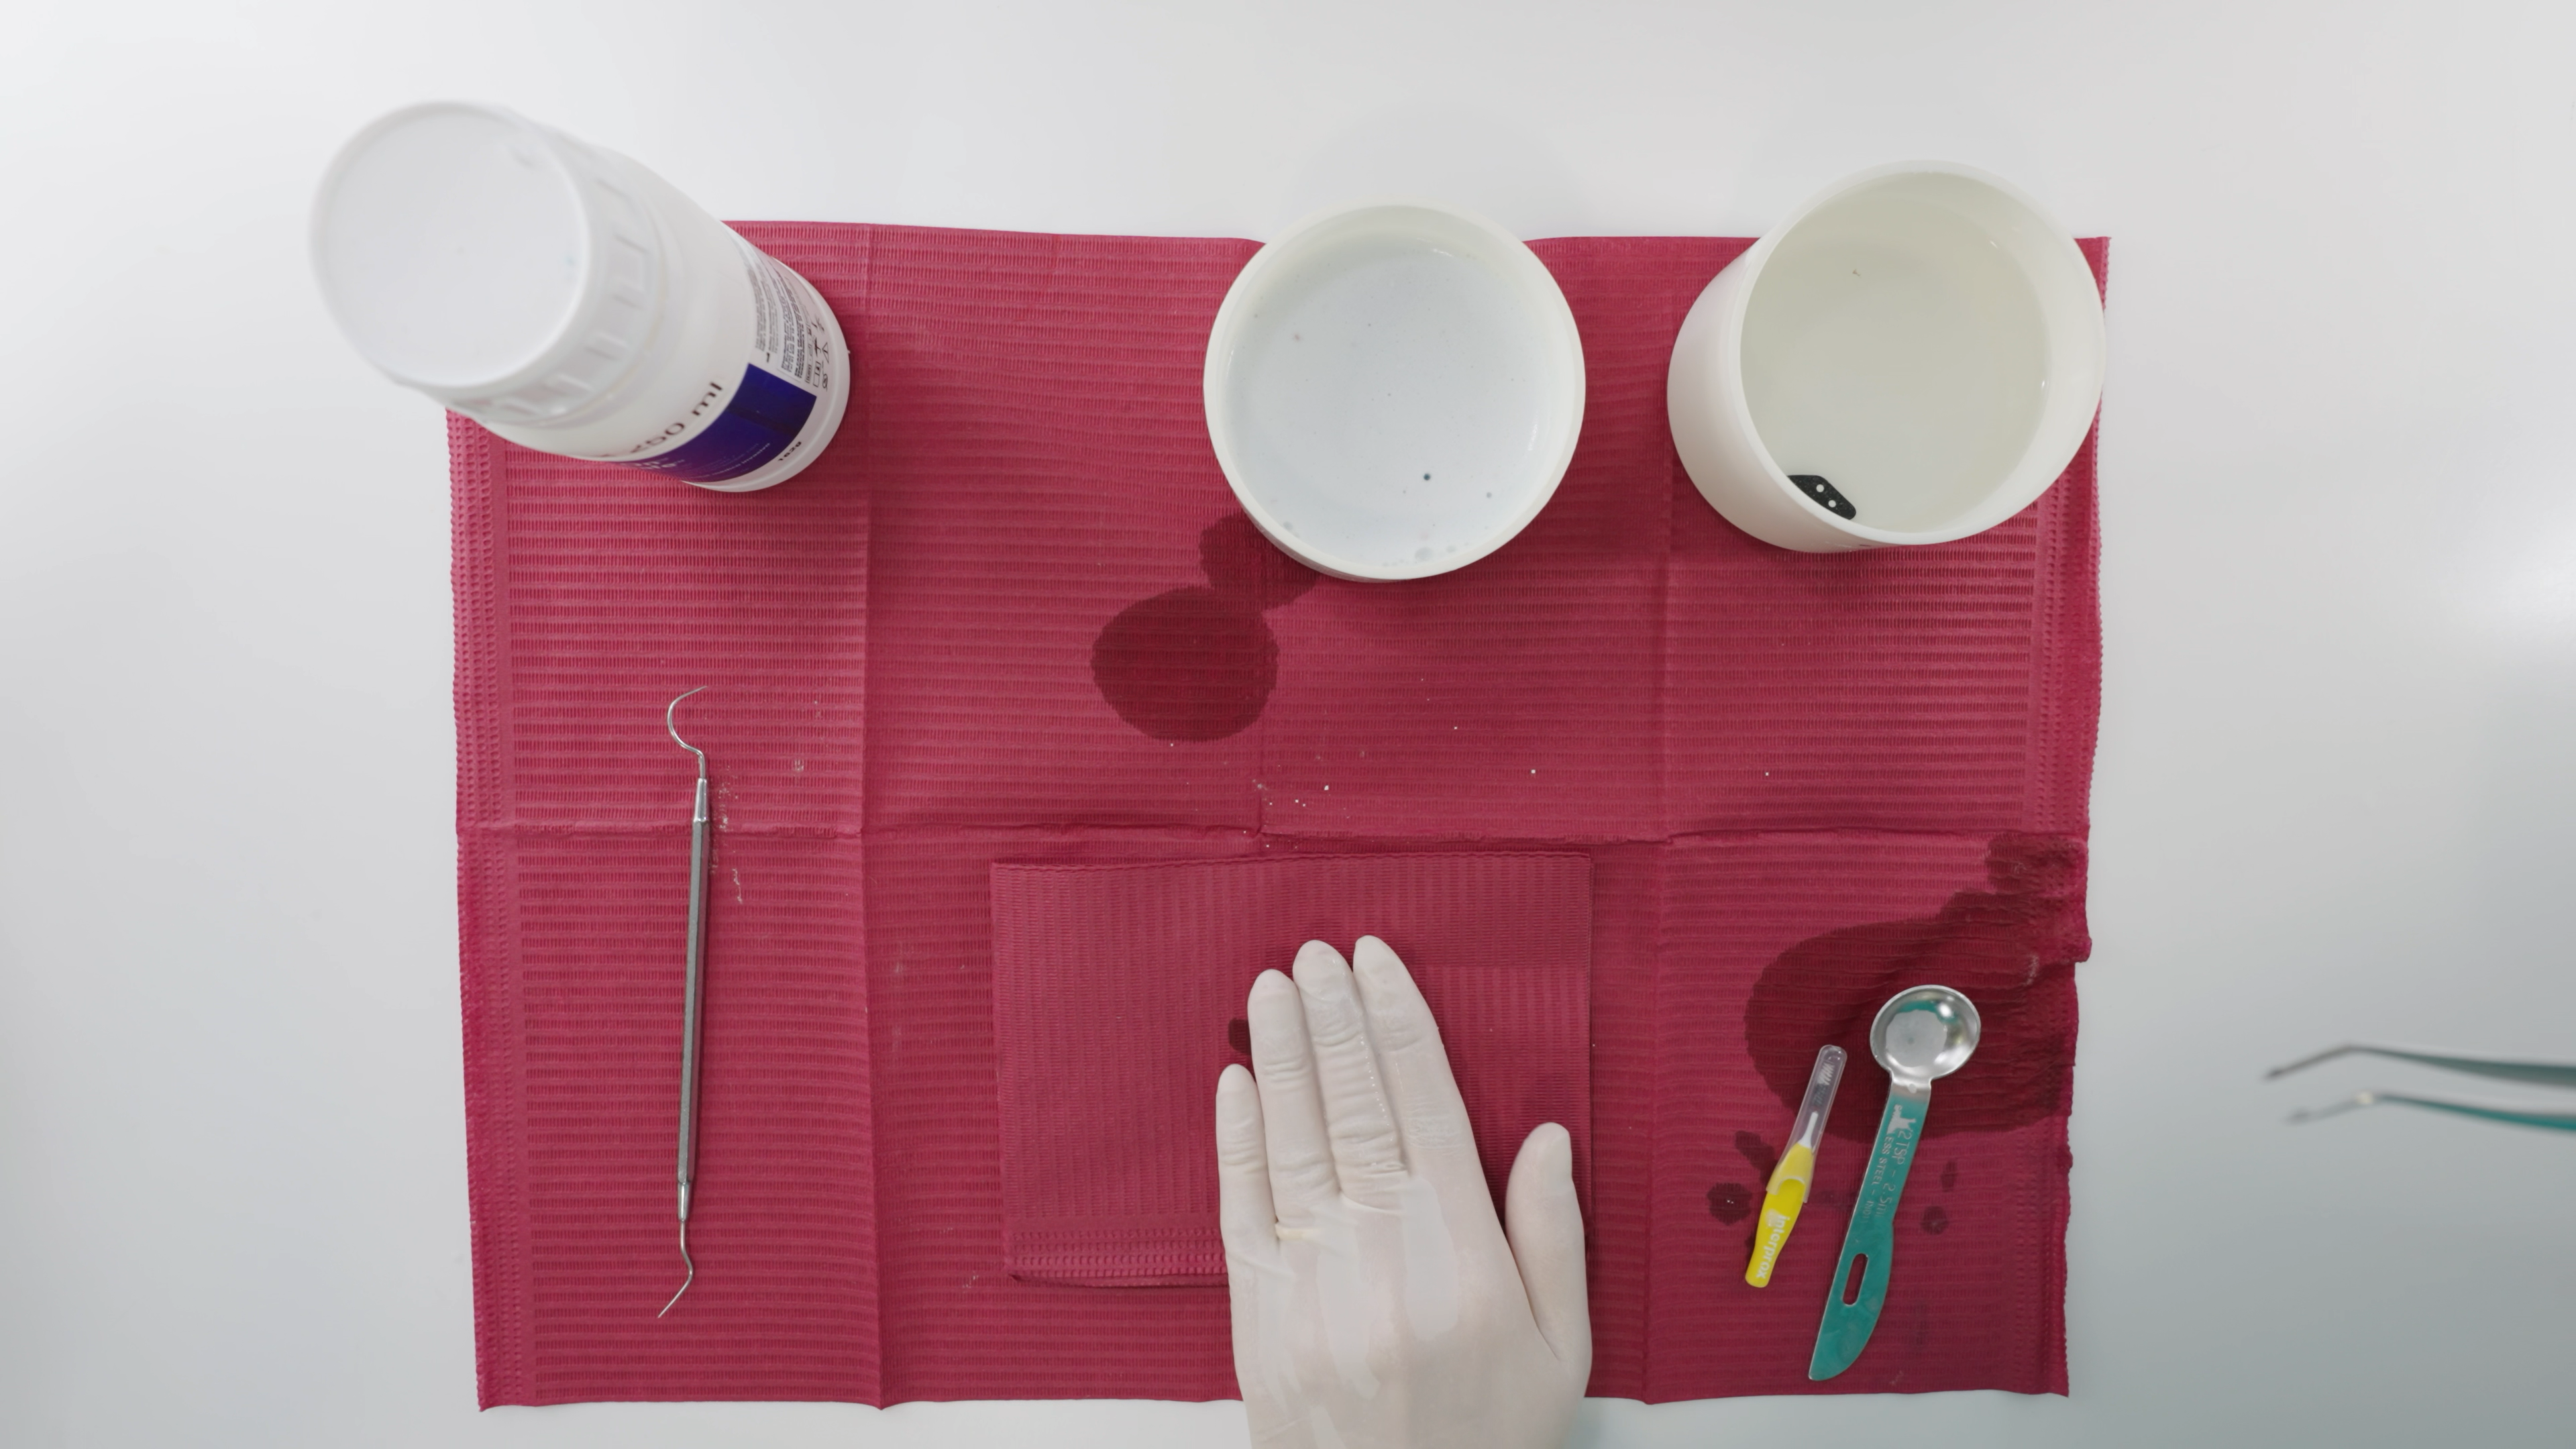
- Once dried, place all PIC transfers and screws into sterilization pouches for storage.
It is recommended to organize PIC transfers in sterilization pouches in small groups. For example, if you have 10 PIC transfers, separate them as follows:
- 2 sterilization pouches with 2 units each
- 2 sterilization pouches with 3 units each
This way, only the PIC transfers that will actually be used for any given number of implants need to be unpacked and the rest will stay sterilized.
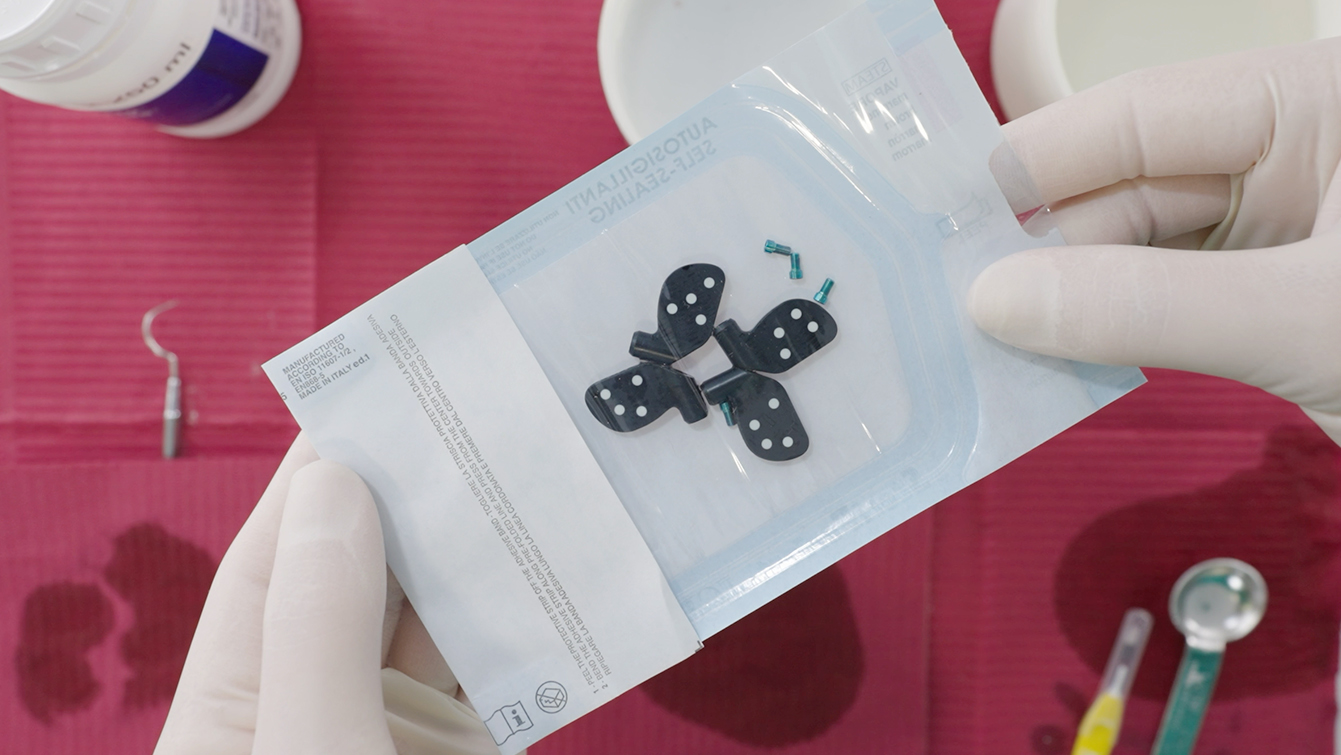
- The process of cold sterilization is done. The PIC transfers are now ready for their next use.
How to discard used PeraSafe™ solution
Following the instructions for use of Rely+ON™ PeraSafe™, used solution may be discarded, without special precautions, in the normal liquid waste disposal system in accordance with local authority regulations.
Once mixed, the PeraSafe™ solution can be used for up to 20 immersions or 12 hours, whichever is first. It is possible to sterilize multiple kits of PIC transfers with the same batch of solution before discarding it.